Making of an Uchigatana
Preparation
The Uchigatana used the same plasma cut 1075 steel that was used for the European arming sword. This was done after the cutting and grinding off of the residual slag so there is no difference in the preparation of this metal for the two swords. The piece of 1075 used was thin so it would be completely surrounded by the 1045 steel. The only preparation the 1045 steel required was cutting it to a proper length for the sword. Unfortunately we did not cut the proper length of the 1045 or 1075 for the sword as it did not reach the minimum goal of 80cm but it did reach the proper width.
Forging
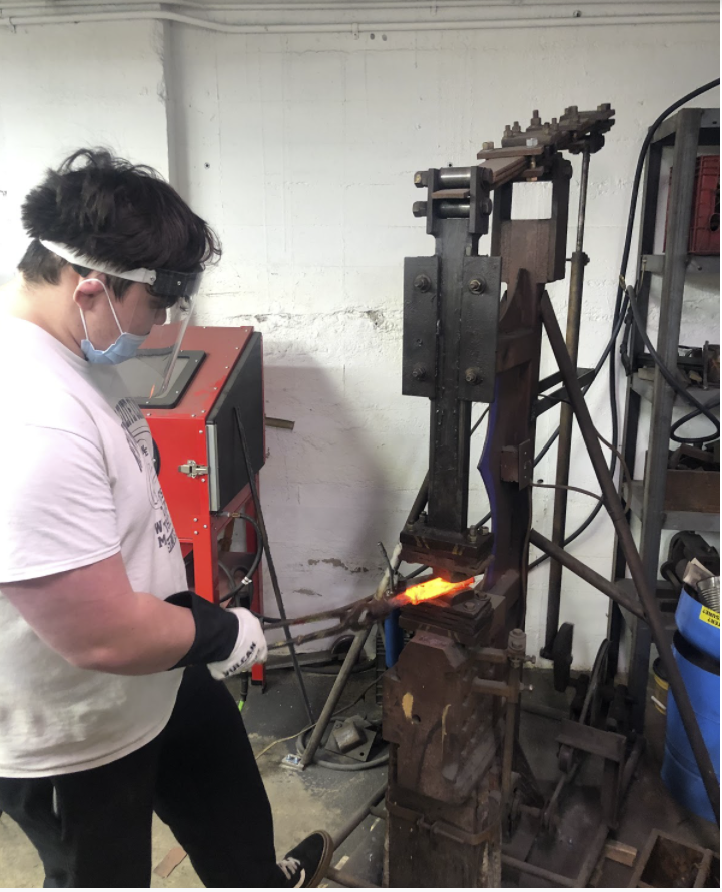
Once the forge was lit, the first step was to mold the 1045 metal into a “U” shape down its entire length. This was done by heating up a portion of the metal until glowing and then using a peen hammer to hammer it into a U shaped mold. This was done down the entire length of the metal to give a “taco” shape. Once the 1045 had the taco shape, a thin piece of 1075 was slotted into the steel taco and was placed into the furnace. A portion of the 1075 stuck out of the steel taco on the backside as that portion would act as the tang and also an easy gripping point for tongs. Once a portion was properly heated, it was hammered using the shop’s hydraulic hammer in order to fuse the two metals together. This again was done down the entire length of the length of the steel taco except for the piece of 1075 that was sticking out.
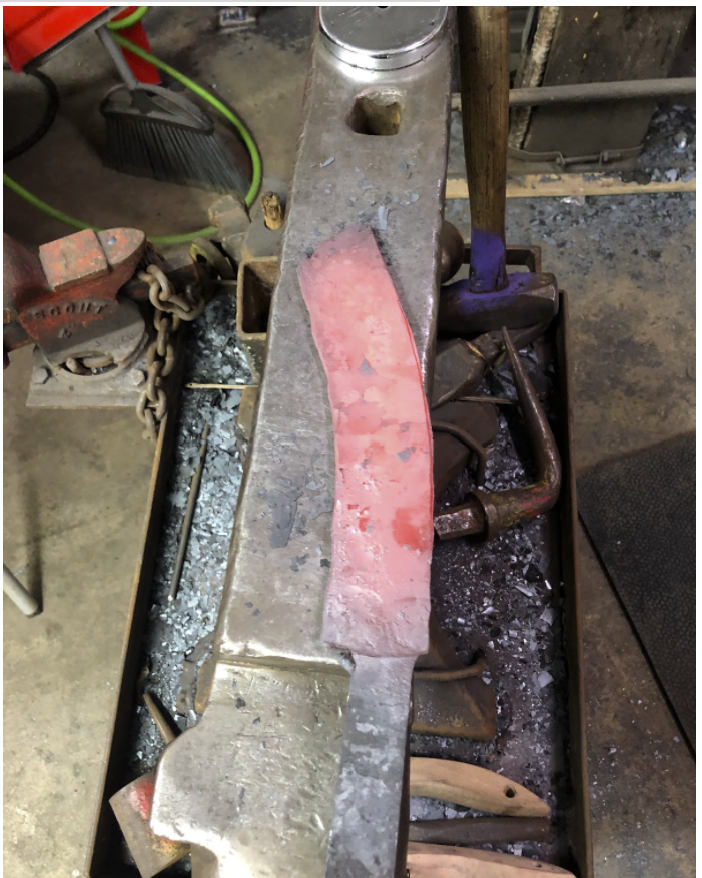
The beveling process had to be performed down the entirety of the blade to achieve the desired diamond cross section; with the thickest part of the bar in the middle. Similar to forging the tip, the blade had to be held on the anvil at an angle which stretched out the metal closer to the edge.
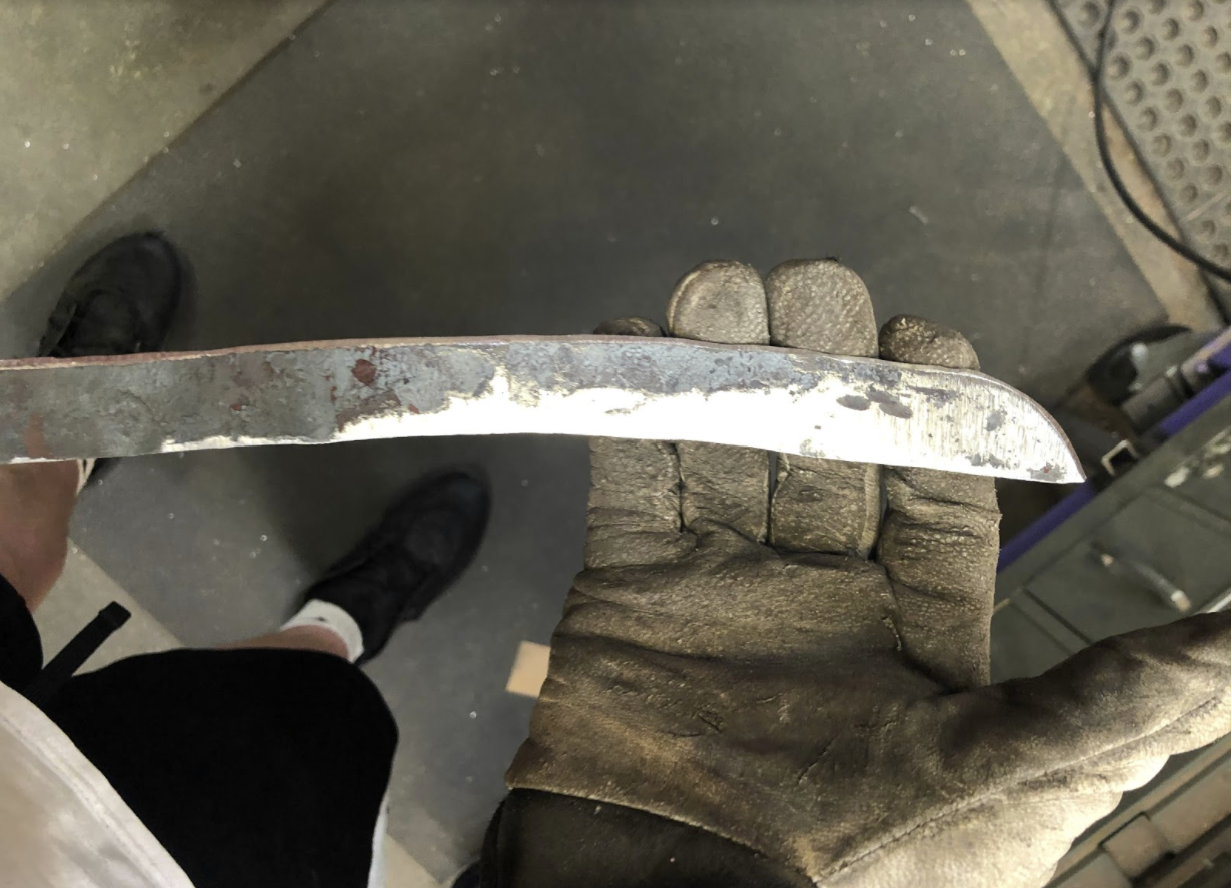
At some point, the tip of the blade became misshapen. Rather than try to hammer out a fix for it, after we returned to the shop the first thing we did before heating the blade was cut off the tip at an angle to somewhat resemble what the traditional Uchigatana tip would look like. The portion that was cut off would then be used for microstructure analysis for the fused metals.

As beveling and stretching continued, there was some structural instability that appeared at one point. Near the tang, the 1075 and 1045 did not properly fuse, leaving an incredibly structurally unsound portion of the blade that was at risk of falling off if improperly handled. After consulting Josh (the blacksmith and owner of the shop), he recommended avoiding that area as much as possible during the beveling process. As expected during the beveling process, the blade became incredibly warped and curvy.
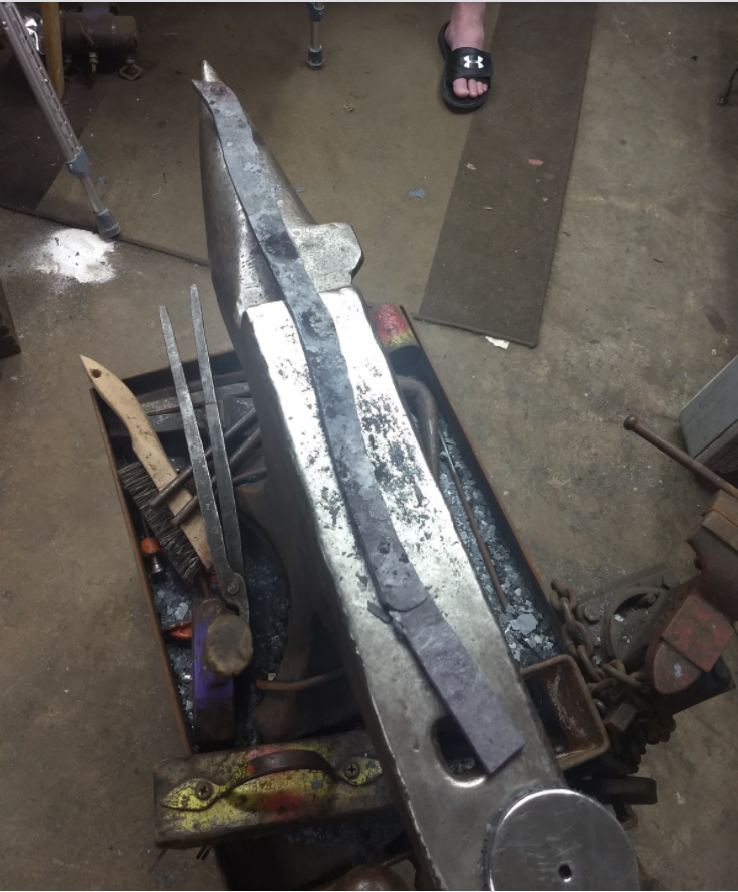
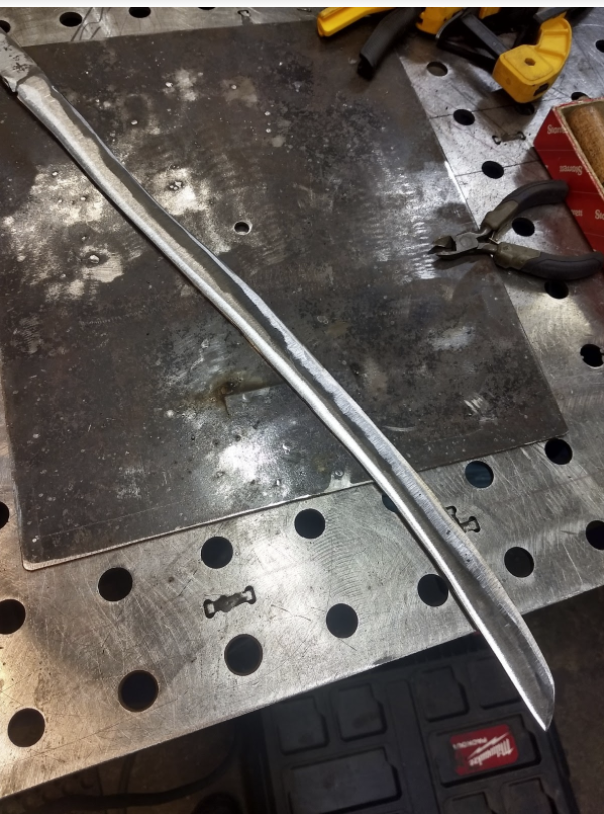
The straightening process involved placing a portion of the blade into the furnace, and either hammering it down flat onto the anvil, or using a vice and tightly squeezing the blade in its grip. In order to give a slight curve to the blade, it was first hammered on its cutting edge to straighten the blade as much as possible. Then a portion near the top of the blade was heated up until glowing. The blade was then placed on the rounded portion of the anvil and hammered on its cutting edge to give the blade a small curve.

Grinding
The grinding setup for the Uchigatana was identical to the setup for the arming sword. The first step in grinding was to get rid of all the flaking on the exterior of the blade and tang to make the blade look as shiny as possible.
Once all the flaking was removed, the blade was beveled further and parts of the blade were thinned down in order to keep the dimensions mostly even. The beveling was done to give the blade somewhat of a triangular shape with the blade at its thickest down the center line. Removing the flakes from the blade also revealed several more structural errors such as cracks and cavities. Many of these were removed during grinding but some had to remain due to time constraints. The blade continued to be beveled and ground down to make it as shiny as possible and resembling the profile and shape of an Uchigatana.
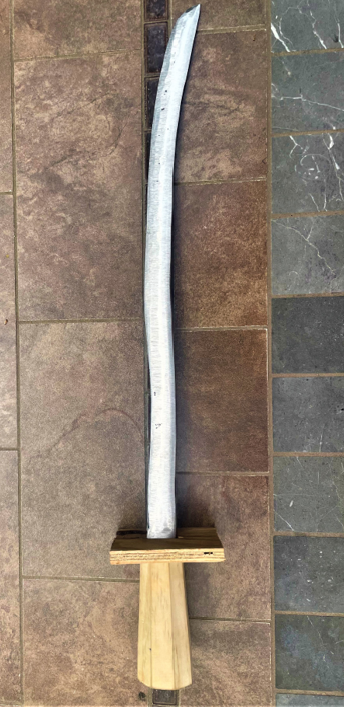
The sword cross guard and handle were then finished in the woodshop. The woodpieces were cut and attached to the end of the grinded blade to produce the final Uchigatana replica, seen below.