Making of an Arming Sword
Preparation
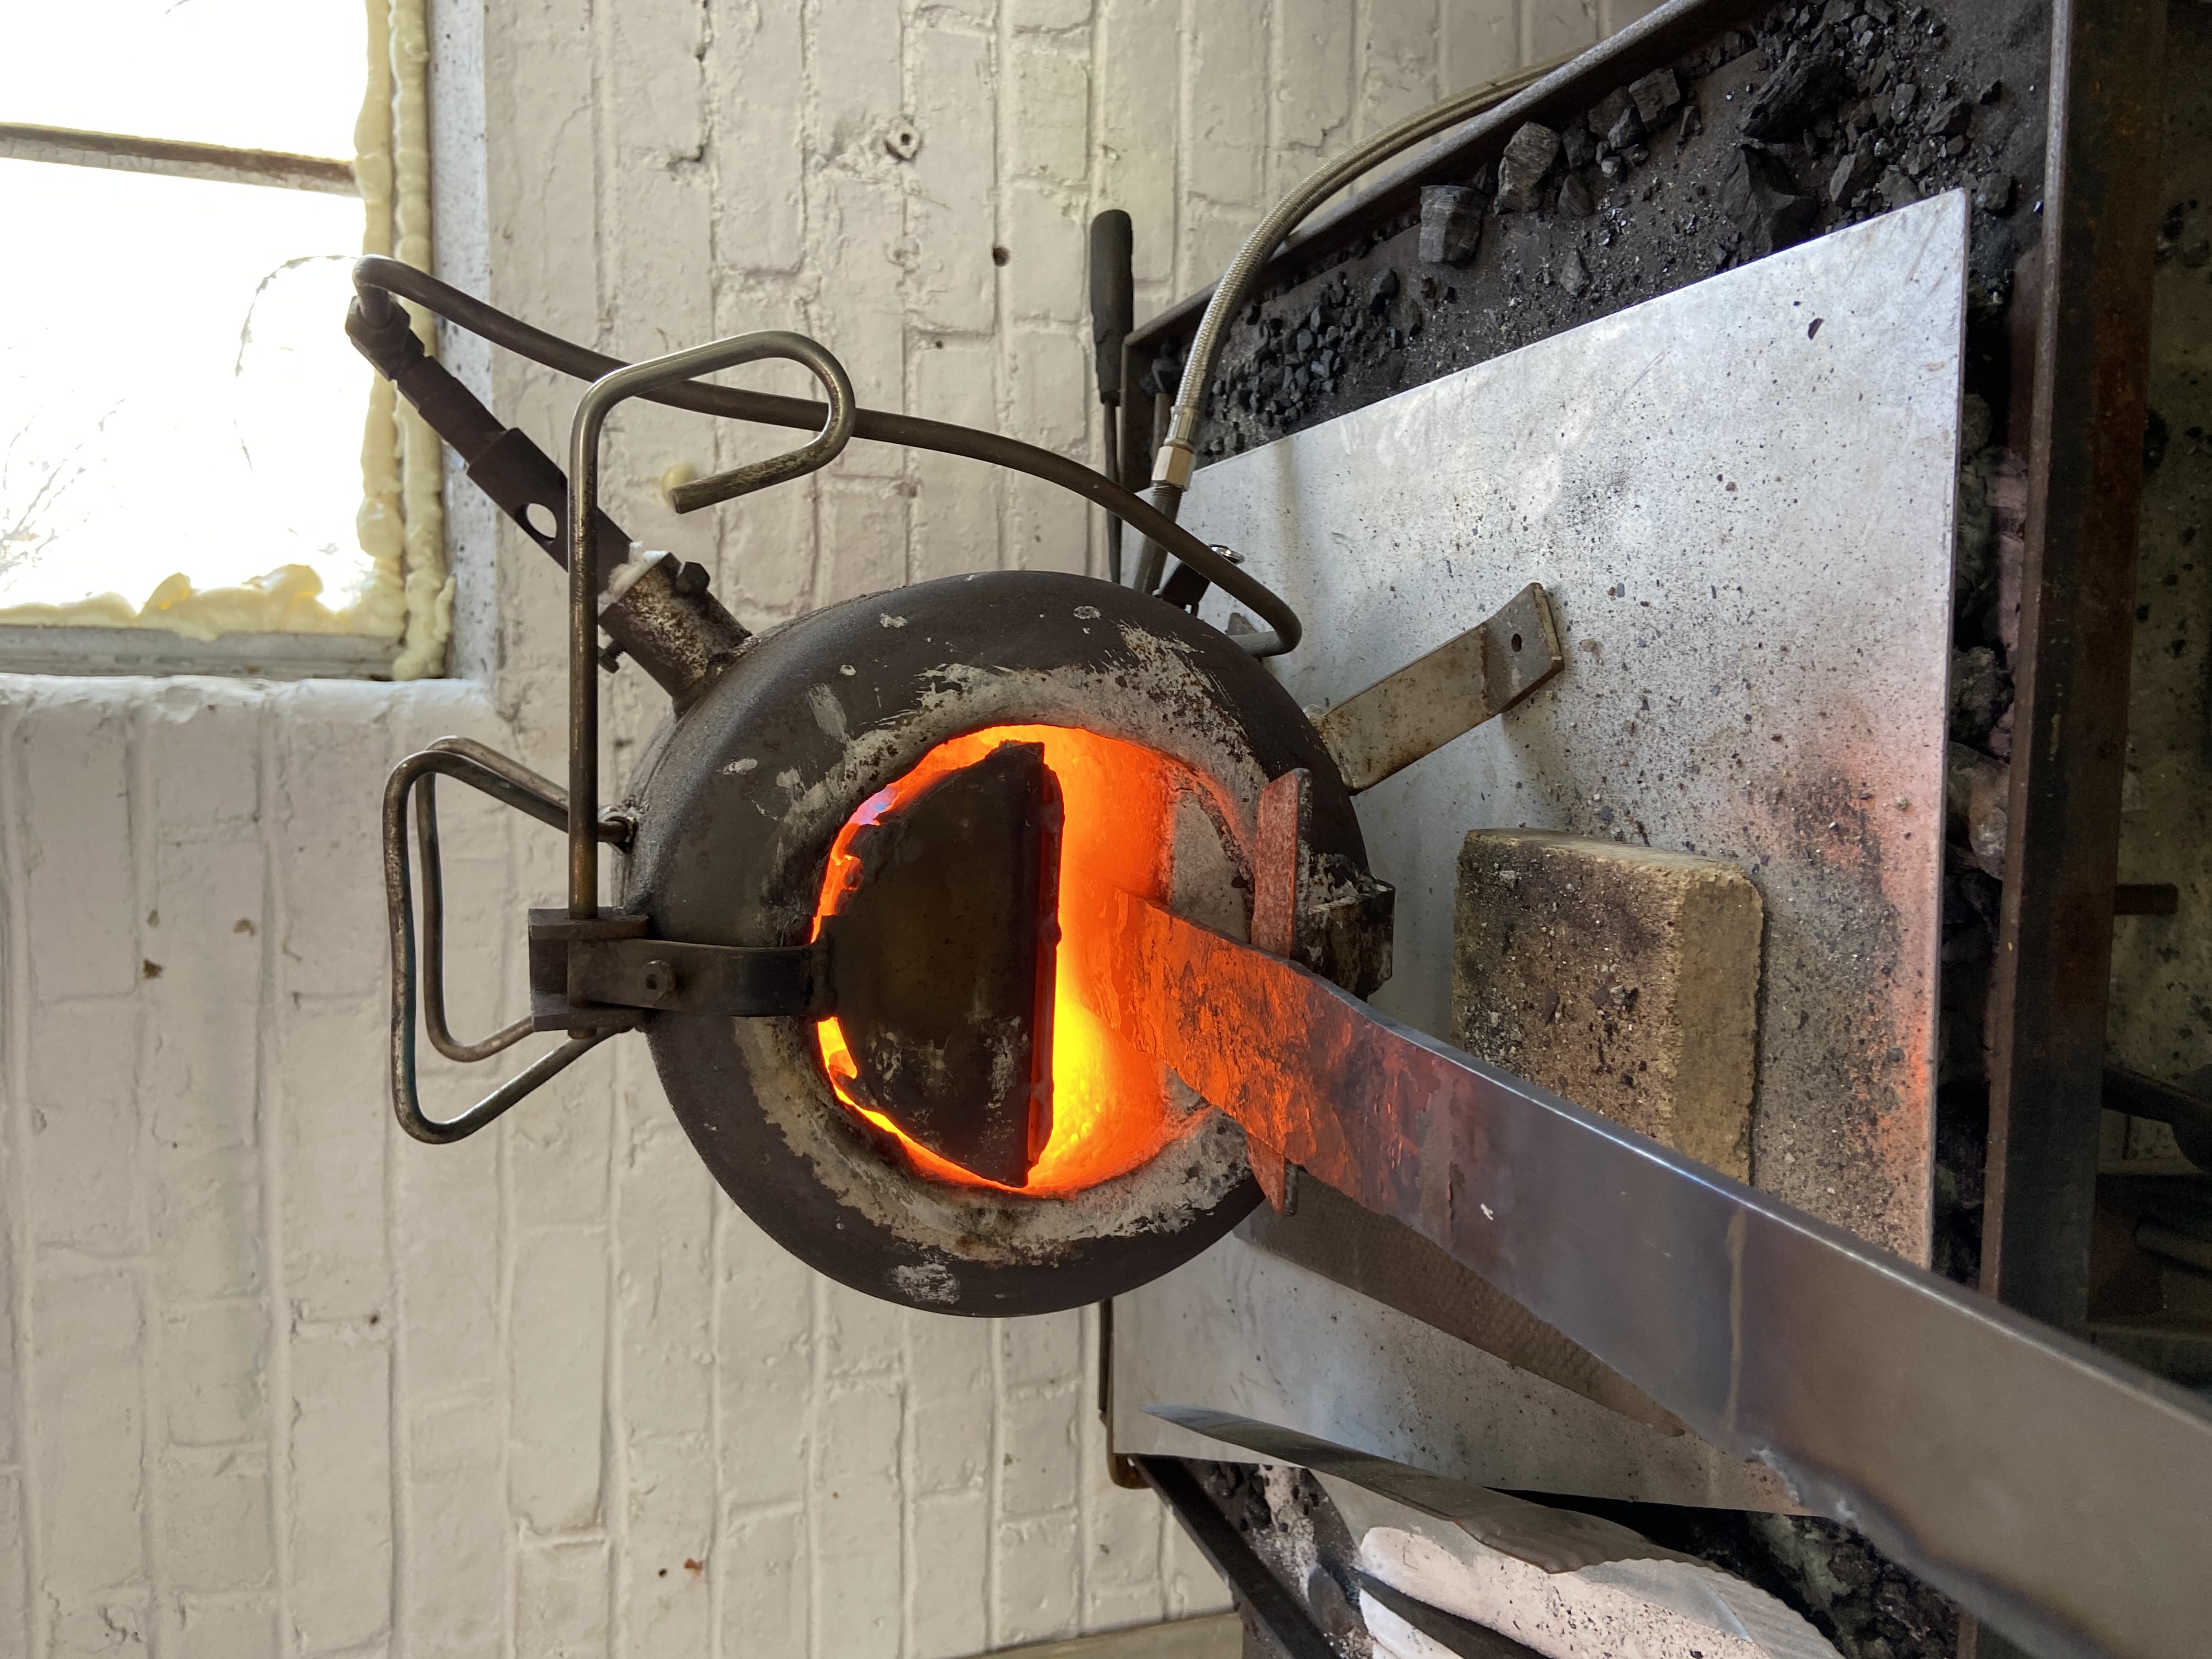
We started with a bar of 1075 carbon steel that was 120 cm (L), 6.5 cm (W), and 0.65 cm (T). This was too wide so we cut about an inch off the side using a plasma cutter. After sketching a rough sword outline and designing a CAD model, we were reading to start forging.
Forging
The first step of forging was to draw the end of the bar into a point by holding the bar vertical on the anvil and hammering at an angle. After the tip of the blade was forged, we beveled down the length of the blade. We had to rotate and straighten the sword throughout this process because it often caused warping or twisting of the metal.
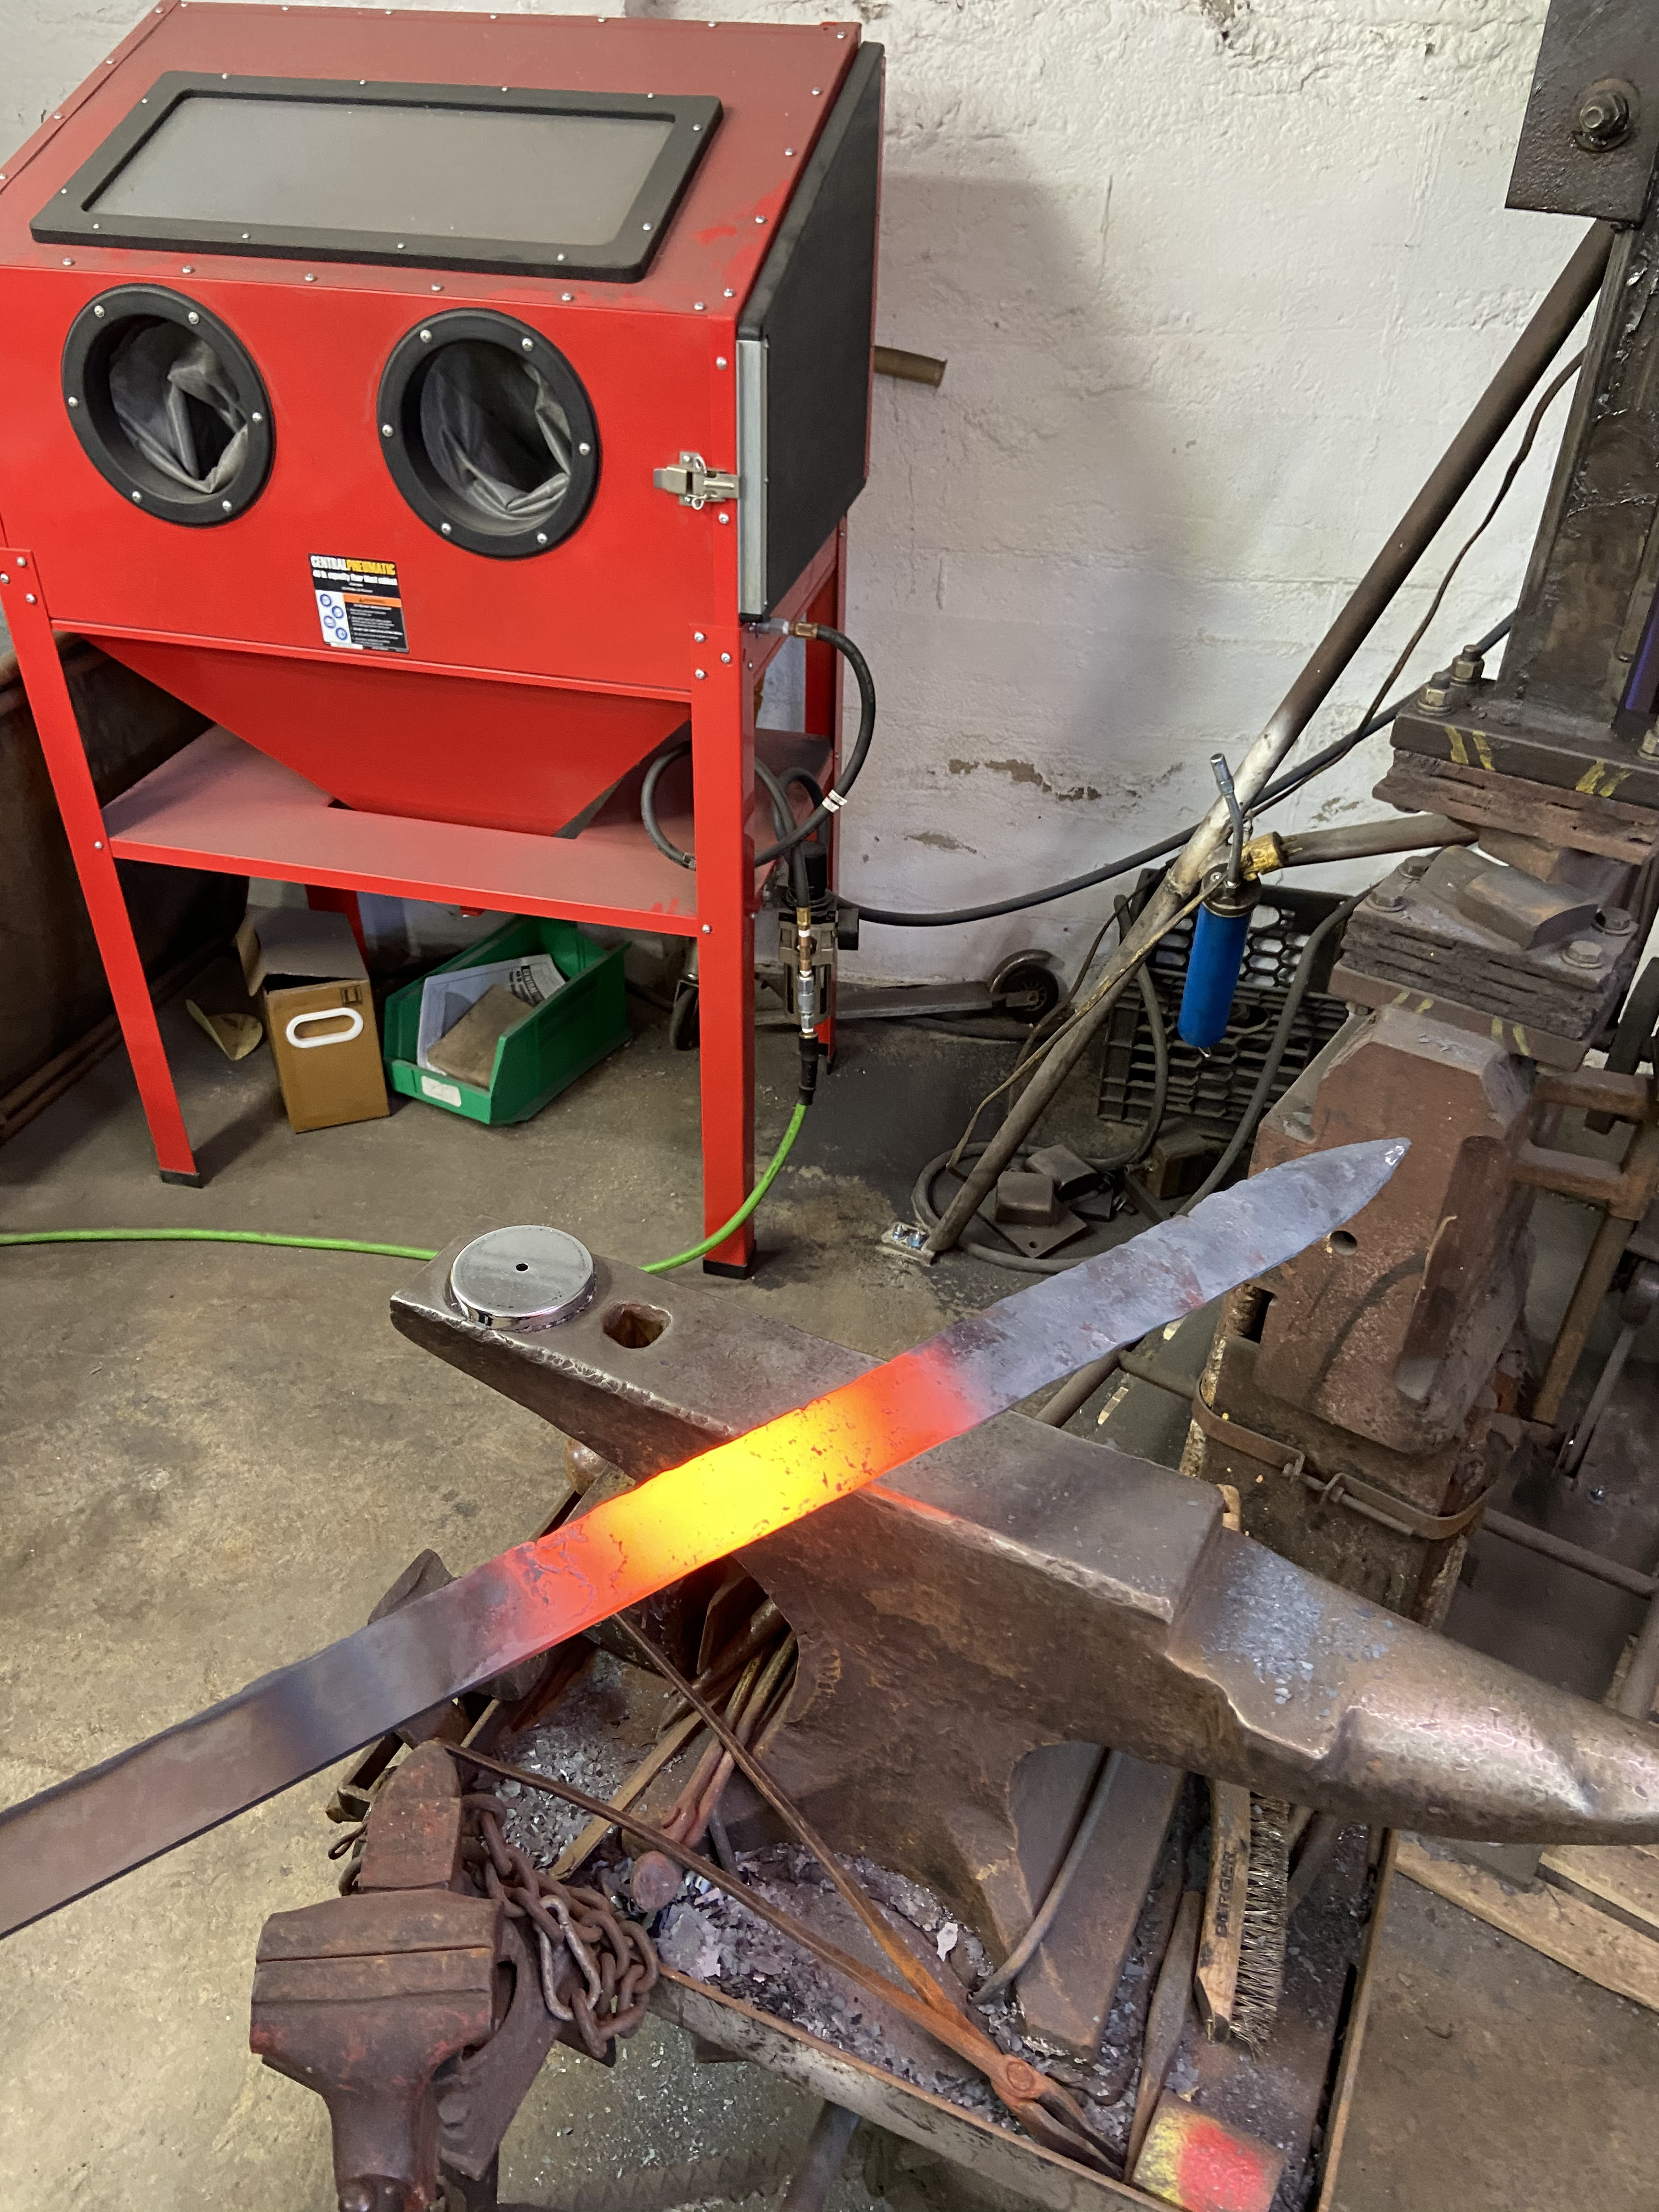
The beveling process had to be performed down the entirety of the blade to achieve the desired diamond cross section; with the thickest part of the bar in the middle. Similar to forging the tip, the blade had to be held on the anvil at an angle which stretched out the metal closer to the edge.
The next step was to draw out the tang of the blade. As this would have been very difficult to do manually, we opted to use the power hammer. The hammer arm was attached to an electric motor and would repeatedly strike when the foot pedal pressed down. The strength and precision of this tool is truly unrivaled by other forging methods.

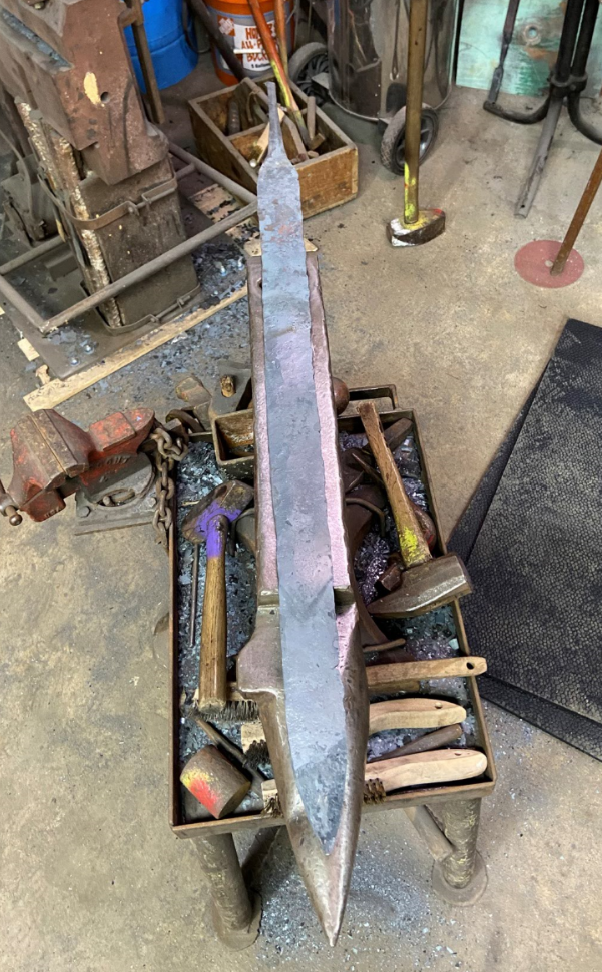
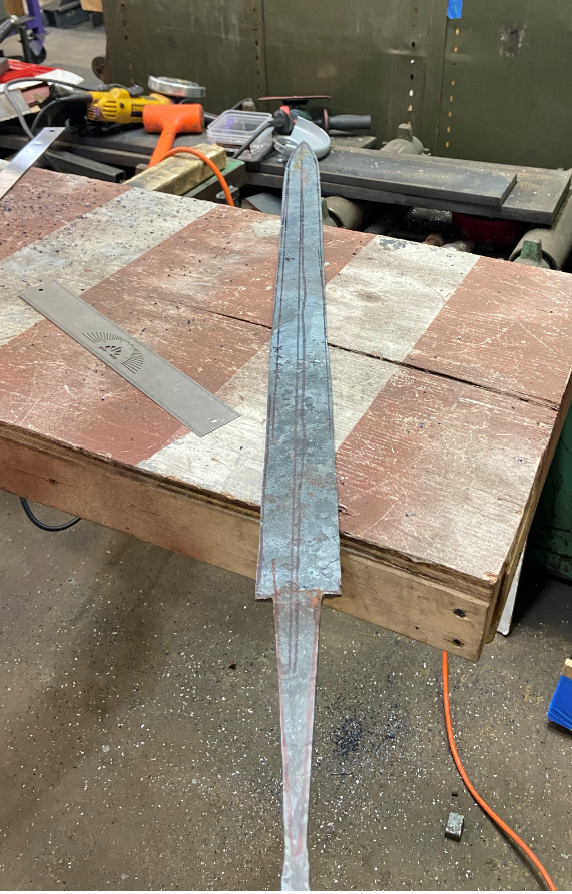
The final step of forging was to straighten the blade. The final result is just a rough shape of the sword as most of the precision and shape comes from the grinding phase.
Grinding
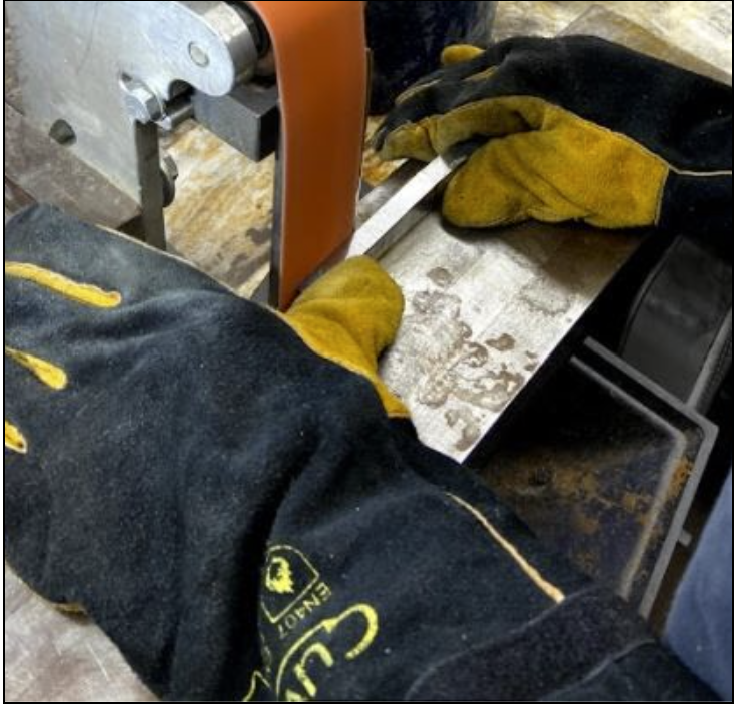
To prepare for grinding we drew a measured outline on the blade and set up the tabletop grinding attachment. Then we used the belts spinning at 7000 rpm to shave off large quantities of metal getting the exact sword profile we desired.
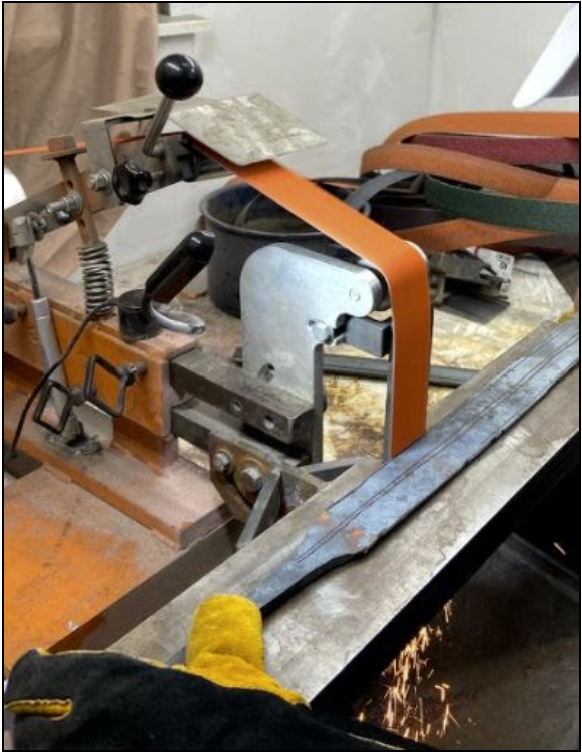
Throughout the grinding phase we wore proper personal protective equipment including respirators, gloves, eye glasses, and ear plugs.
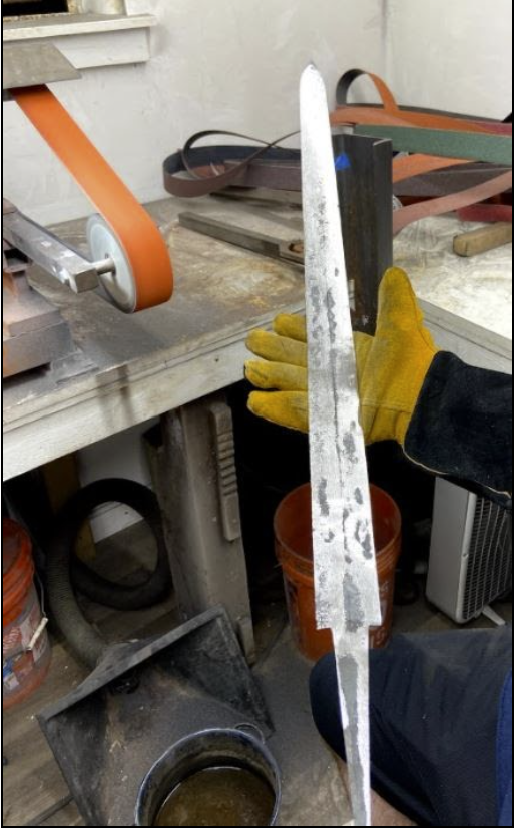
The next part of grinding is beveling which gives the sword its distinct diamond cross section with a line straight up the middle. We set up the wheel attachment for the grinder and removed the table top.
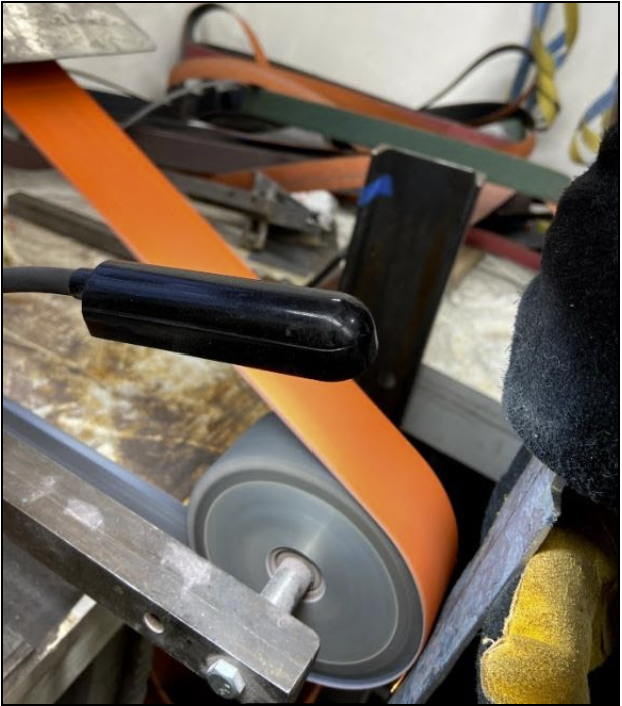
To achieve the desired shape, the sword had to be firmly pressed into the wheel at the angle which allowed the most contact. It would then be moved down the wheel in straight passes to grind its entire length.
After the bevel was grinded into the blade it was time to make the crossguard. This was forged and grinded down to the shape that fit the proportions of our sword. To fit it onto the tang, a few holes were drilled into the middle and the excess metal was filed down. We slid it up the tang after there was sufficient gap.
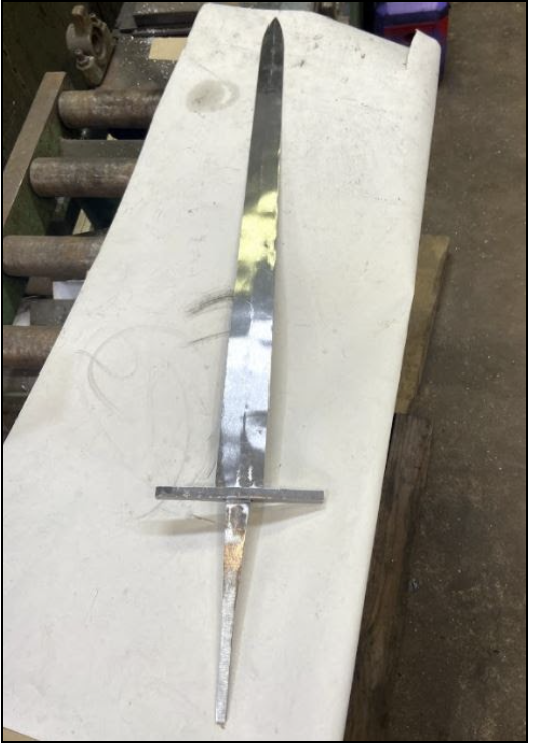
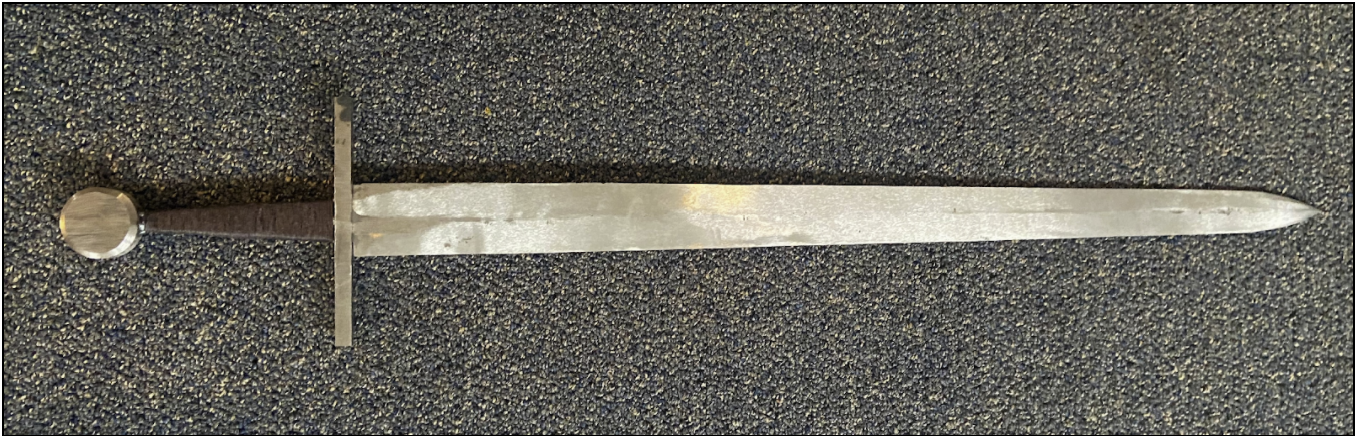
Lastly the pommel was cut from a scrap metal bar in the shop and grinded down like the crossguard. It was affixed by also drill pressing a hole and trimming out the excess metal with a file. Once the hole was large enough, the pommel was wedged on the end of the tang. Both the crossguard and pommel were welded onto the blade to ensure they stayed in place. To finish the replica, the exposed tang was wrapped with a thick layer of black cord to shape the handle. The final arming sword replica is seen below.