Making of a Warhammer
The first step in constructing the hammer was creating a CAD model to base our hammer off of. Next, we began the forging and heated our square bar until orange. We beat the spike into shape using a combination of hammers and mechanical presses. After building the spike we opened up the hole for the handle using a rectangular punch, and used the mechanical press with a rounded die to form the grooves. Next, we cut the hammerhead off of the bar and ground down the face and other sides until flat. We then heat treated the hammerhead by heating it above 727°C and immediately quenching it in oil, followed by baking it in an oven at 200°C for 30 minutes. We then cut a hickory shaft to the appropriate size to fit the hammerhead and inserted a wedge to keep the two of them together. The langlets were built concurrently to the rest of the hammer, and were made by heating and bending a flat piece of steel into a square, u-shaped bracket. This piece had small holes drilled into it in order to fit the rivets, which were hammered in to fix the langlets to the handle. The final step was to apply a polyurethane coating to protect the wood.
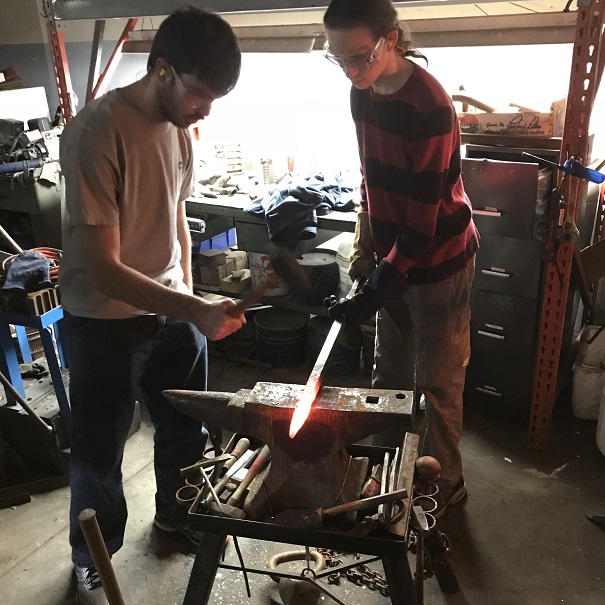
Figure 1: Shaping the end of the steel bar to form a spike.
We placed the rod of steel onto the anvil after heating it in the forge. In order to form a spike shape, we rotated the steel every few hits with the hammer. This process would both elongate the steel rod, while also making a spike shape.
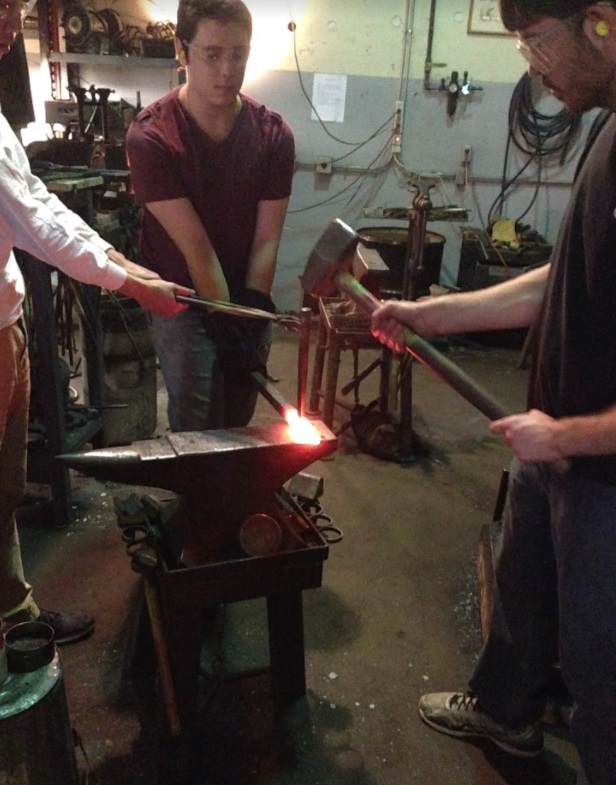
Figure 2: Three person team punching the hole where the handle would be inserted.
After creating the spike shape, we would drive a tapered steel rod into the middle of the bar. We placed the bar over the hole located in the rear of the anvil so when the steel rod penetrated the bar, the rod could create a larger hole. Every three hits, the tapered rod would be removed, cooled in water, and covered in graphite as a lubricant. If these three steps were not performed, the tapered steel rod would merge with the bar that we were trying to forge.
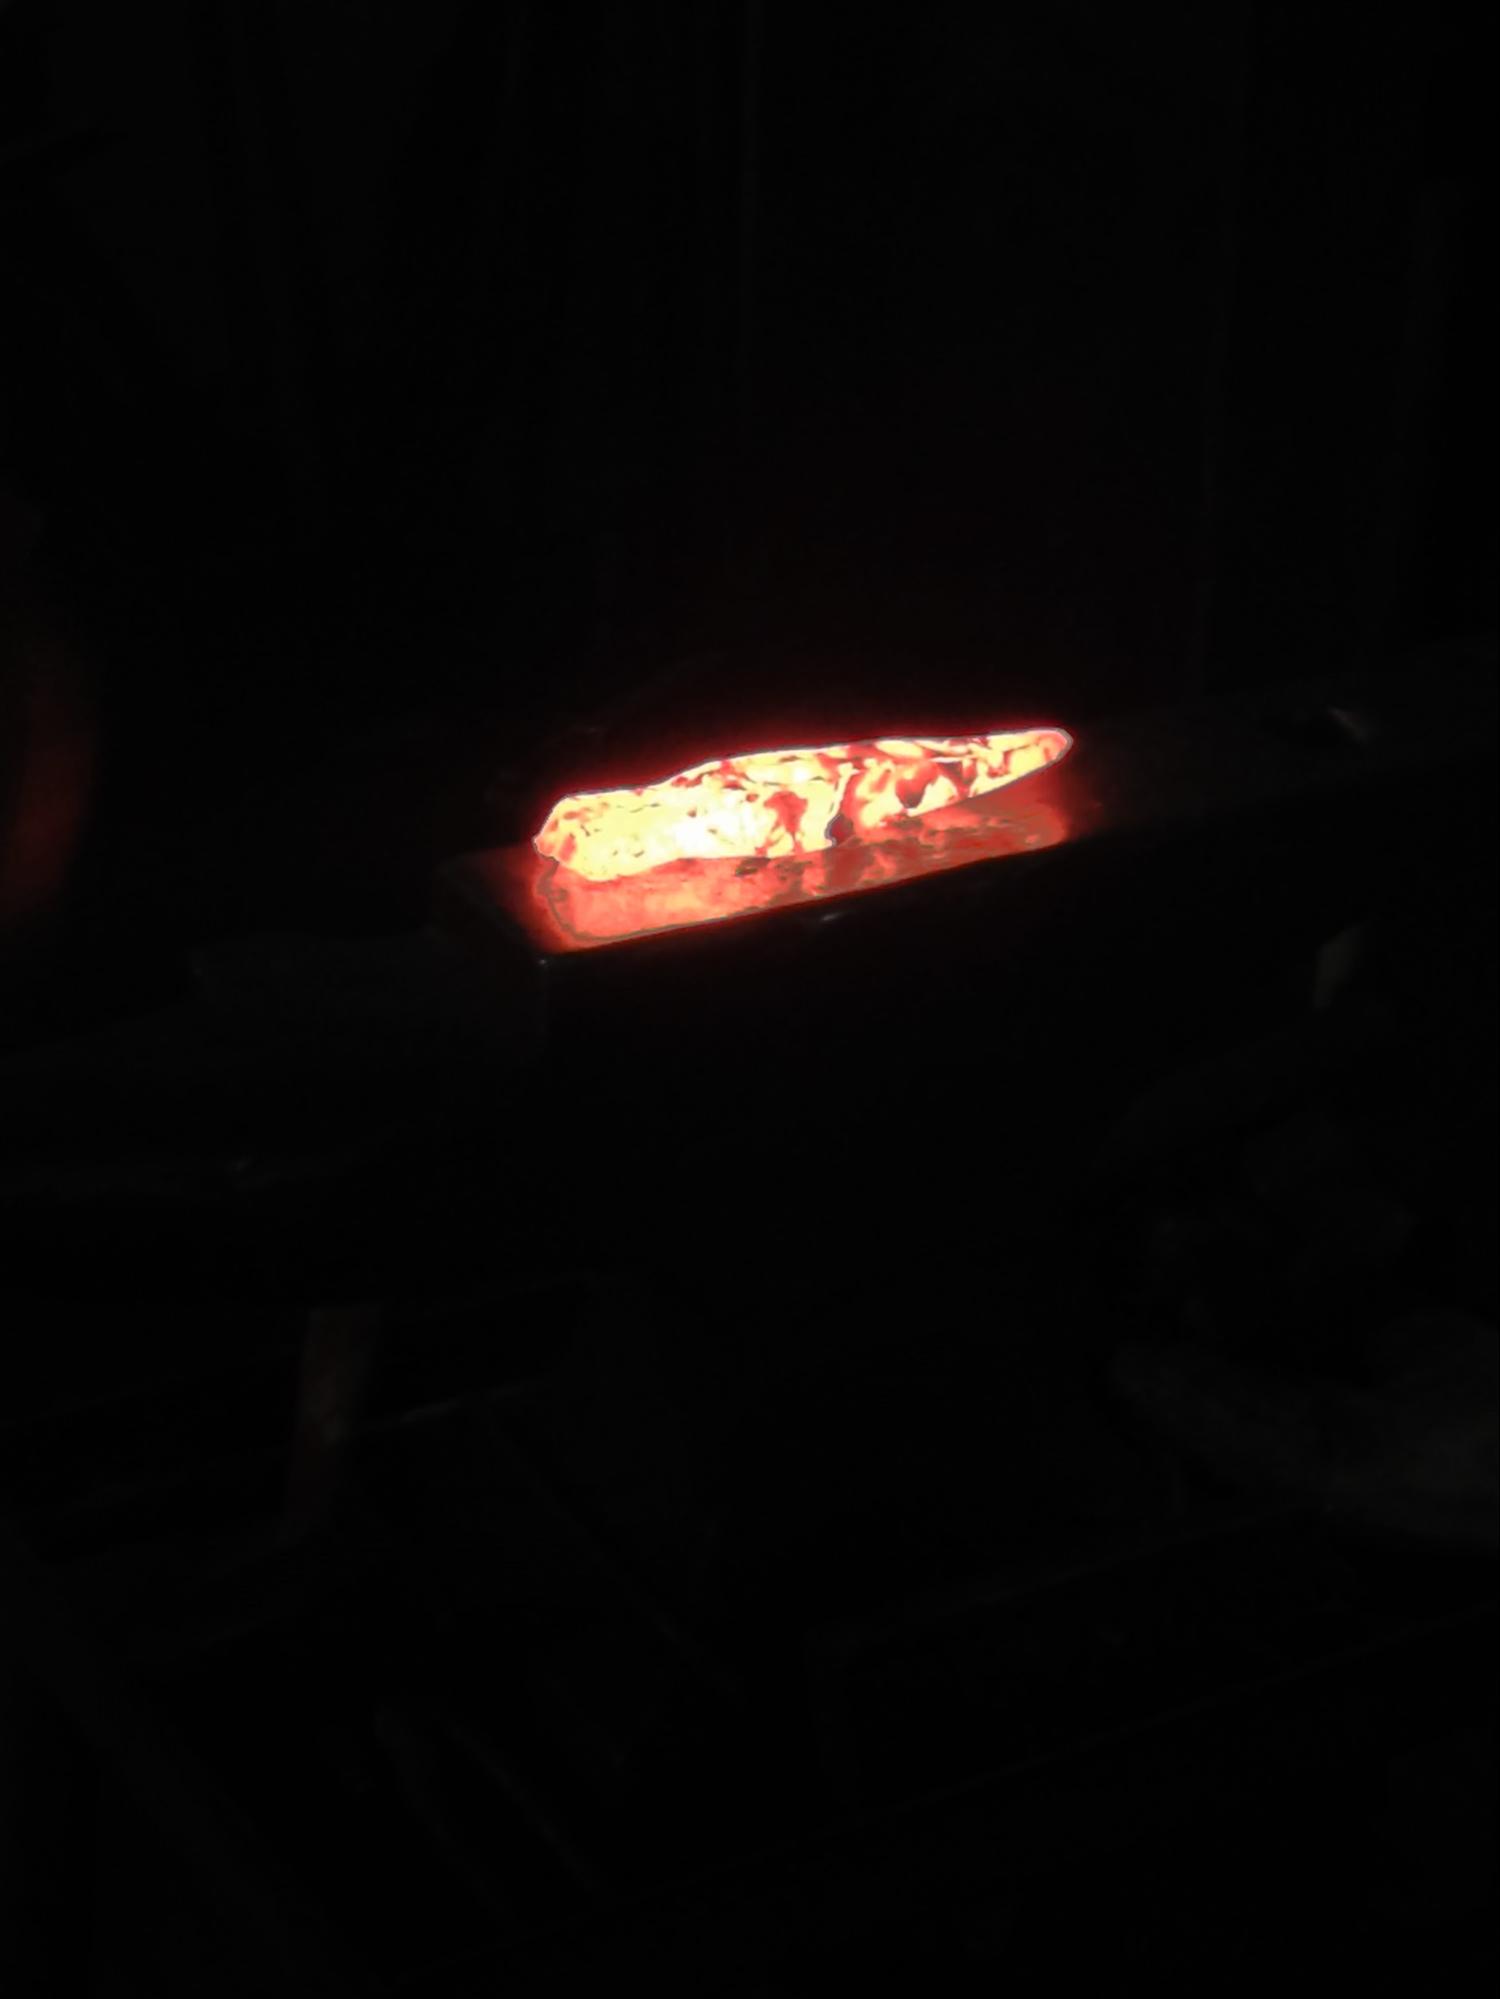
Figure 3: The hammerhead after being separated from the rest of the stock material.
We separated the hammerhead shape from the rest of the bar by hammering the glowing metal onto a wedge, which slowly cut through the material until we were able to pry the hammerhead off with tongs.
Figure 4: Smoothing and polishing the shaped head.
By using a motorized sandpaper wheel, we smoothed and polished any rough edges present on the hammerhead. Because of the heat created by the friction, the hammerhead was cooled every minute in the bucket of water located under the sandpaper in the figure.
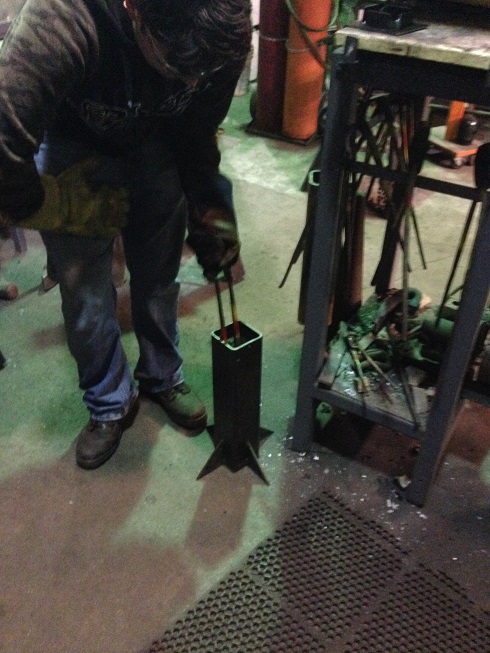
Figure 5: Quenching the hammerhead in oil after heating it past the Curie point.
We repeated the previous processes above for our final hammerhead. This was done because our first hammerhead was a prototype where we would familiarize ourselves with the forging methods used. After repeated these steps, we heat treated our final hammerhead by quenching it in oil. This would reduce the risk of it cracking compared to water because the hammerhead would not cool as quickly.
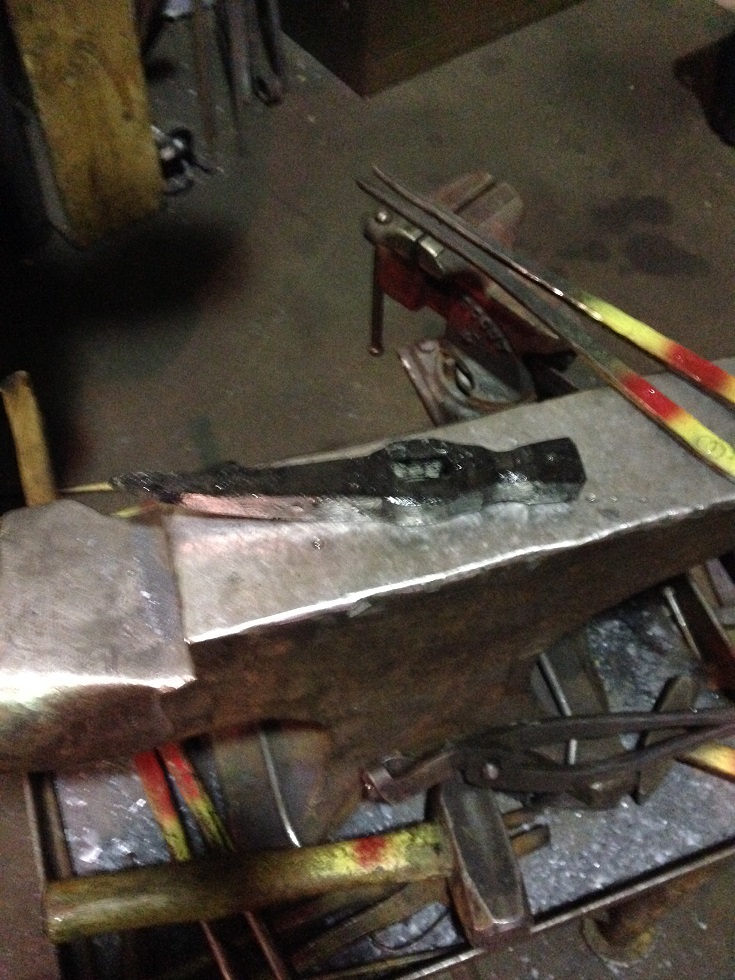
Figure 6: The treated and quenched hammer head, before polishing.
This is what our hammerhead looked like before our second round of polishing. During the first round of polishing, we removed any large metal fragments sticking out of the surface.
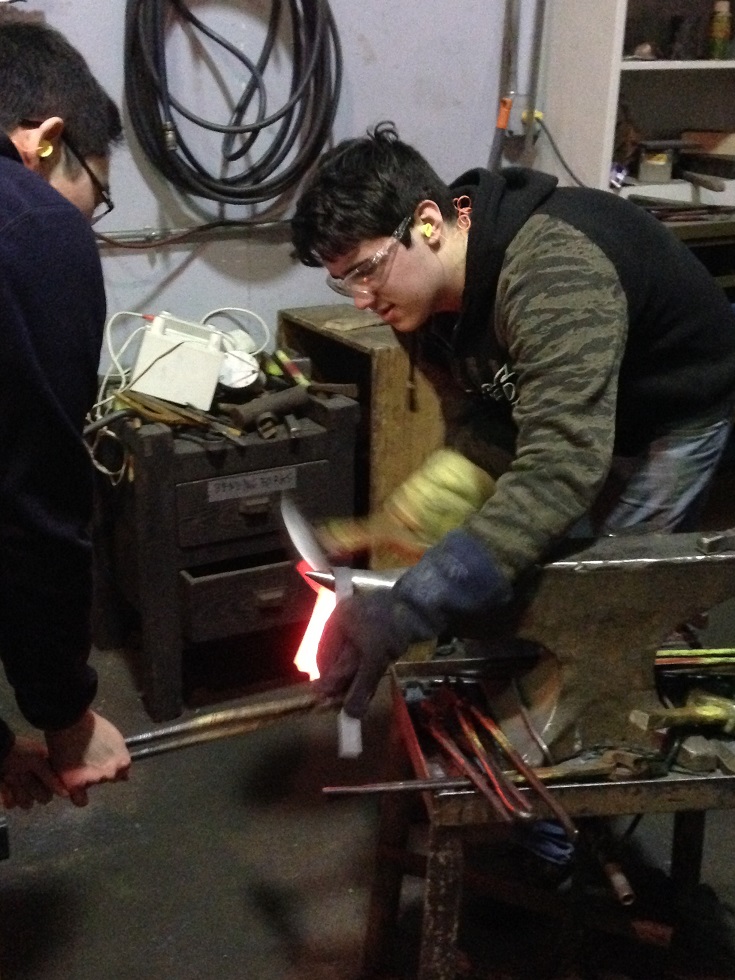
Figure 7: Bending the langlet steel into a suitable shape to fit on the hammer.
The langlets would serve to secure our hammerhead to the wooden handle created. The langlets were a thinner metal, so bending it into a suitable shape to fit the hammerhead did not require as much working as creating the spike for the hammer, but instead required more precision.
After the langlets were bent into shape, several holes were drilled into each of the sides. The langlets were hammered to the shaft with the rivets, and a polyurethane coating was applied to the handle, resulting in the final warhammer shown below.
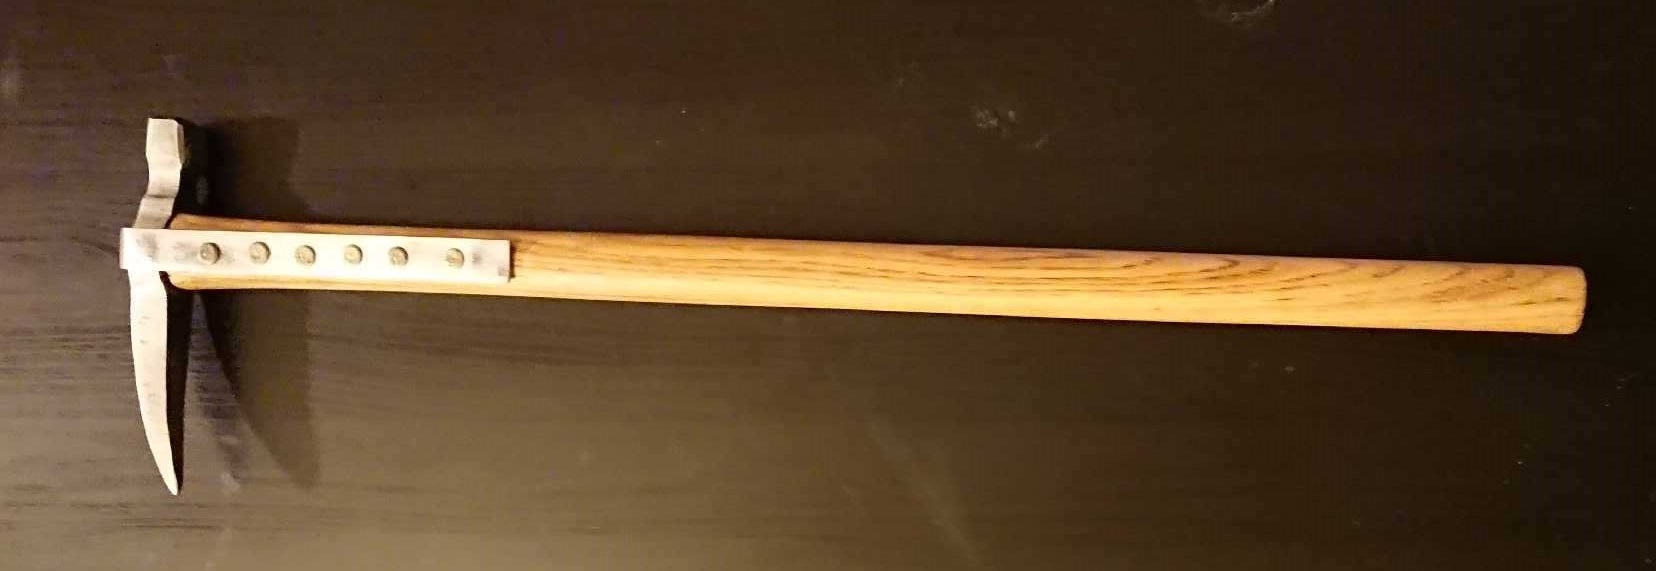
Figure 9: Finished war hammer after attaching the langlets and applying the polyurethane coating.