Making of a Crossbow
Overview
This page details the forging of a replica Dao.
The Forging Process
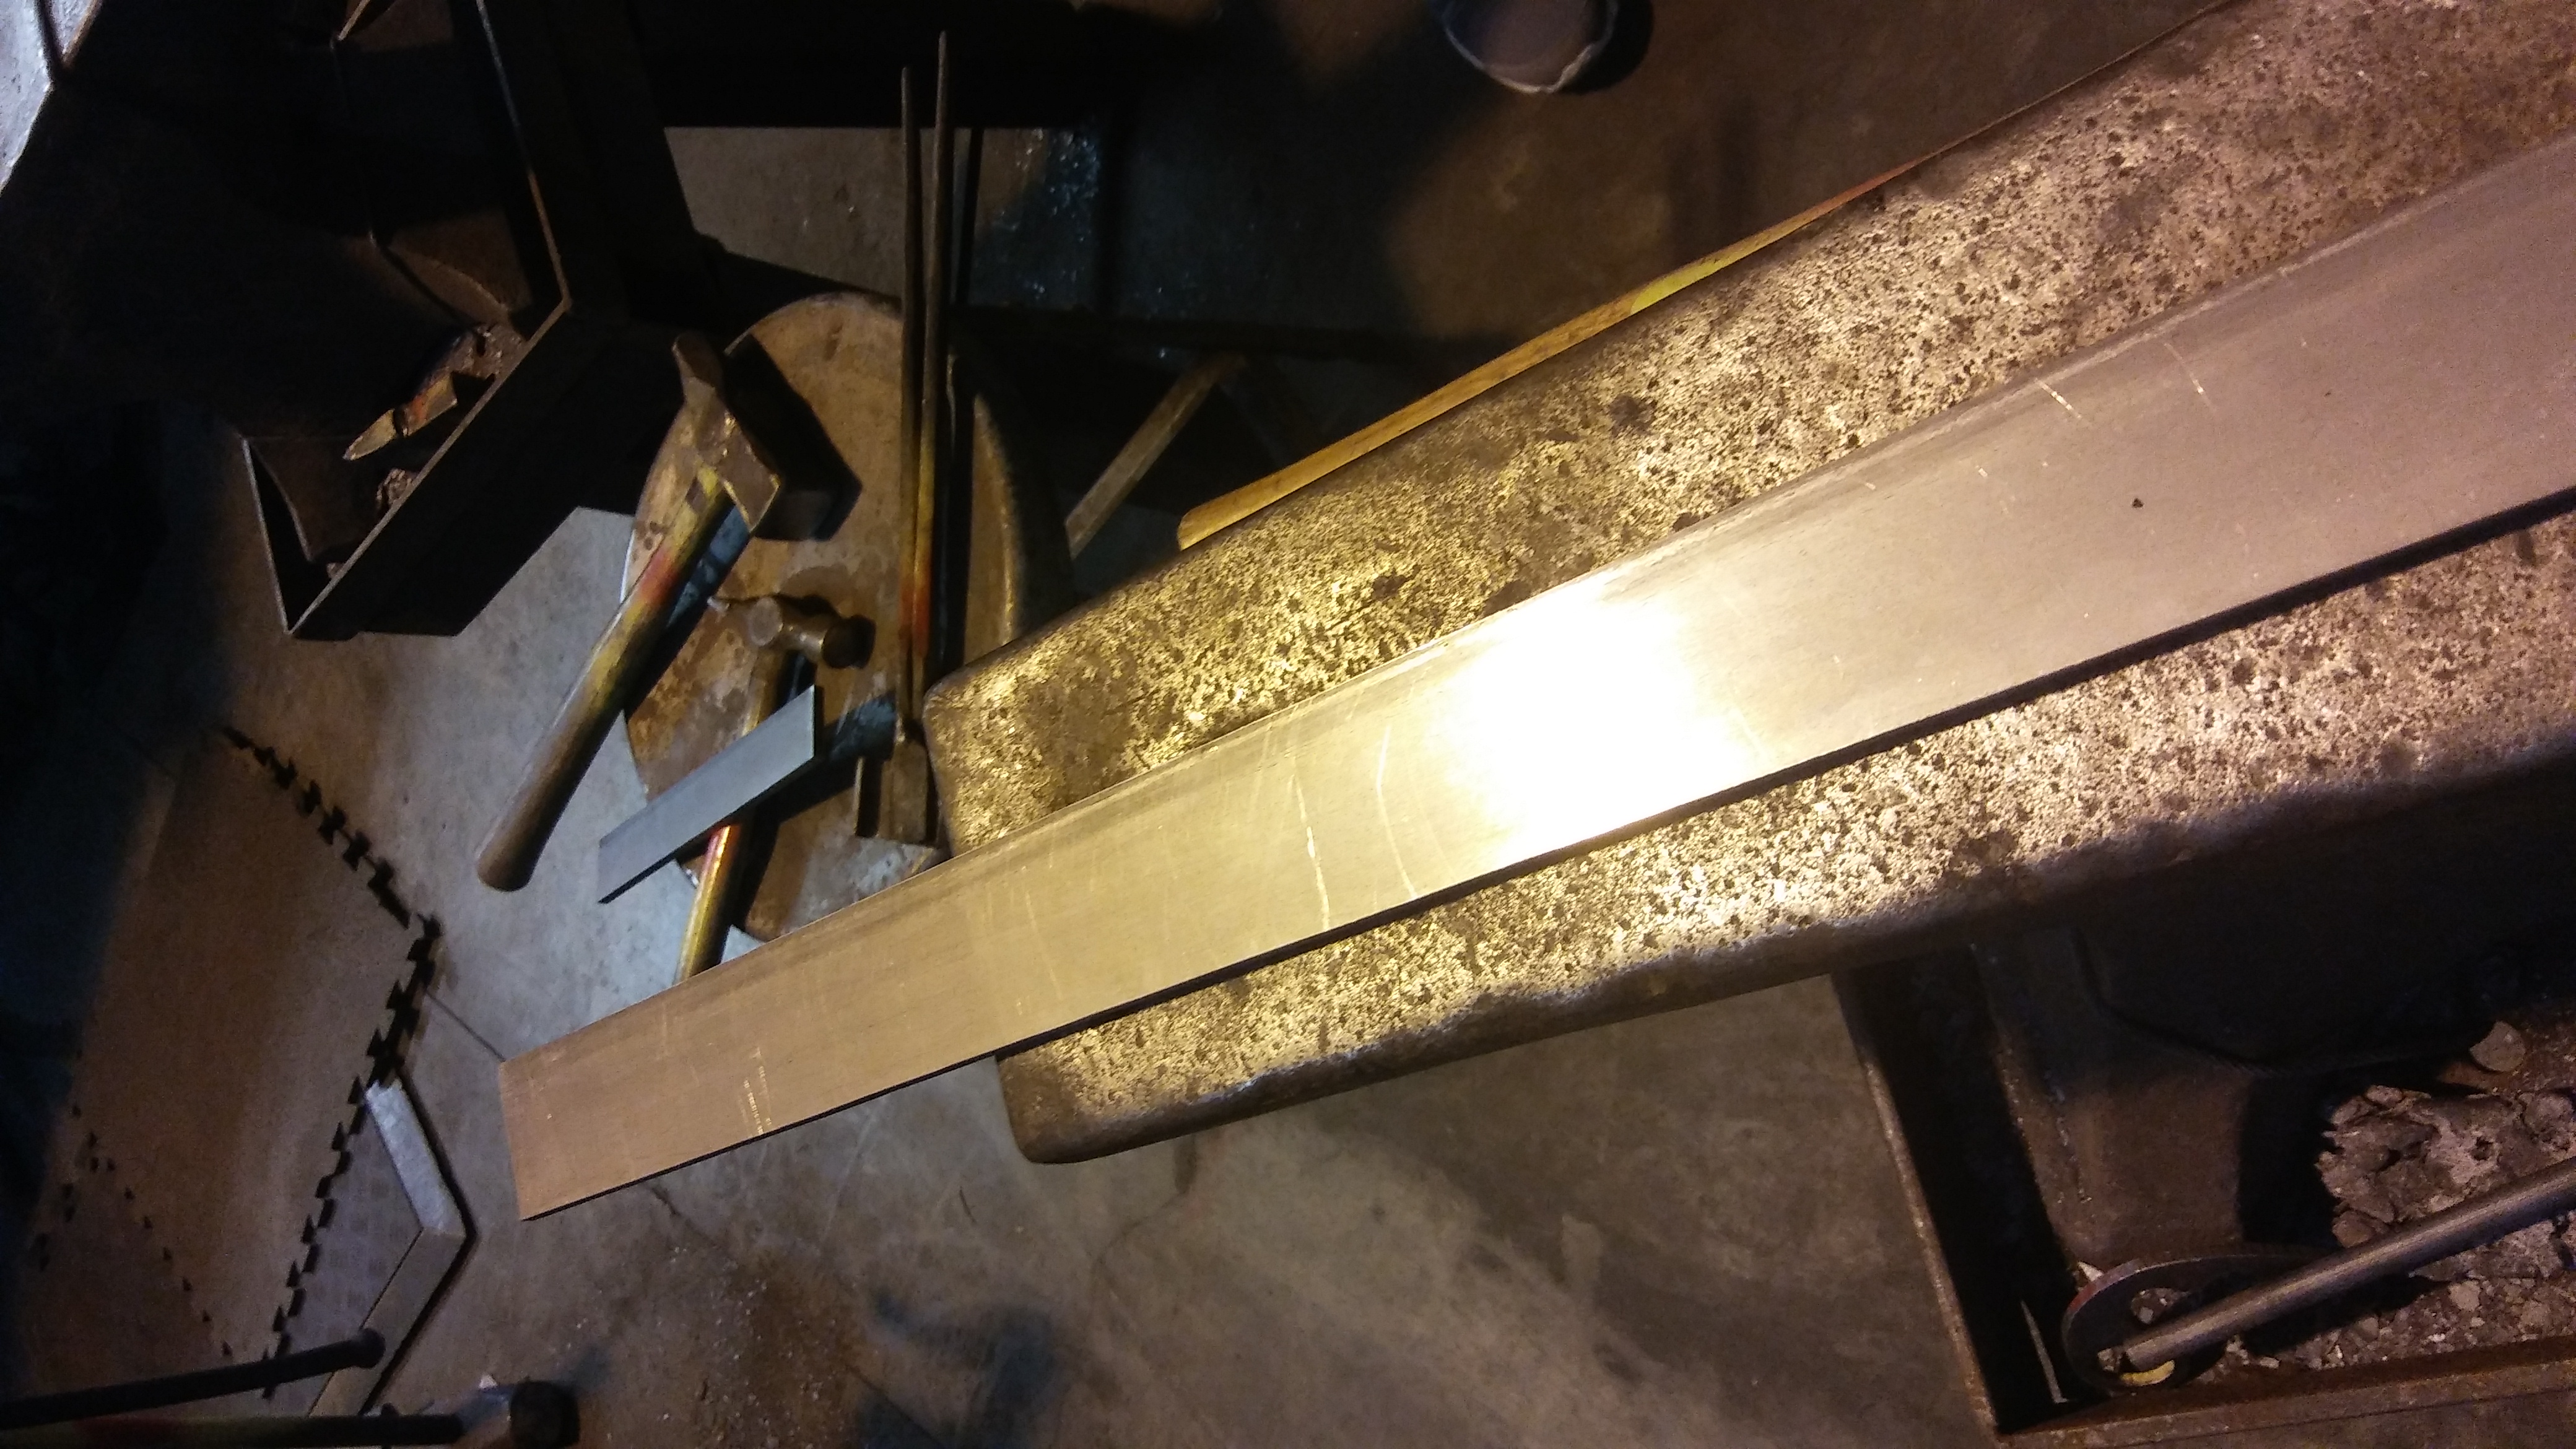 |
From the stock we cut roughly a 36’ piece and began by using an angle grinder to cut off the end of the sword at an angle to shape the tip.
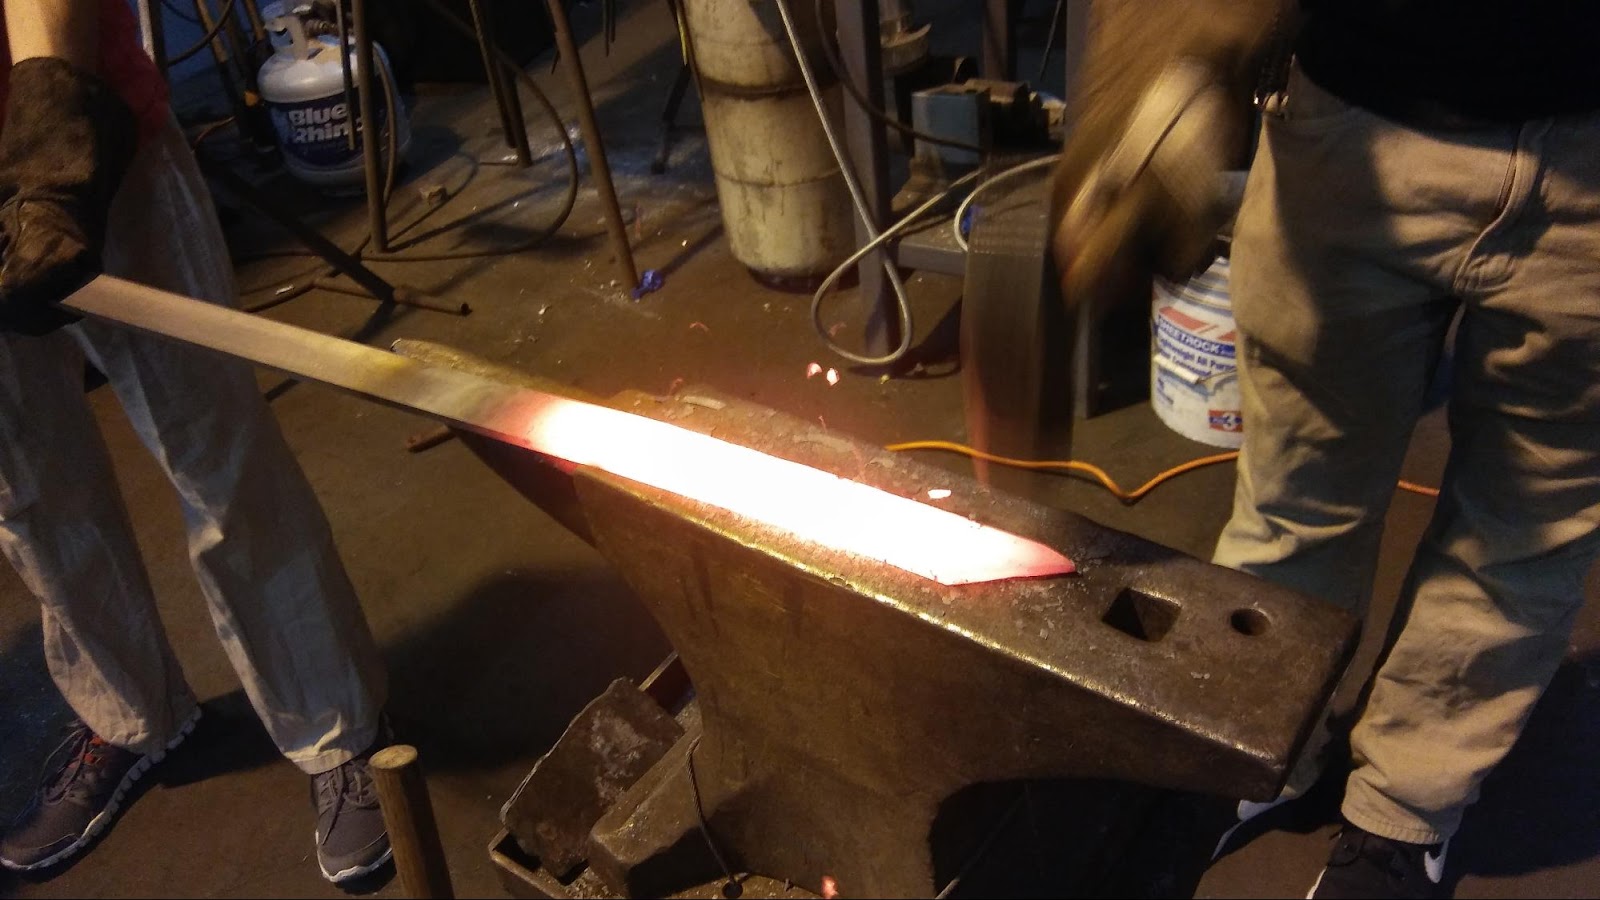 |
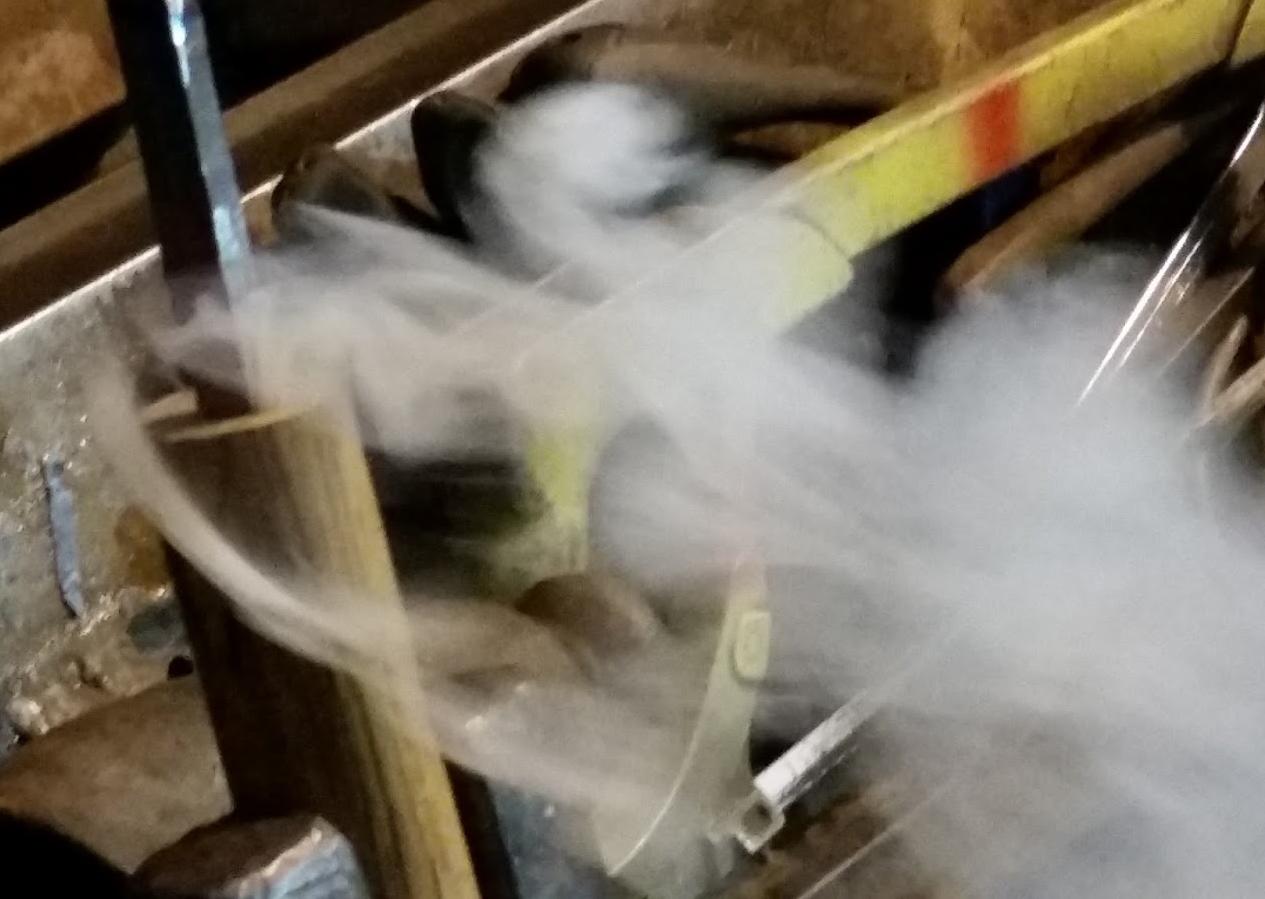
The next step in creating the Dao was to forge it into shape. It was heated up in a propane forge until it was a light orange (about 1700 F to 1800 F). Once heated, the dao was hammered into shape for about 30 seconds, then heated again. This process was repeated for several hours a week over a period of several months, until the edge and shape of the blade had the desired properties.
The Blood Groove
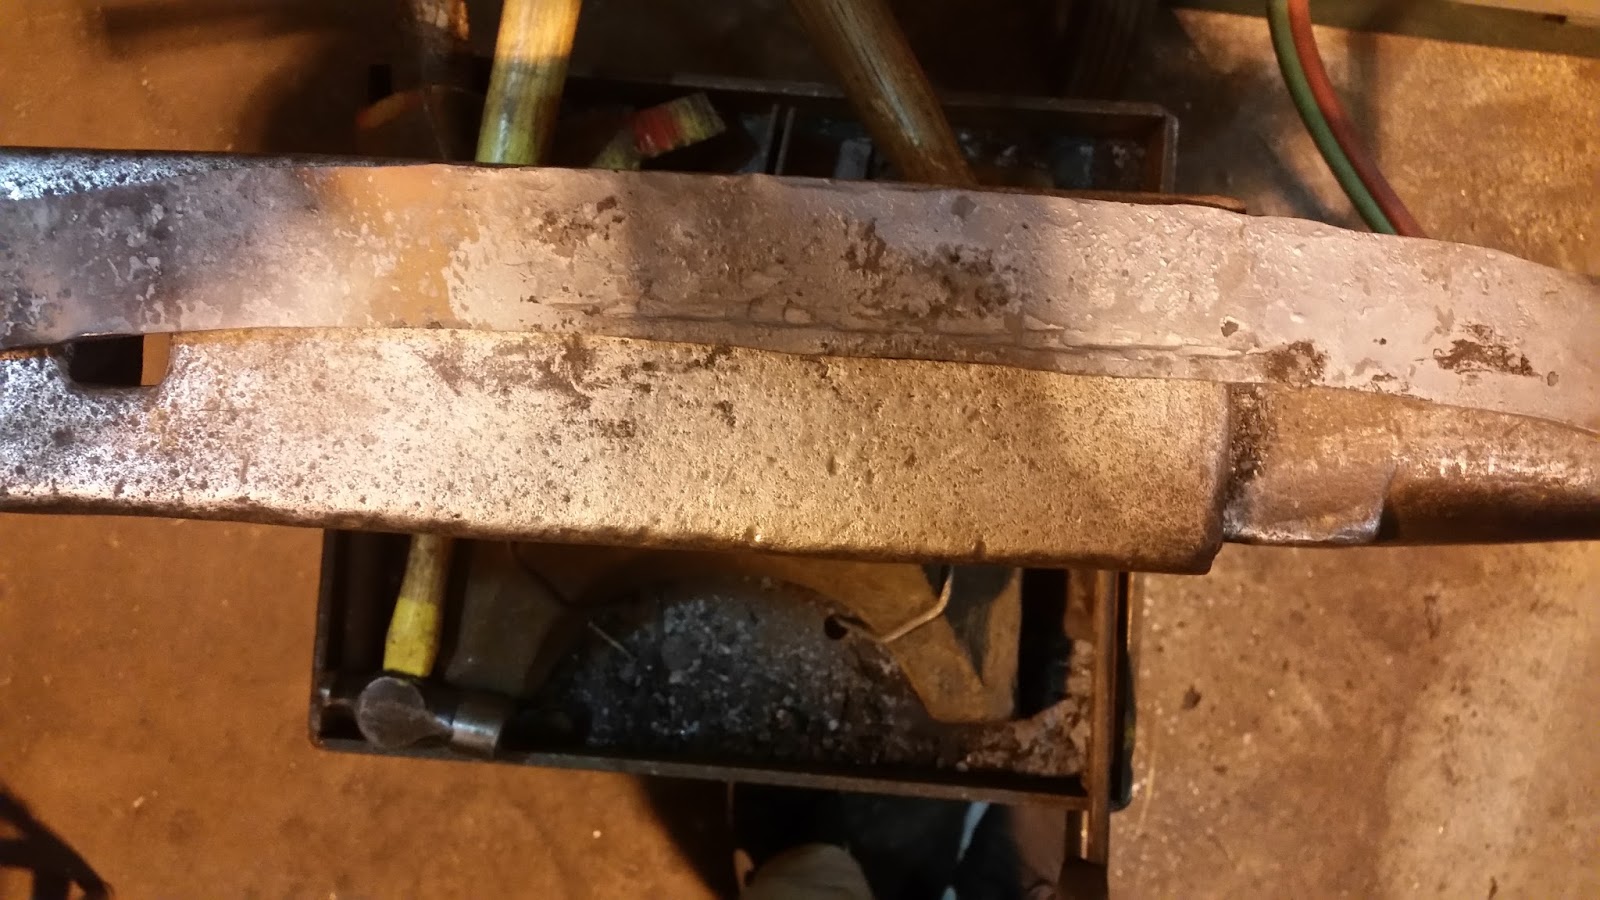 |
After the shaping of the blade was finished, the blood groove was added to the Dao. For the blood groove, we used a tool that had a long rounded section on one end of the tool. We used a large hammer on the back end of this tool to create the blood groove.
Grinding the Dao
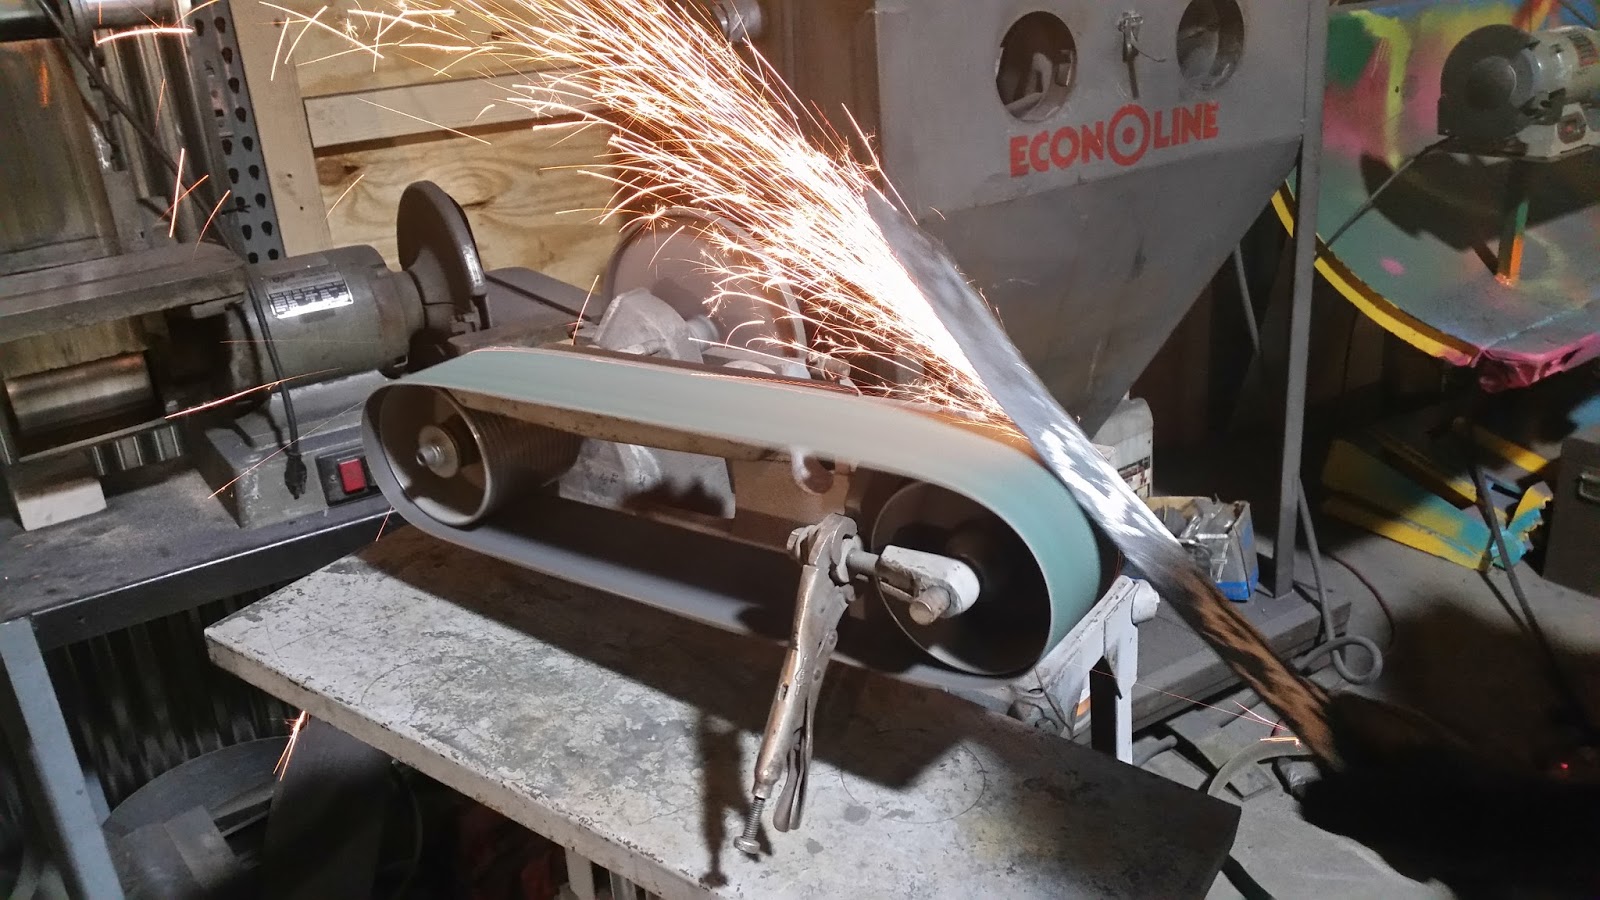 |
After the blood groove was added, we began grinding the Dao, making the sword polished and getting rid of the pockmarks that had accumulated during forging. We realized that the grinding also would erase part of the blood groove, so we had to grind the blood groove back to the right depth and width every coulple of iterations of grinding.
 |
While we were grinding the sword, we also cut about six inches off the end of the Dao, as we realized it was too long. We then ground the end of the sword to a taper for the tang that would go into the handle. After that, we used a small portion of that to form the hand guard. This was made by cutting off the edges using a band saw. The hand guard was then ground into an oval. The center was then cut out using a milling machine, and filed to the right size using a file.
Finishing Touches
 |
After we created the hand guard, we created the handle. We drilled a hold equal to the length of the tang minus the thickness of the hand guard into the wooden stock that we were using. We then heated up the tang using a blowtorch, and burned the hole that the tang would go into with the heated tang into the handle.
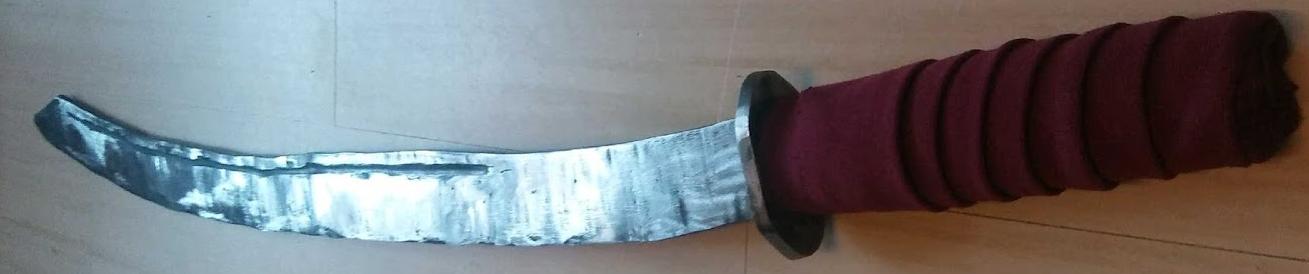 |
After the handle was created, we finished up grinding, then drilled two holes into the handle and tang for the pins to hold the handle in place. We then heated the Dao up to 1500 degrees Fahrenheit and quenched it in oil. After that, we tempered the steel by heating it up with a blowtorch. Finally, we attached the handle to the tang by fixing the pins in place with epoxy, then added the cloth to the handle with a screw and some more glue.