Making of a Furnace
Overview
This page details the creation of the furnace and the smelting process.
Phase 1: Constructing the Furnace
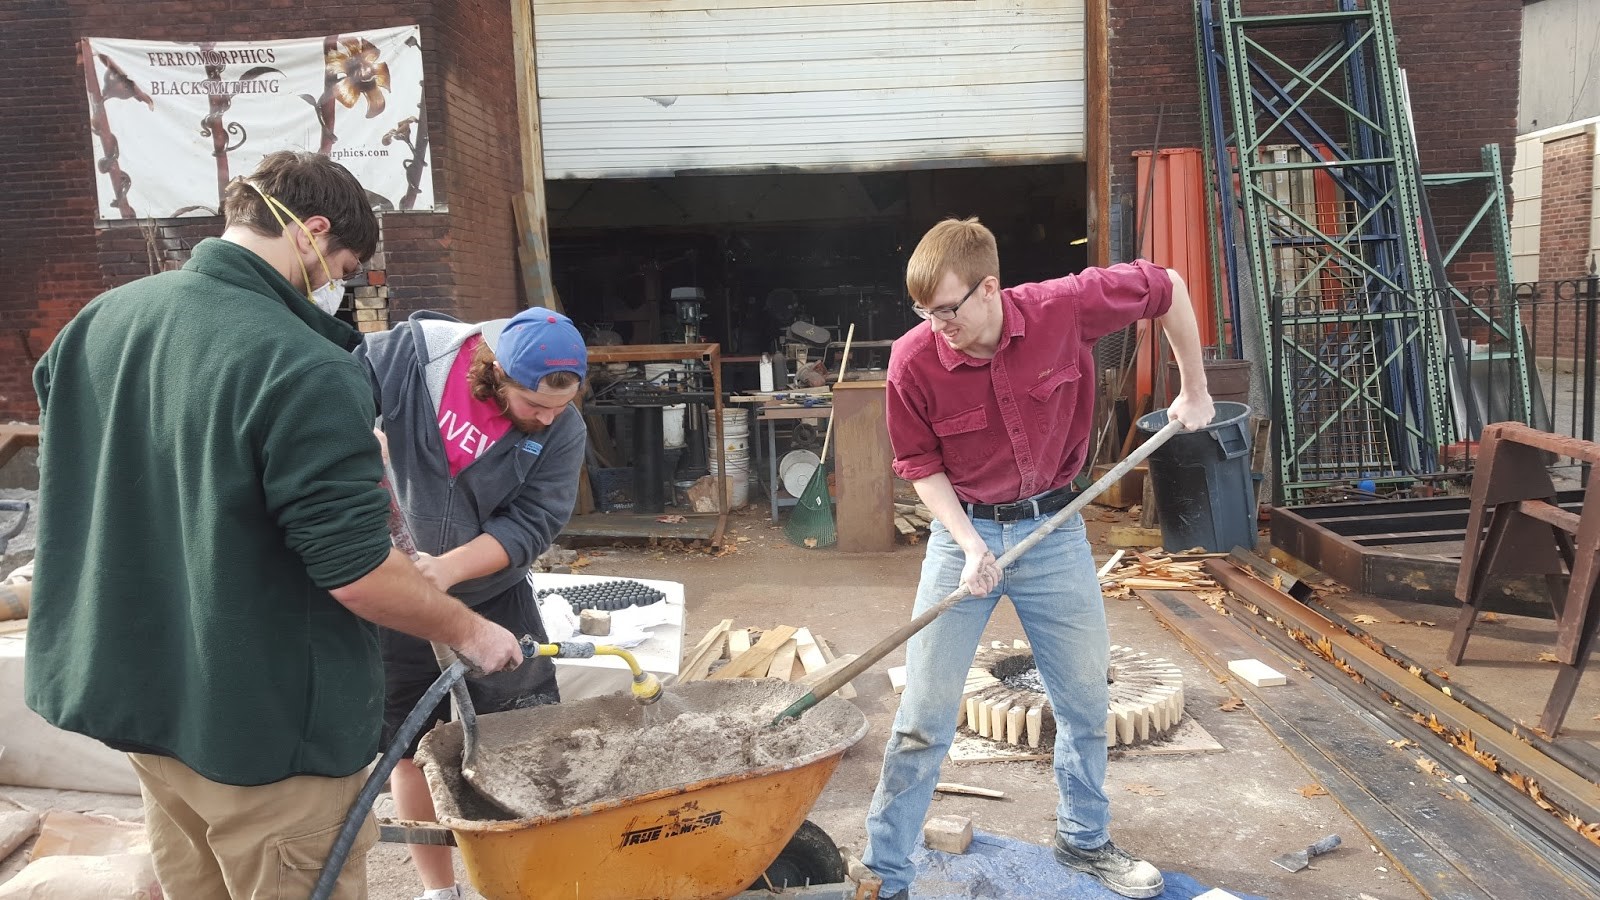 |
The first step in construction of our furnace was mixing our materials. With the clay and sand we were essentially creating a fire resistant cement which like all cement must be mixed and dried. We mixed our materials in the following amounts, 50 pounds of sand, 5 pounds of cream hill clay, the sticky bonding variety, 25 pounds of EPK Kaolin, and 1 pound of peat moss. After adding water and mixing our material came out to a heavy grey smooth mixture. In total we used 100 pounds of EPK kaolin, 300 pounds of all-purpose masonry sand, 50lb of peat moss, 50 pounds of foundry hill cream, and 48 firebricks. At the same time as we were mixing the clay we constructed the plinth out of firebricks.
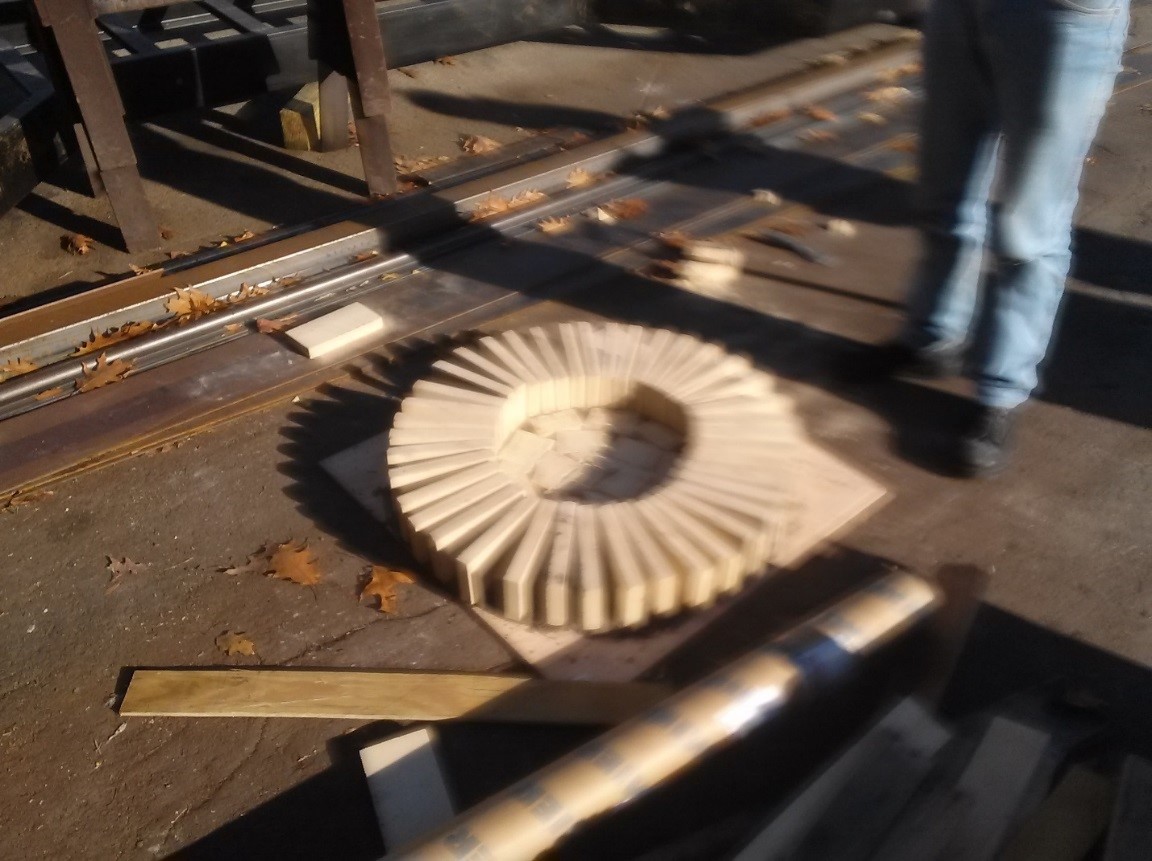
Figure 2. Base Firebricks for Furnace.
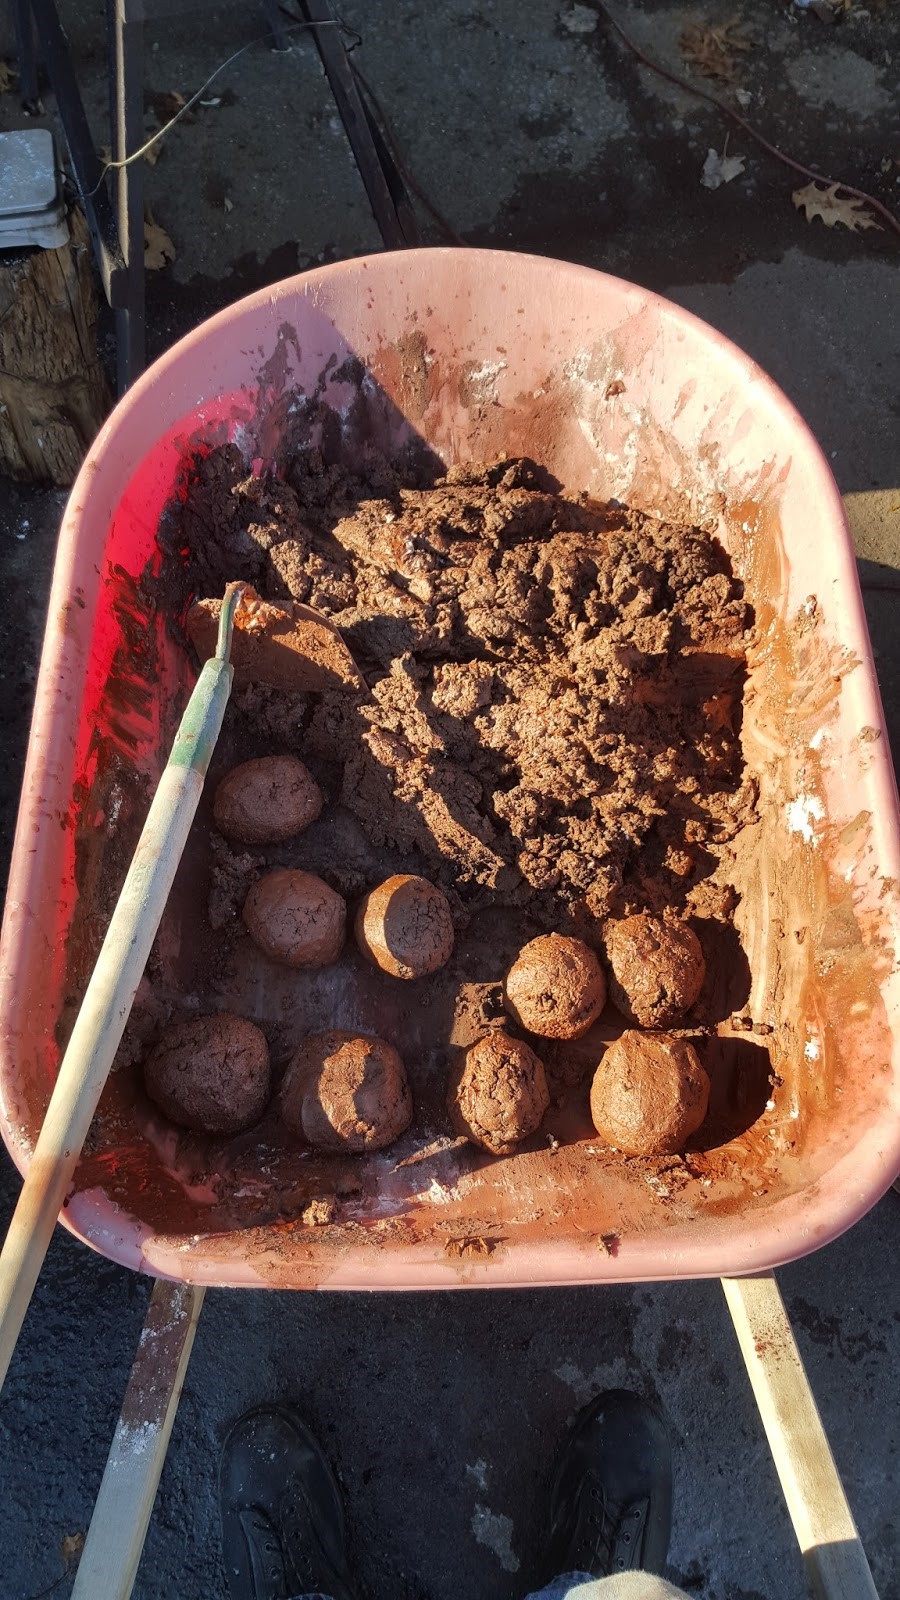
This provides a base for the structure to be built on and by leaving several bricks un-mortared it provides a way of opening a larger hole to pull out the slag and bloom. The next step was prepping the mixed clay for use. To do this we scooped up and compacted bricks out of the material and laid them on a tarp to dry.
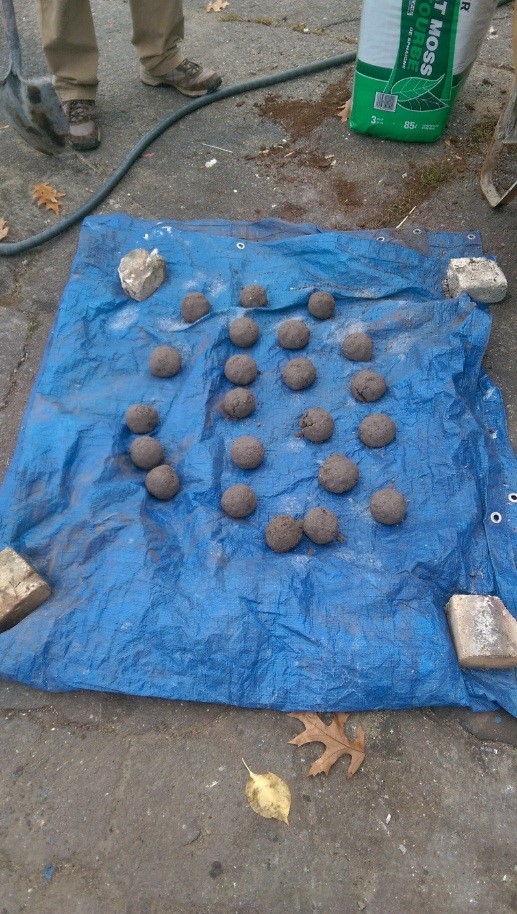 |
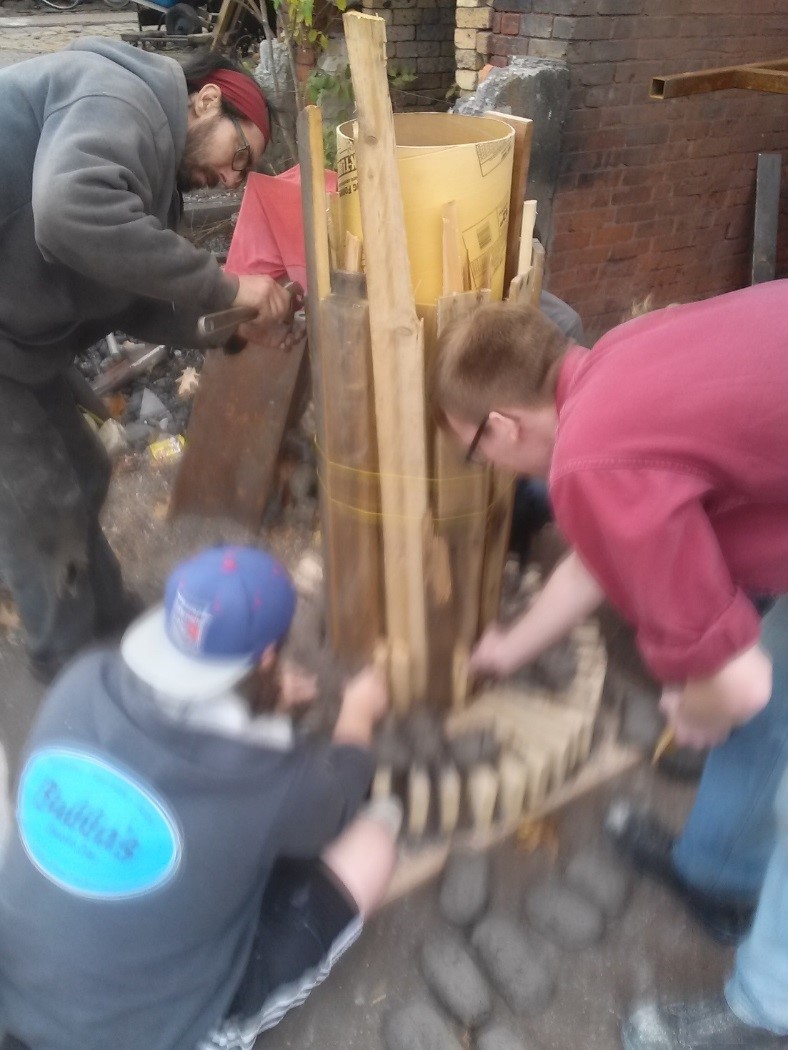
The clay balls needed to dry since the water content was too high, meaning they were very soft. Had we tried to stack them to form the bloomer, they would have collapsed under their own weight. The separating into bricks helps to speed the drying process by increasing the surface to volume ratio. While the balls dried we constructed the frame that we would build the bloomery around. For this we used a concrete setting tube to provide a circular center, around which we placed loose wooden staves.
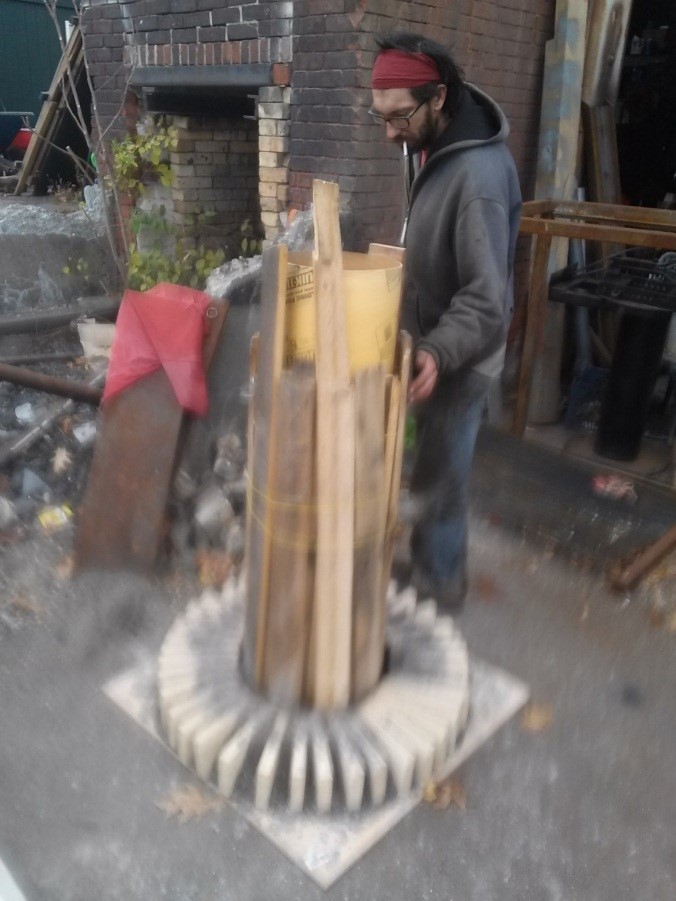 |
The wooden staves� purpose is threefold. First, they expand the inner diameter to 18 inches, which is the design we were making. Second, they provide a fuel that will be right against the walls for when we fire harden the structure. Third, because they are loose they can be removed during the fire hardening of the outside of the bloomery. This is important because the hardening process causes the clay to contract and if it isn�t allowed to do so it will crack, so taking out staves as the fire burns negates this. With the air dried clay we could now begin molding the clay around the frame. The walls needed to be fairly thick, both for strength and to withstand the heat. We built it to be 2.5 inches thick. Though the base was intentionally built thicker more to handle more load.
 |
As we built up about every 3 or 4 inches we would wrap a loop of twine around the clay to help resist the clays urge to bulge out as weight is added on top.
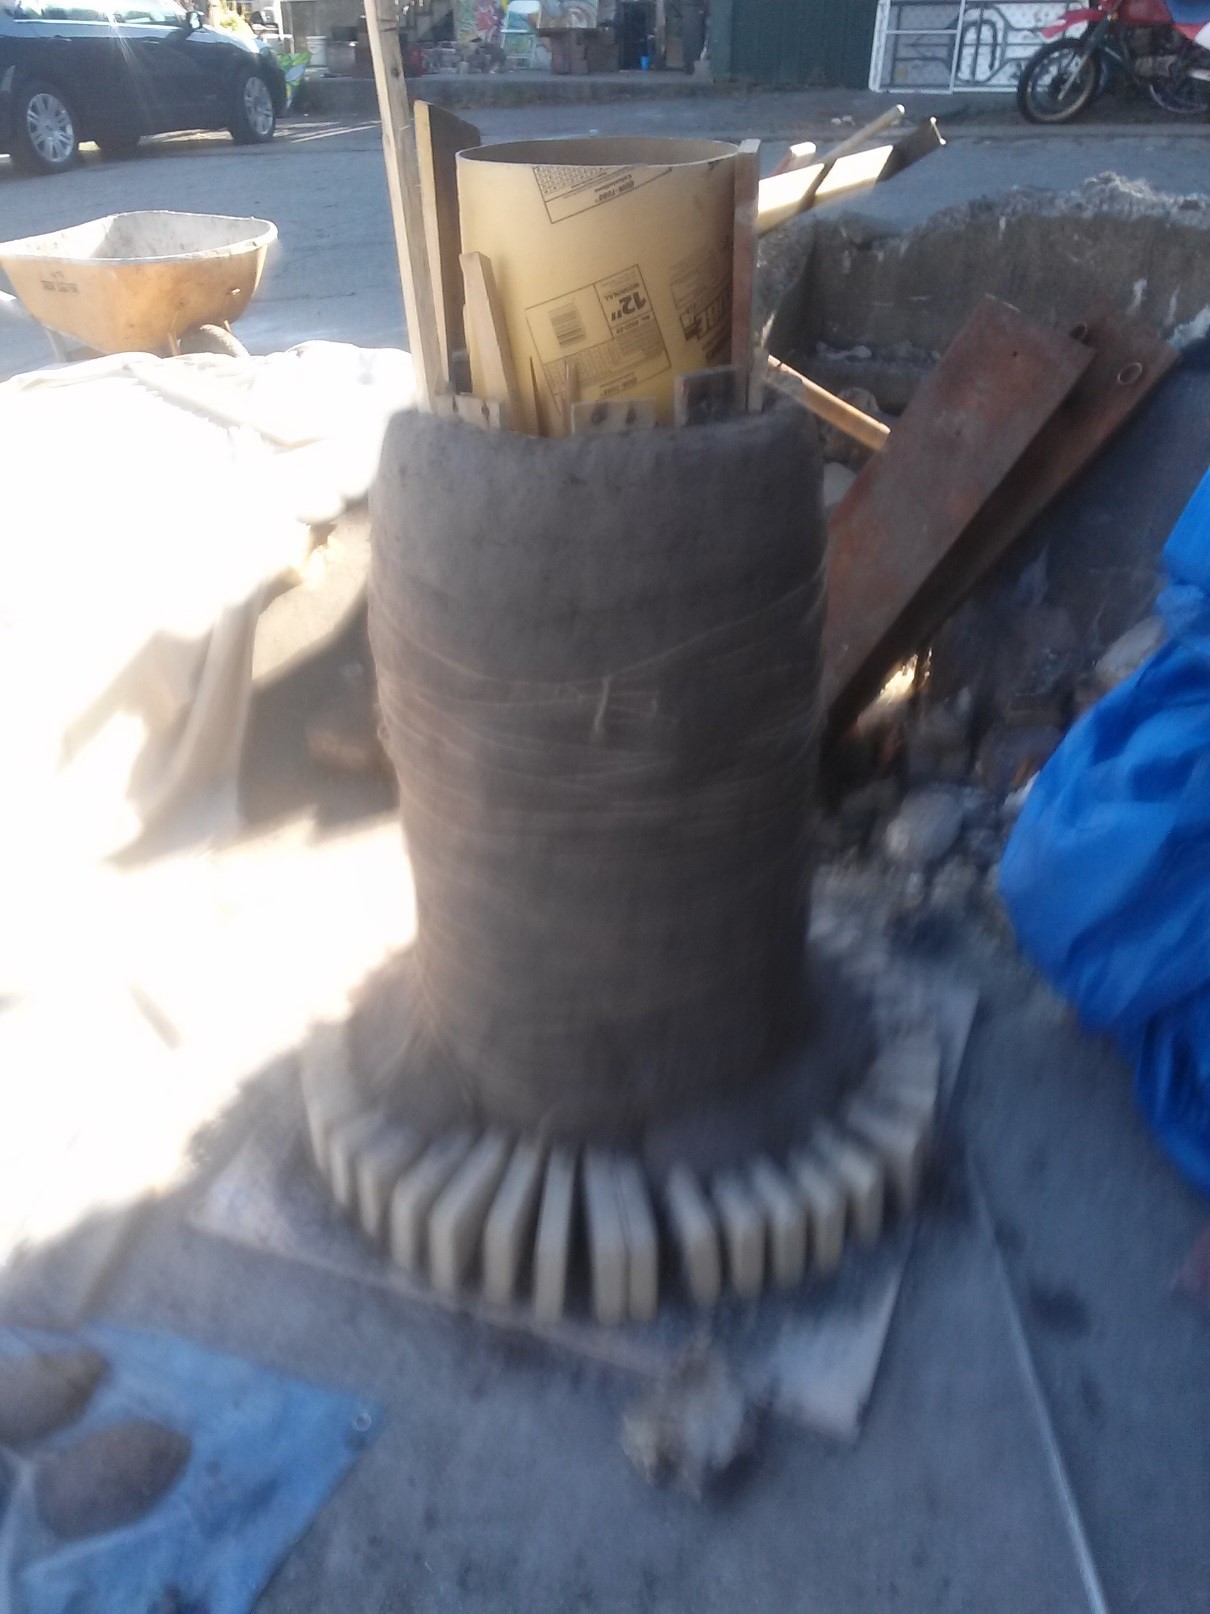 |
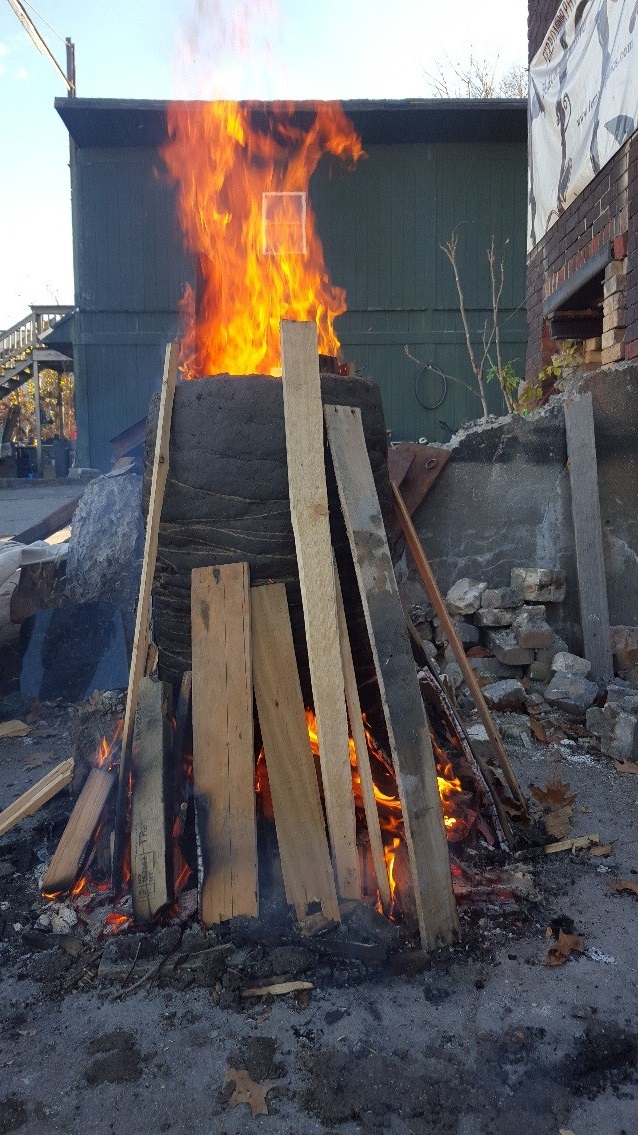
We then continued to build up the walls of the bloomery until they were three feet tall. The height of the furnace is a very important part of the process as it allows the ore to fall a distance through a thick layer of extremely hot charcoal, exposing it to a great deal of carbon monoxide. At high temperatures the oxygen bound to the iron in our ore will now bond to the carbon monoxide, freeing the iron particles and allowing them to freely filter down into the slag bath at the base where they can collate into the bloom. With our furnace built to the proper height it was time to harden it. To do this we built up a fire around the outside. We do this before lighting the fire on the interior of the bloomery so that as the outer clay contracts with fire hardening the inner clay is still soft and able to shift.
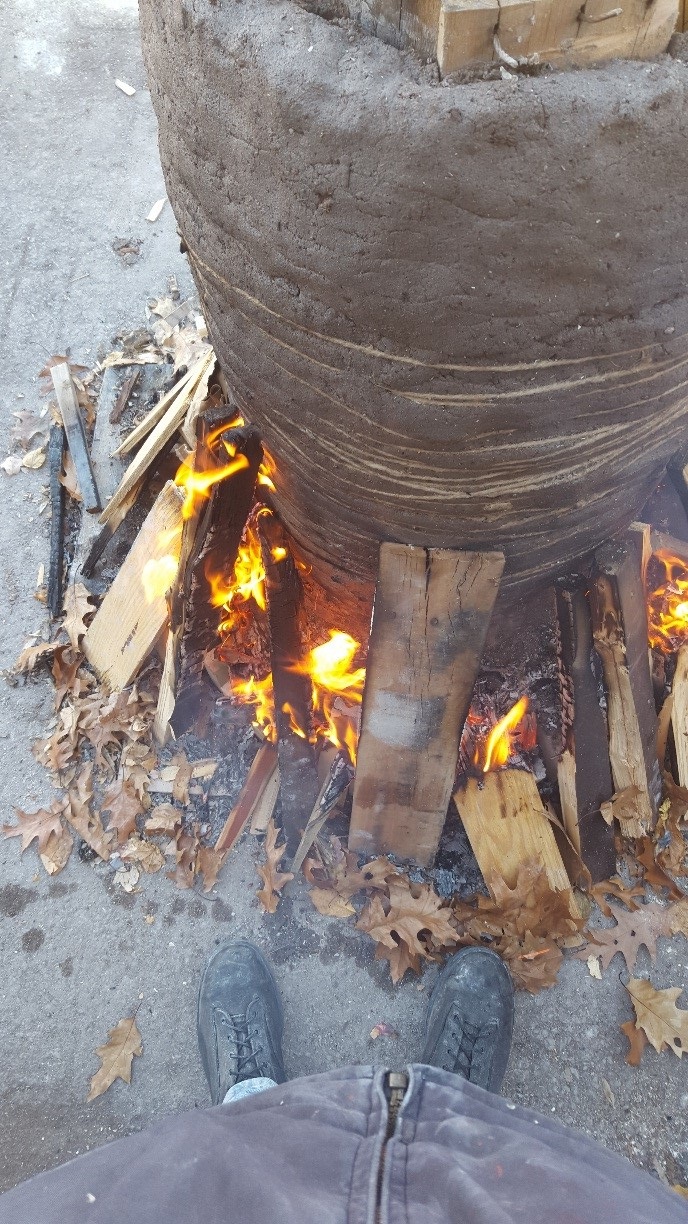 |
We made sure to remove some of the inner wooden supports for the same reason. Once the exterior had hardened to a tough leather like consistency the furnace was strong enough that we could cut out an arch about 10 inches wide and 12 inches tall at the base. This is our tap arch. The tap arch remains covered during most of the smelting process however as slag builds up from multiple charges of ore it may threaten to block the airflow. So from time to time the slag needs to be �tapped� and with the arch there with a few strokes of an iron rod you can make a channel for the molten slap go flow out of. The Tap arch also provides a way of removing the bloom without destroying the furnace.
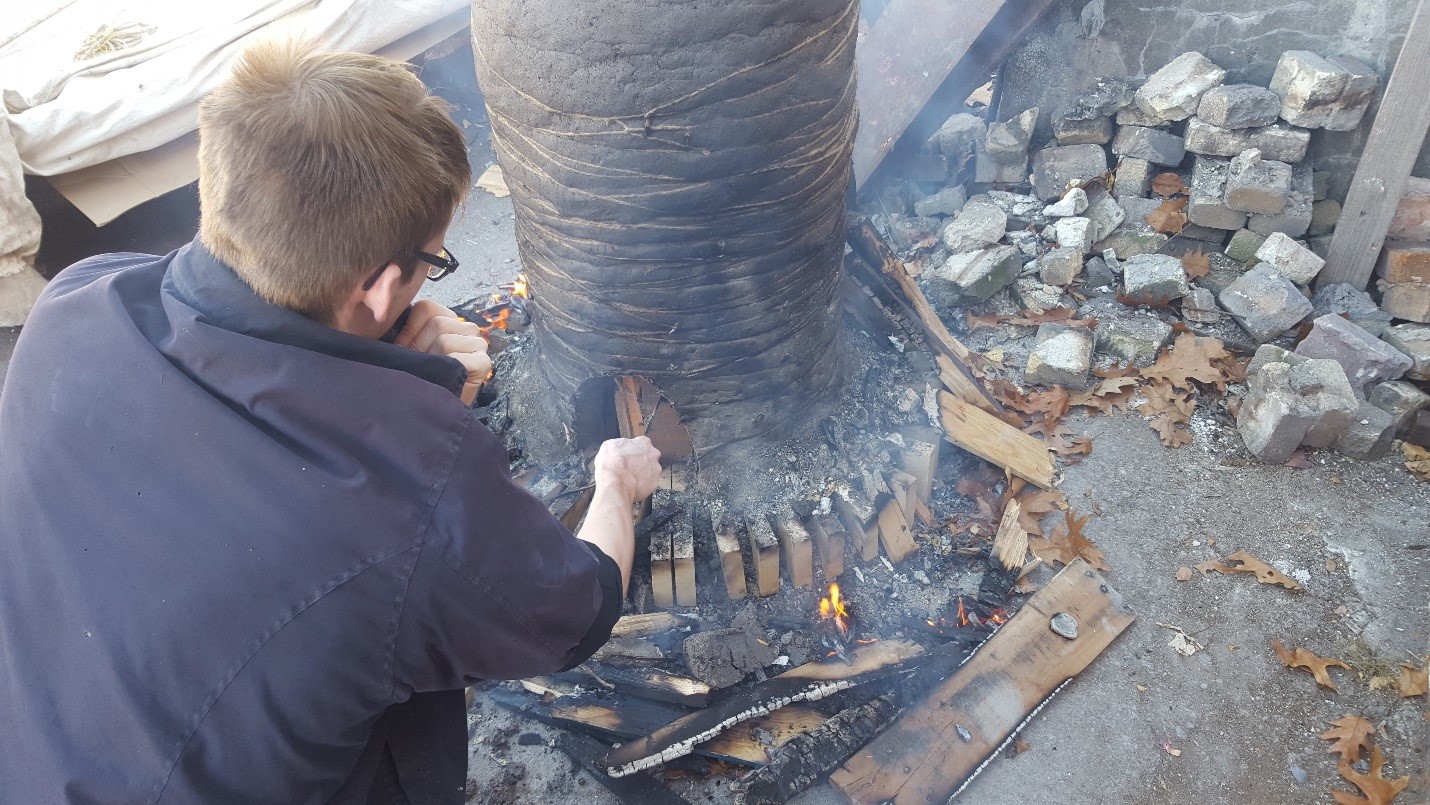 |
Immediately after carving out the tap arch, the tuyere hole is cut. This is the hole through which we will place our airflow pipe. It is raised up a distance from the base and angled downwards, so as not to immediately be drowned by slag. Lastly, we light the fire on the inside of the furnace to harden the clay completely. Once this is done the bloomery is finished and ready to begin smelting iron ore.
Phase 2: Smelting the Ore
The next step was the preparation and smelting of the ore. Since we made our own analogue instead of naturally occurring ore, we first had to mix together the ingredients in our ore. We mixed 80% FeO3, 10% silica, and 10% flour by weight and added water to make a paste. This we formed into balls that we baked until hard. This would approximate a high quality bog iron and leave no doubt as to the availability of FeO3 in our ore. We mixed up a batch of 50 pounds.
 |
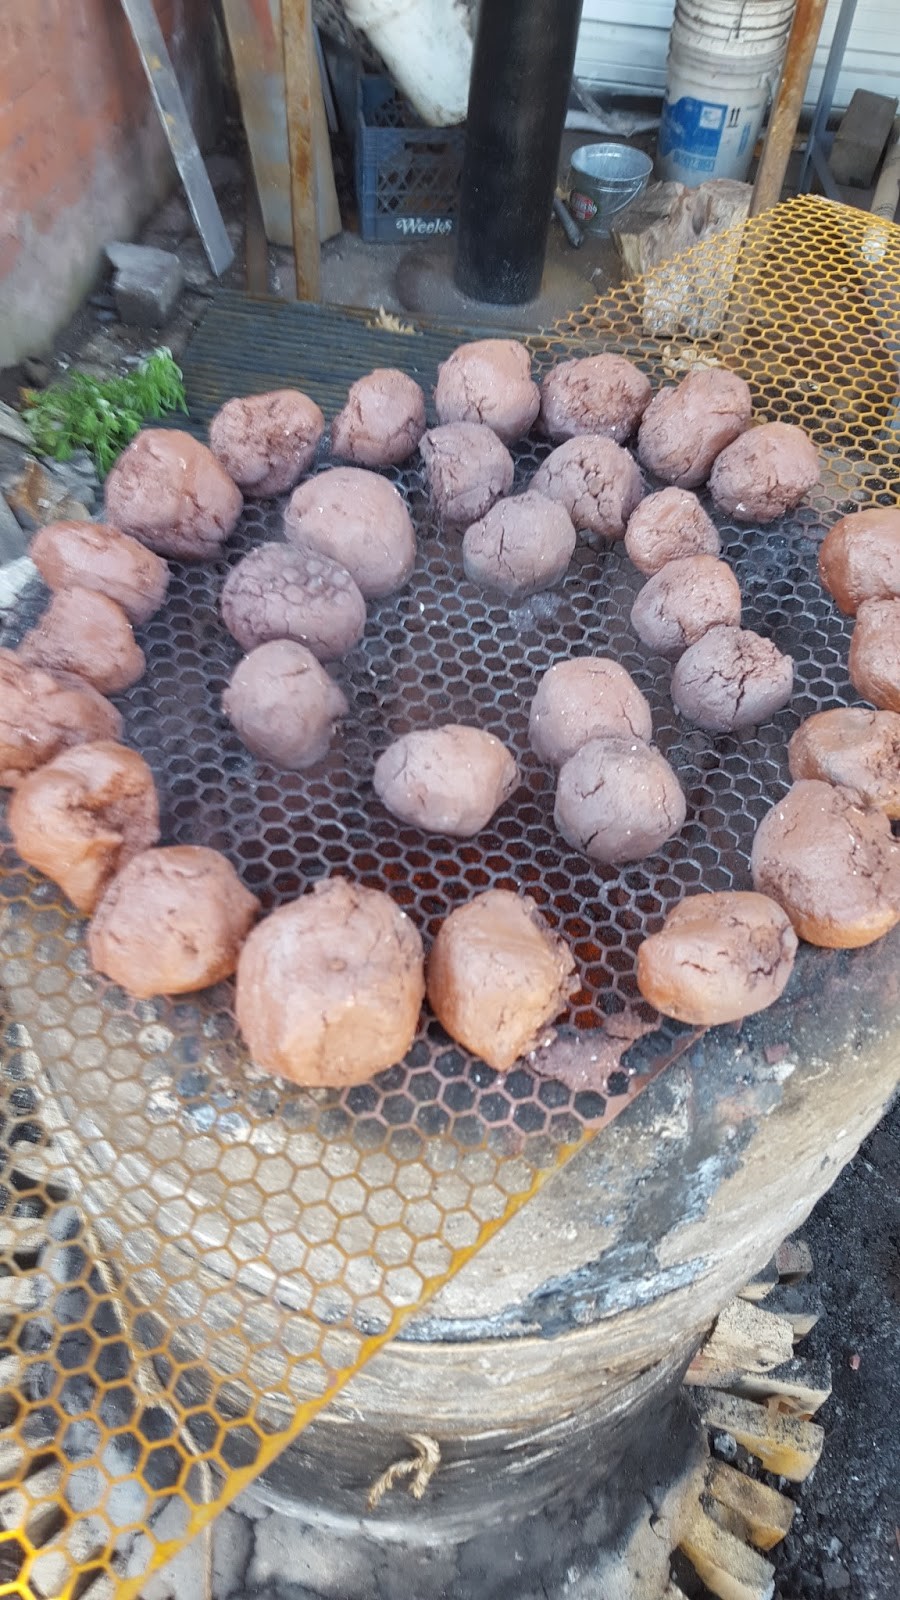 |
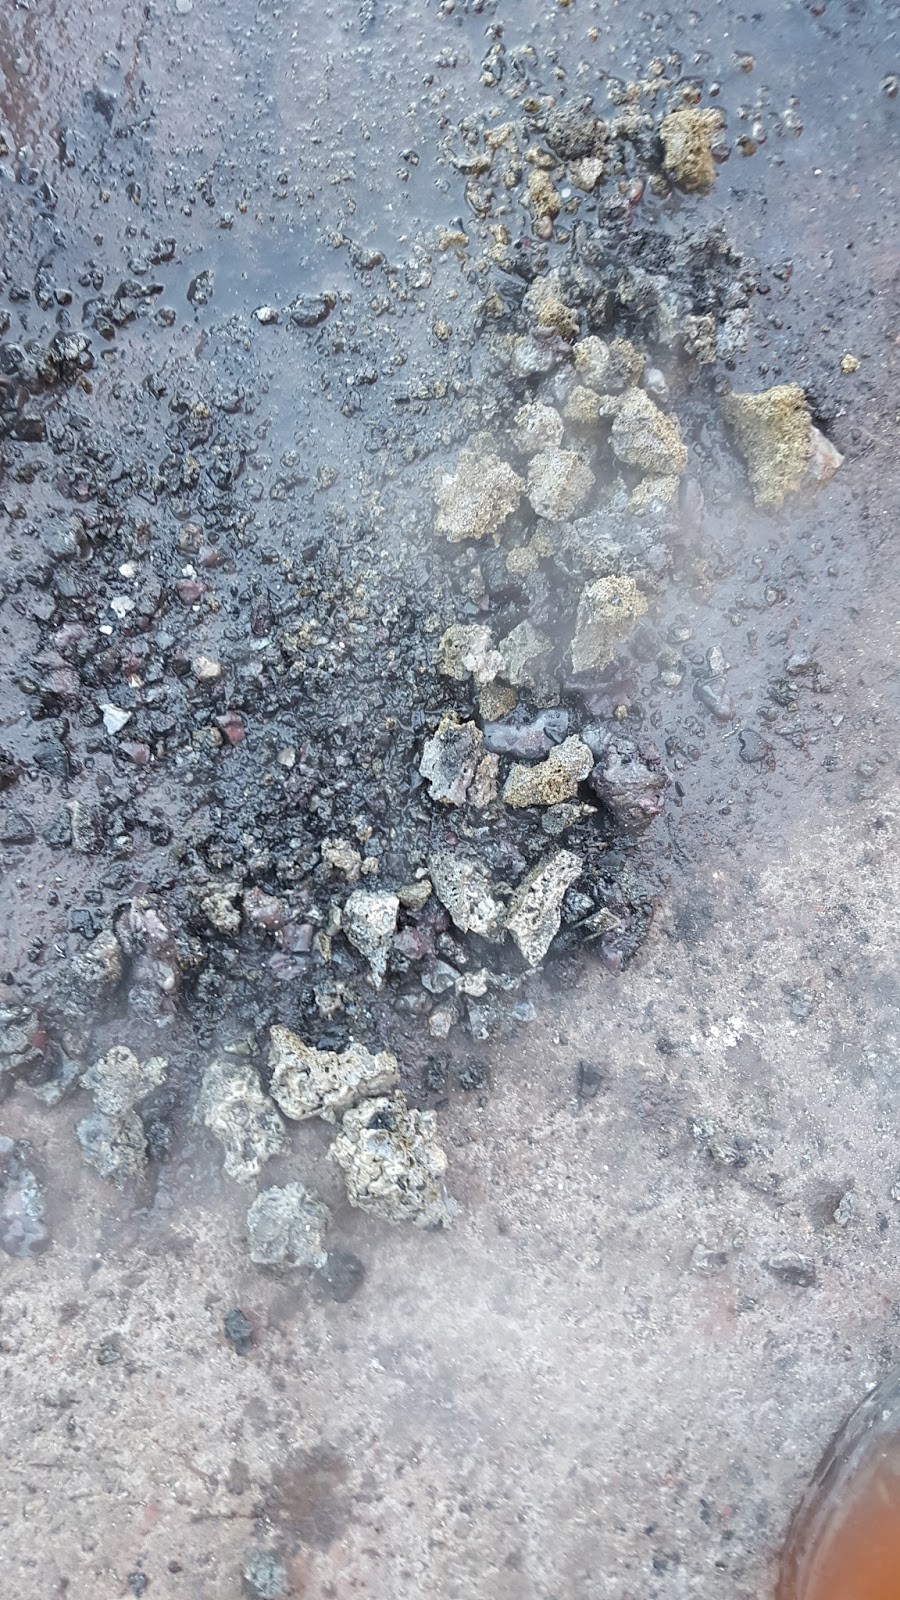
Once the ore was baked into a crumbly, clay-like consistency, we broke it up into small chunks for feeding into the furnace. We also broke up our charcoal into small chunks approximately 2 cubic inches in size. We then separated the 50 pounds of ore and the charcoal into five charges of equal weight, ten pounds of charcoal and ten pounds of ore. We added the charges at approximately 12 minute intervals until we were out of material. By charge four we had enough slag that it could be tapped to allow the excess to flow out. This excess matched the description that Sauder put forward as being good to add again from the top, so we collected what came out of our first tapping, broke it up and added it back to the top of our bloomer as a sixth charge.
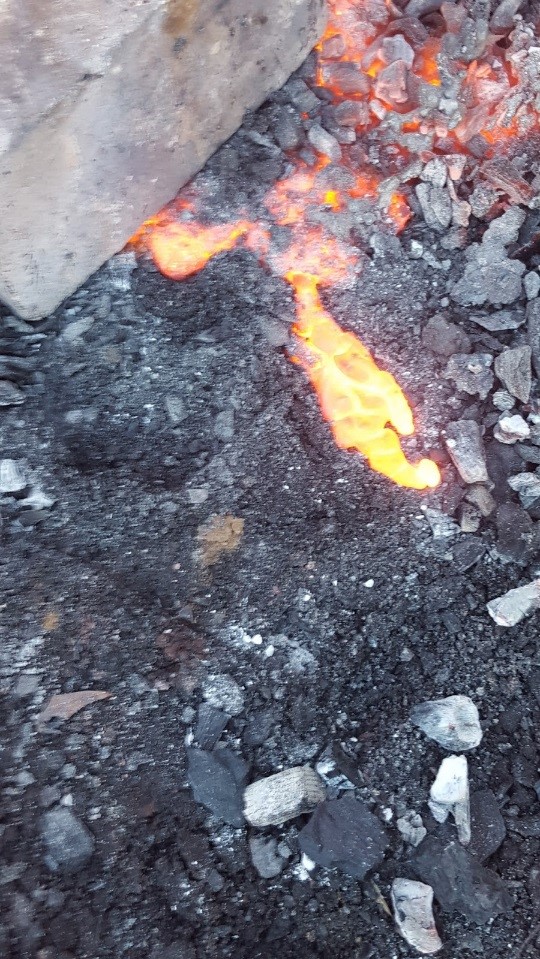 |
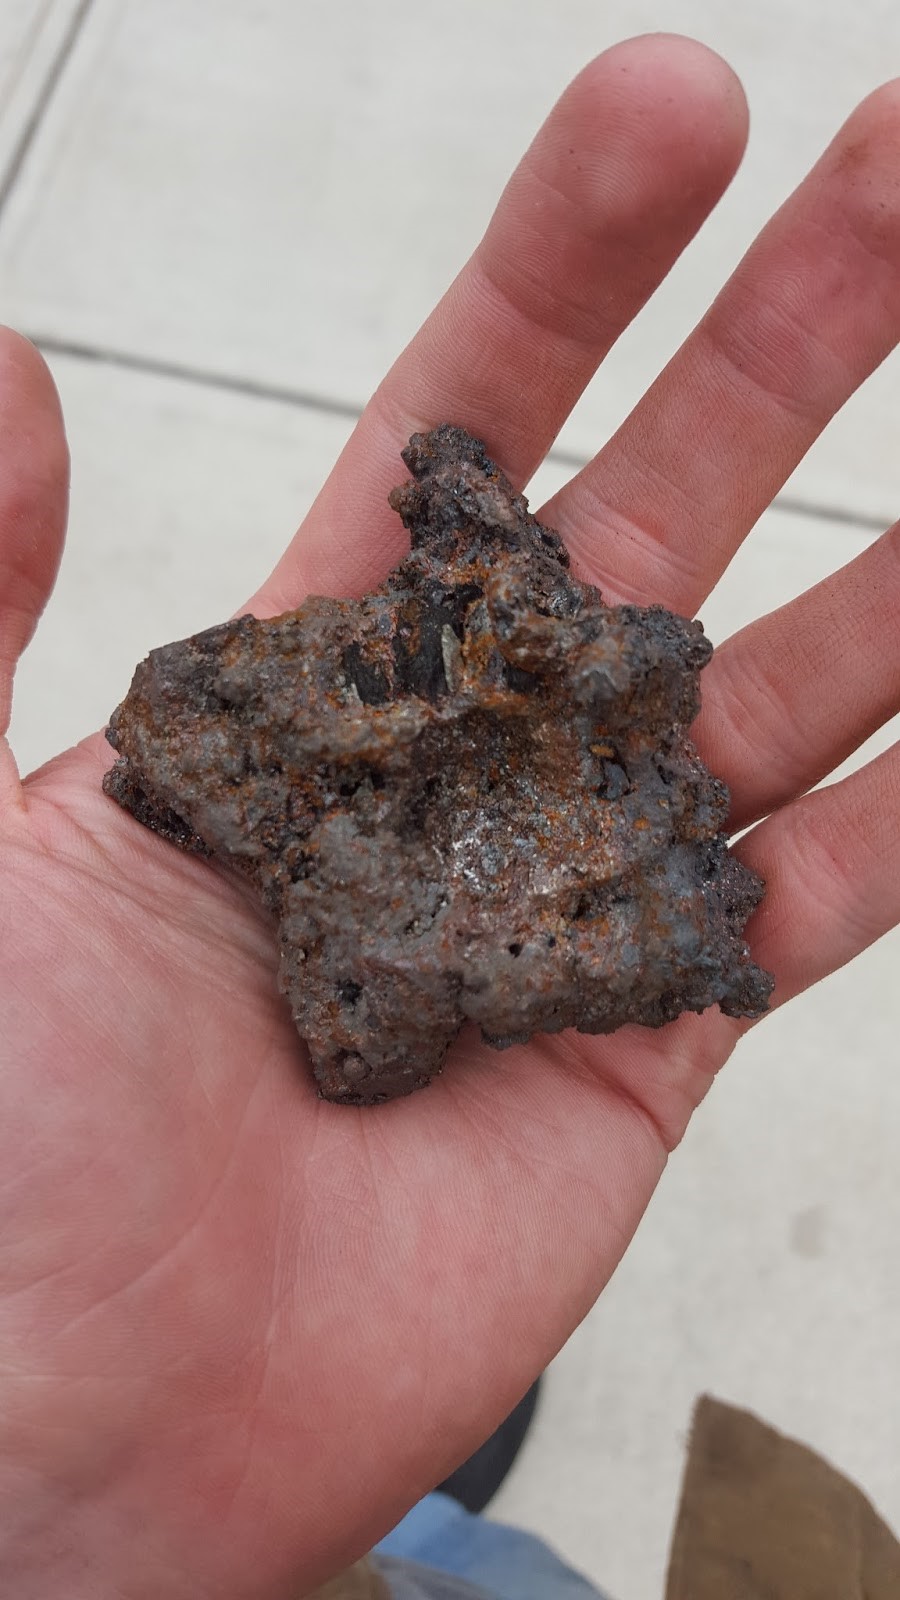
We allowed our charcoal to burn down again, and opened up the tap arch to rake out the coals. We extracted several approximately fist sized very dense chunks that when struck while glowing hot compressed rather than broke apart. Once these cooled we tested them with a magnet and found them to be composed mostly of iron. While we did not have one large bloom, we had several smaller blooms that we could forge weld together.
 |
 |