Making of a Crossbow
Overview
Making a battle axe can be a complicated procedure and it requires several major steps for creation. Our team made a Medieval Battle Axe using blacksmithing techniques that were common during that time period. The main steps and the detailed explanations about each step are mentioned below.
Axe Barb
Starting with a bar of 1045 Medium Carbon Steel, a 5-inch section was cut off of a 3 feet rod to forge into the axe head.
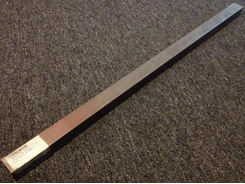
Figure 1 - 1.5” by 1.5” by 36” 1045 Steel stock..
An initial ⅜” pilot hole was drilled into the stock where the axe handle would go, just to mark the location and make it an easier process for when the time came to create and expand the hole.
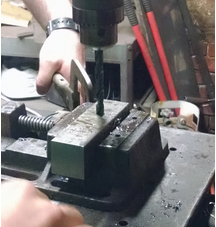
Figure 2 - Drilling of Pilot Hole.
The first objective in the forging process was the point of the axe, known as barb. The steel bar was always heated in the forget to a light orange color and had one person holding the piece with gloves at a 45 degree angle near the edge of the anvil, while another hit it with a small hammer as guidance, and the last person hit with a sledgehammer, using precision and accuracy to do the most amount of shape changing.
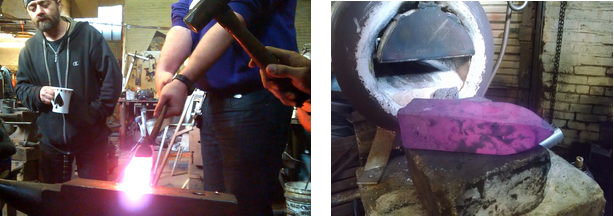
Figure 3 - Creation of the Axe Bard.
Metal from the four corners started folding over each other, which created an air bubble in the point. This had to be cut off with a bandsaw and after multiple repetitions, a point was finally created. Near the end, two small hammers had to be used for smaller changes in shape.
Axe Handle Hole
The next objective was the axe handle hole. A big enough hole had to be created to be able to fit a wooden axe handle. Thanks to the pilot hole, this was a pretty simple process but required a lot of repetition. First, a small punch was used, put into the hole and then hammered in. The group had to be careful to not keep the punch in there too long because it could start melting or get stuck there if the axe head cooled down too much. After slowly increasing to bigger size punches, an initial hole was created.
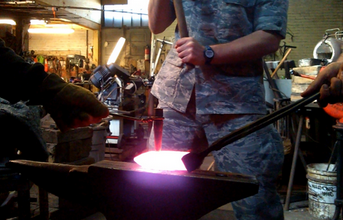
Figure 4 - Punching an Axe Handle Hole.
Axe Blade
The next and most time consuming objective to conquer was the main component of an axe, the blade. Looking at the difficulty of holding the hot metal with a pair of tongs, the team decided to weld a steel rod to the barb side, for ease and the sake of safety. To first elongate and push out the metal and then start angling it, a peened sledgehammer was used. Going back and forth between the peen and the flat head fanned the blade out. Also the horn of the anvil was used to curve the metal, but due to inexperience, the curve of the blade had to be compromised.
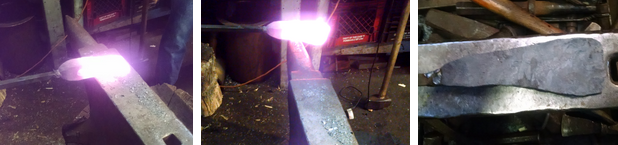
Figure 5 - Drawing Out the Axe Blade.
The next few quick steps were to remove the welded steel rod, and then grind back down to reveal the axe barb point. For a nice and clean look, the edges were grinded down with the use of a power grinder.
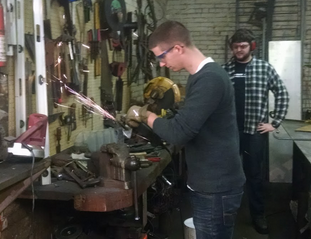
Figure 6 - Grinding the Axe Head.
Axe Handle
he next objective to finish the axe was finding, cutting and smoothing, and attaching an old hickory handle to the axe head. A lot of precision was required to make sure that not too much was cut off to make the notch to fit the axe head, because more can always be removed, but if too much wood is removed, it can’t be added back.
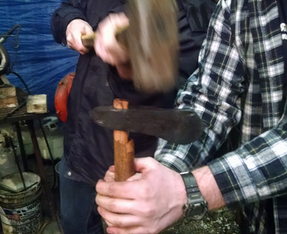
Figure 7 - Attaching the Axe Handle.
Finishing Processes
Several options were available for finishing the axe head. The group decided to quench the blade and the barb. Quenching is a process where a workpiece is rapidly cooled from a hot temperature to gain certain material properties such as hardness. The blade was heated up one last time to a dark orange color, basically until the blade and the point were non-magnetic, and then were carefully dipped in water.

Figure 8 - Quenching the Axe Blade and Barb.
Additionally, to authentically finish the axe head, the top coat of the metal was filed and brushed. Then oil was applied to prevent rust from forming on the raw metal surface, and an additional layer of rust preventive solution was applied.
Finished Medieval Battle Axe
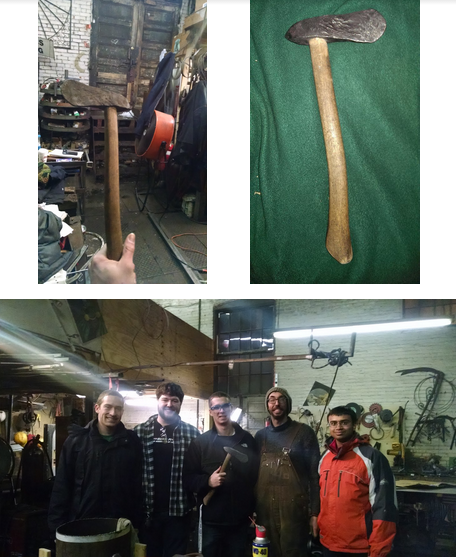
Figure 9 - Finished Medieval Battle Axe and the IQP Team with Josh.