In our recreation of a gladius, we try to use methods as close to authentic as possible. Before the introduction of the blast furnace after the year 1000, iron was smelted using bloomeries. To smelt iron in a bloomery, iron ore was placed atop heated charcoal. As the ore heated up, the iron particles inside would fall below the charcoal to the bottom of the furnace. These particles were joined by slag, the unwanted material. These masses of iron and slag make up blooms, for which bloomeries are named. Since these blooms contain both wanted and unwanted material, there had to be a way to separate them. Heating and hammering the blooms removed the slag, leaving the desired iron behind. This is where the term “wrought iron” comes from, since the iron mass has to be wrought from the combined mass of the slag.
To produce steel, the wrought iron would be placed back into the furnace amongst more charcoal. Heating the iron causes it to absorb the carbon in the charcoal, in a process called doping, and become steel. The additional carbon in the steel makes it harder than iron alone. By controlling the distribution of carbon and charcoal in the bloomery, smiths could control the consistency of the metal. While the metal was heated, it would become pliable. It is at this time that the metal would be hammered into the desired shape, in this case that of a sword. When the metal was sufficiently carburized and shaped, it was then quenched. Quenching the metal in water made the outside even harder. Throughout the entire process of working within the furnace, care had to be taken to prevent the metal from decarburizing. This could be easily caused by too much exposure to the air feeding the fire. Decarburized metal lacks the hardness required for a sword. Although inconvenient, decarburization is conveniently rectified by exposing the metal to more charcoal, and thus more carbon.
The methods we use mirror these pretty well, but we skip forward to where the steel already contains a certain carbon content in a convenient shape. As Roman blacksmiths would have done, we too are using a charcoal fed furnace to heat our metal. We are also hammering our steel into shape by hand, instead of using more modern tools.
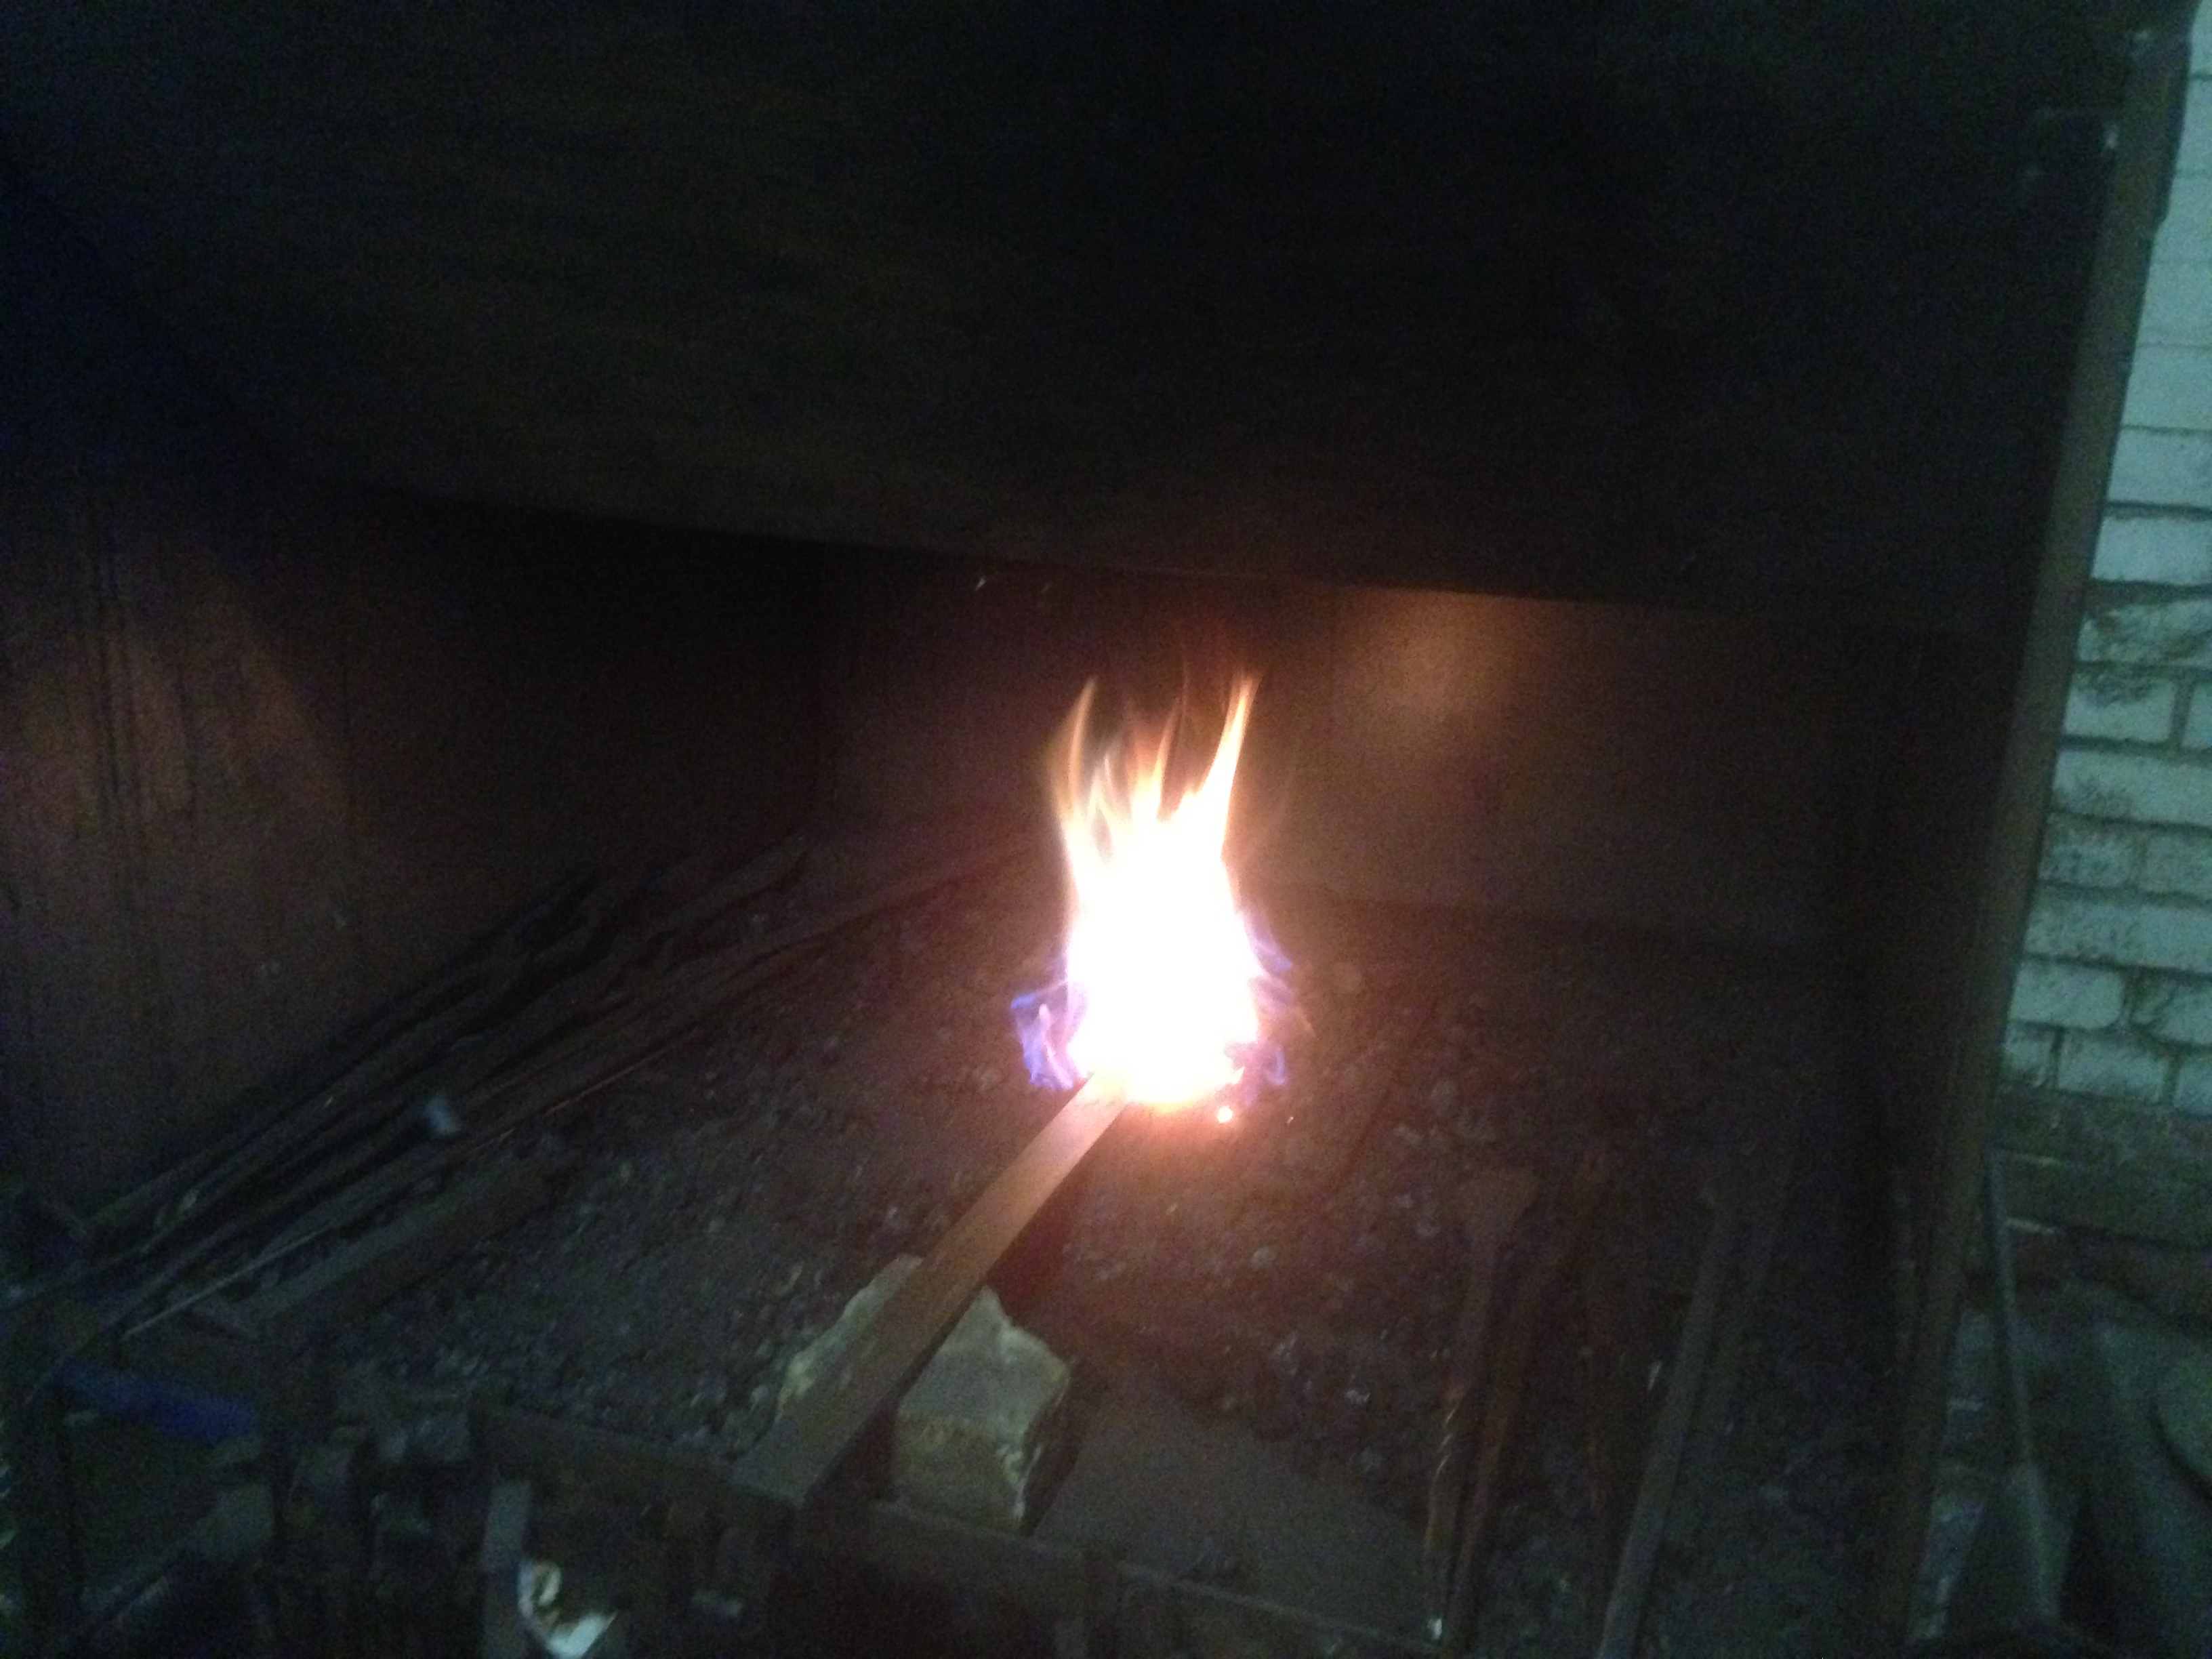
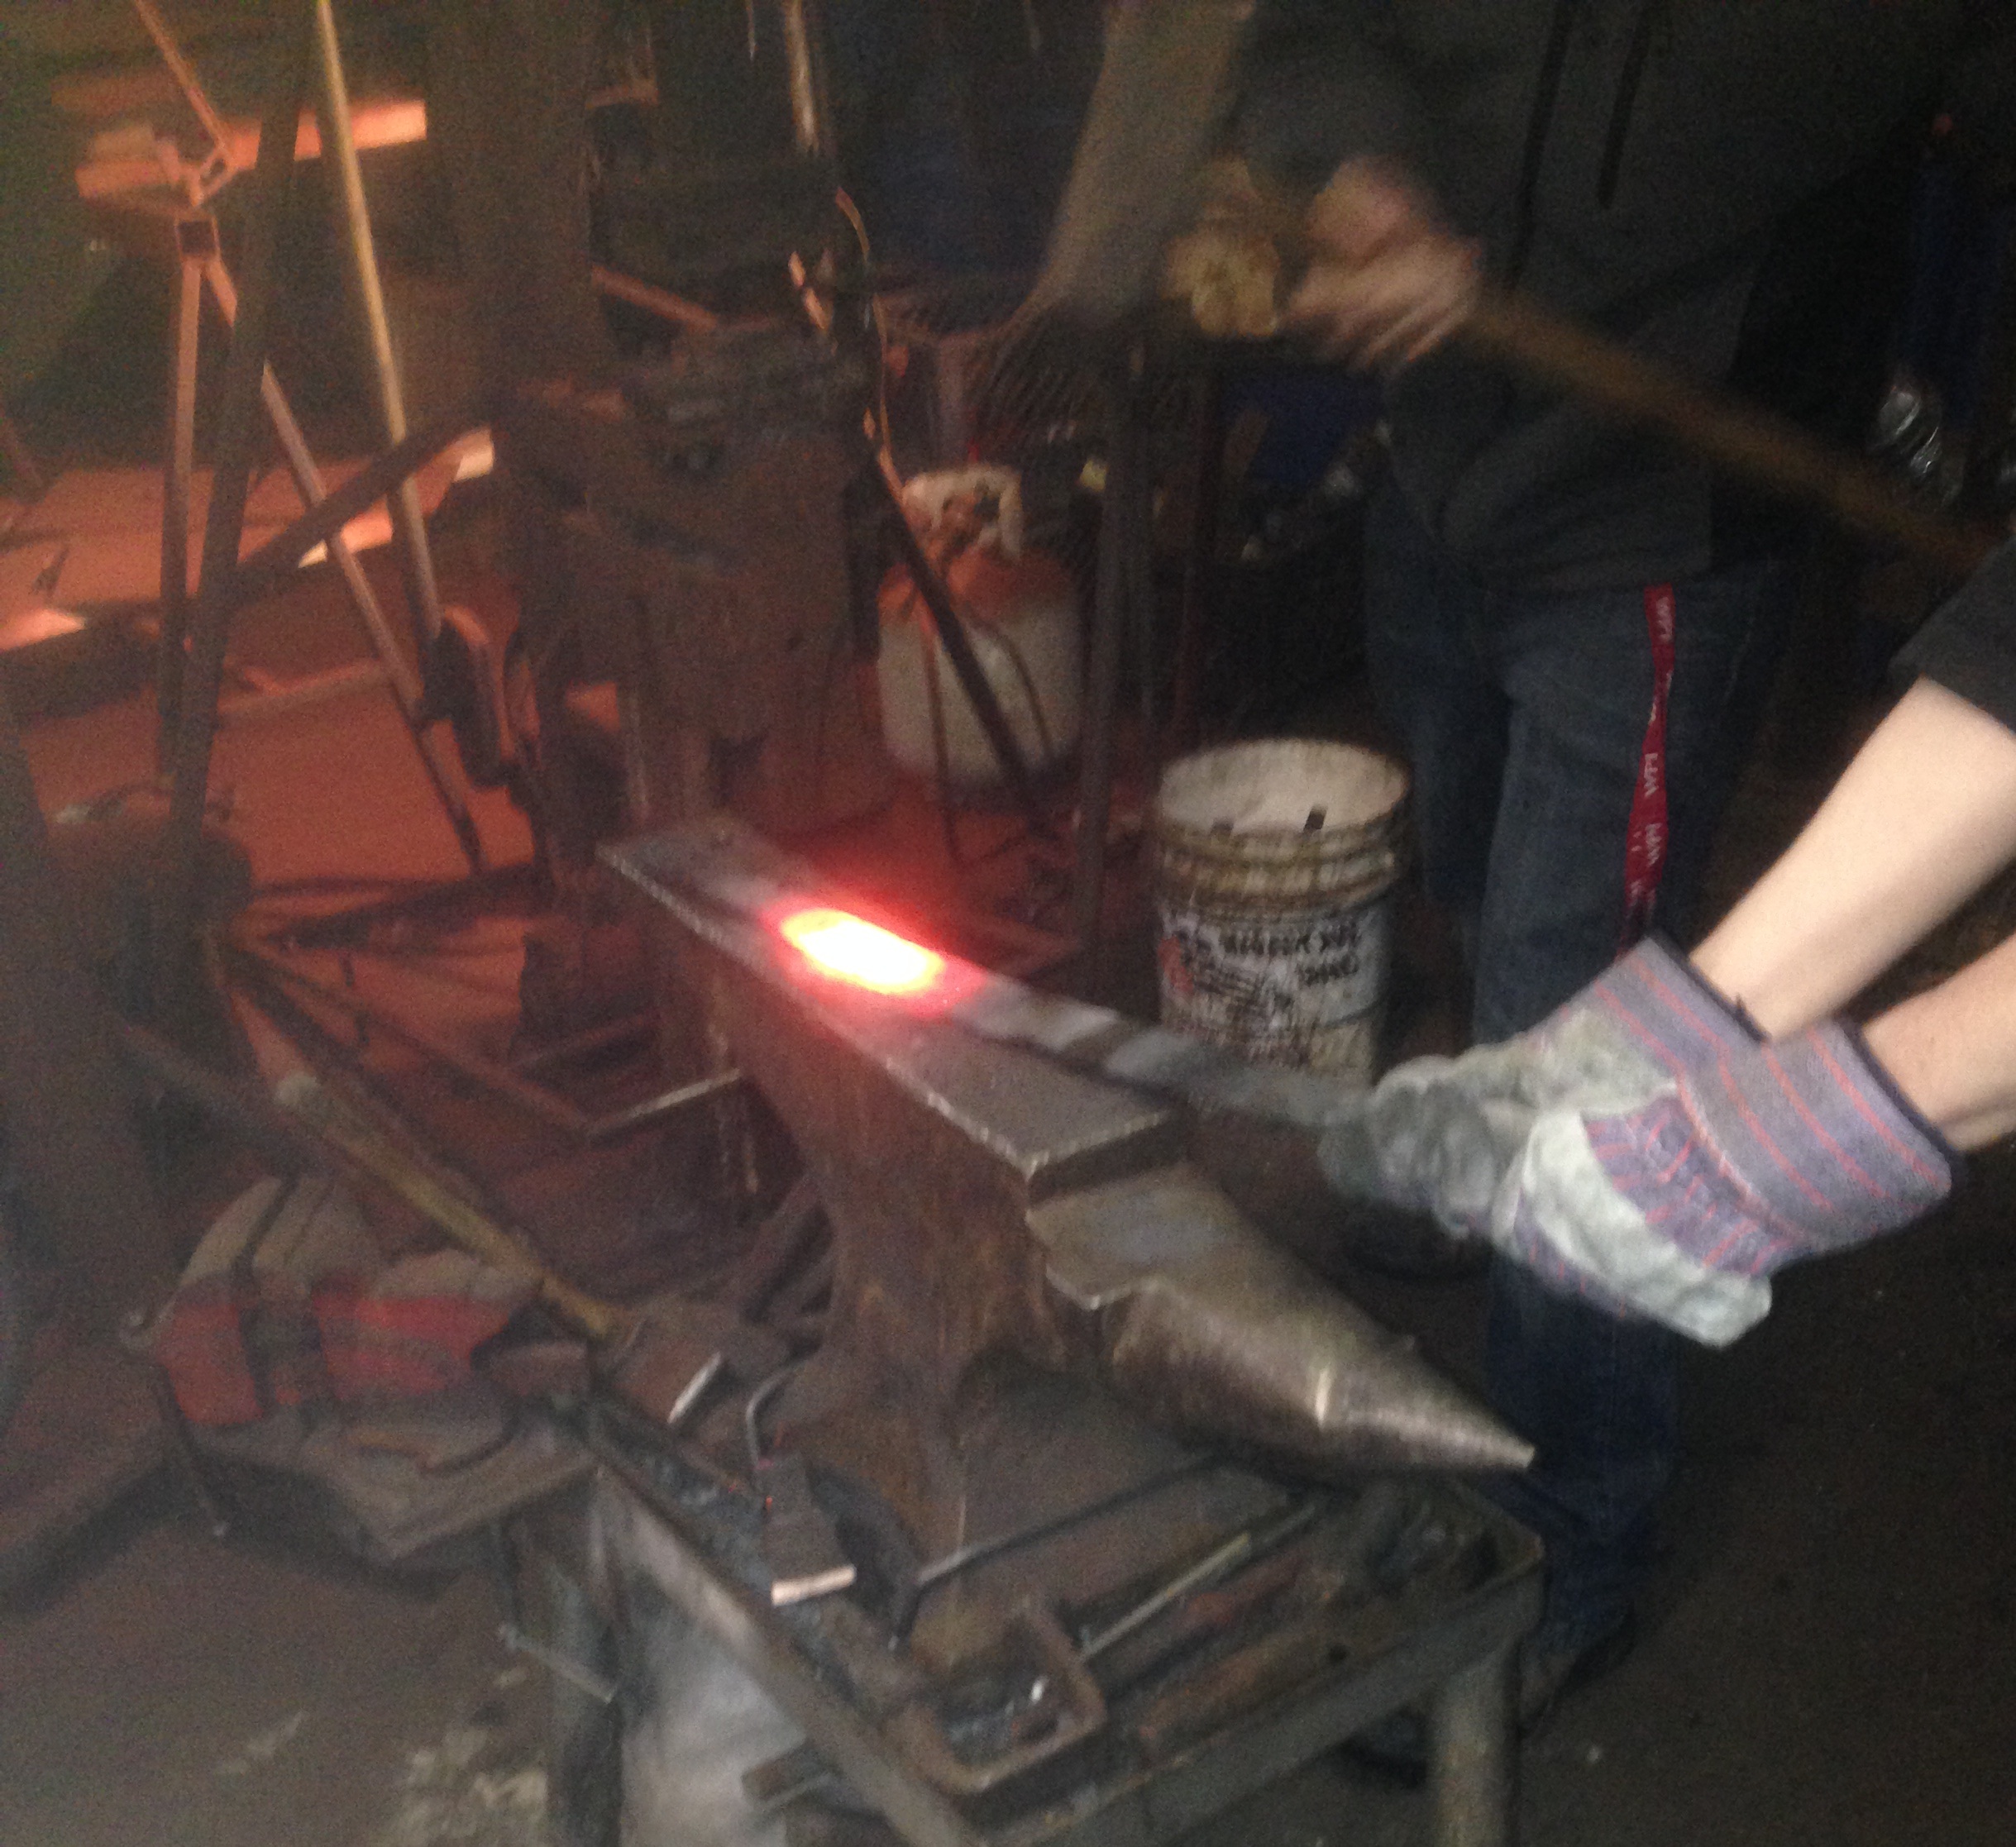
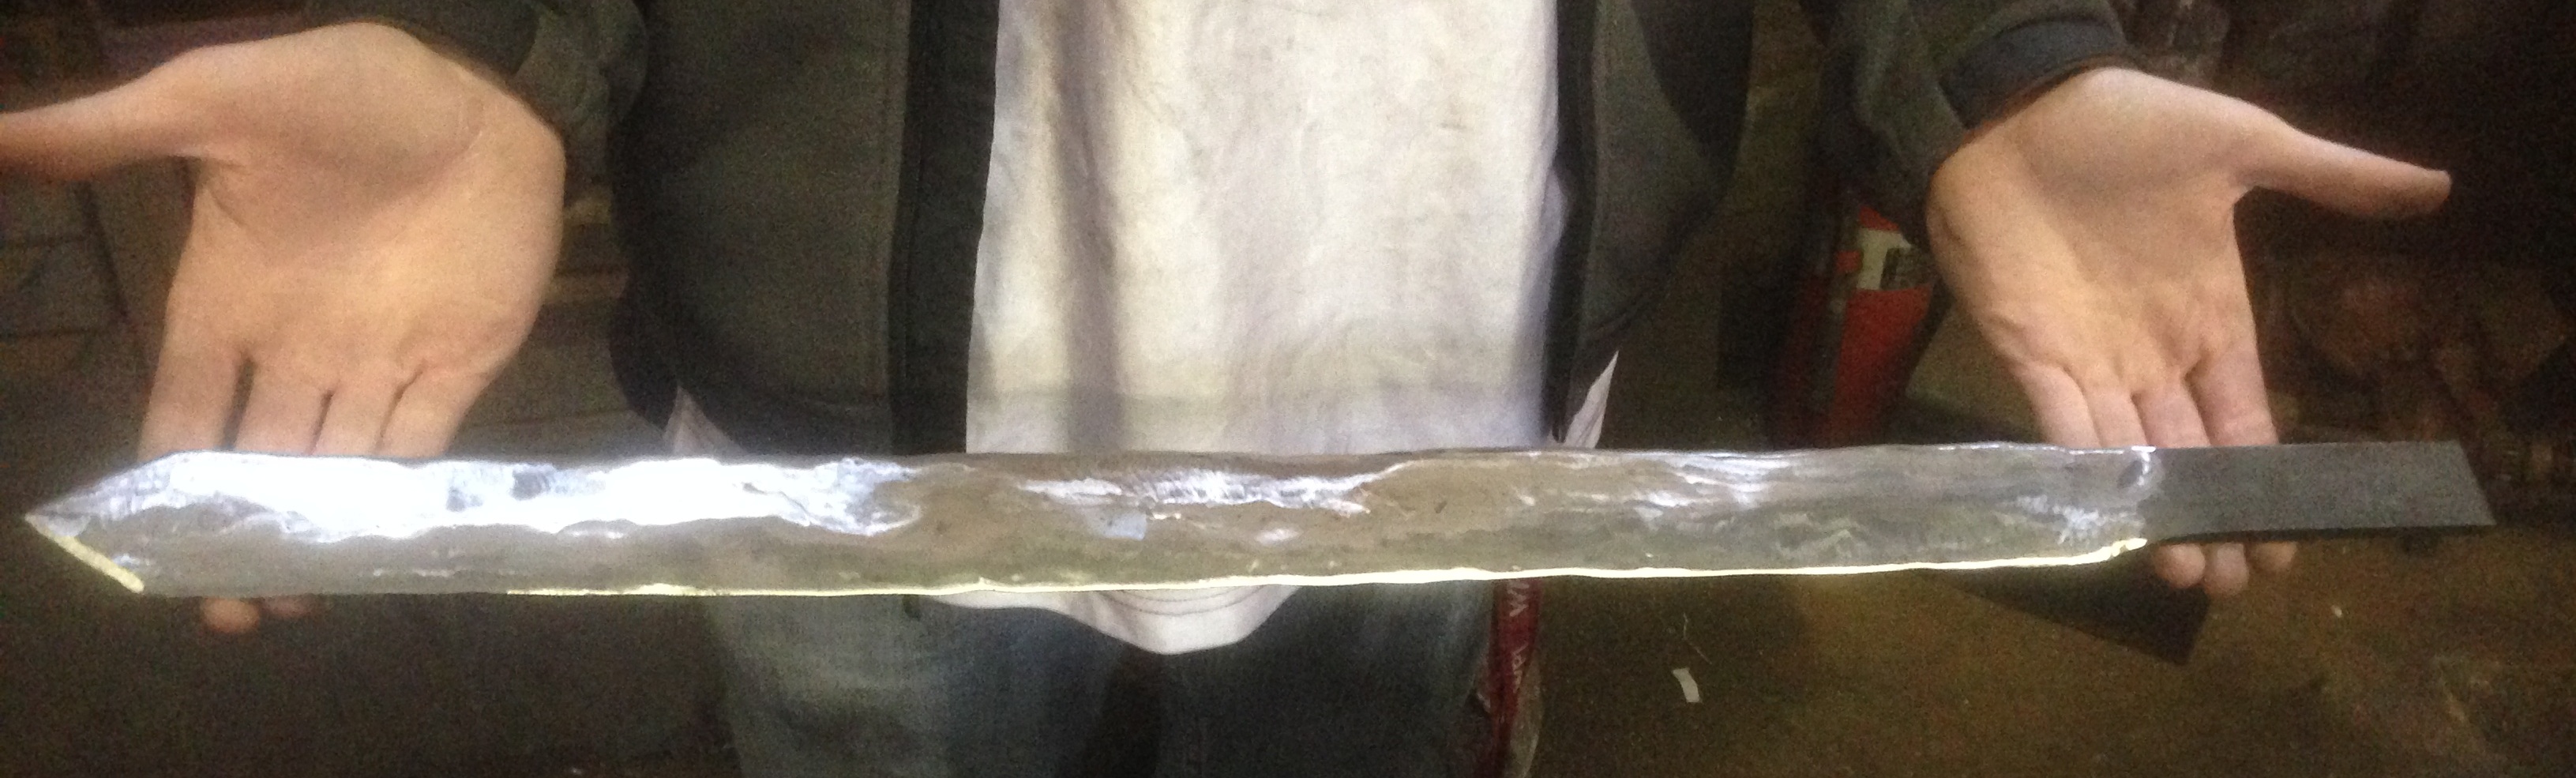
In the initial reconstruction process, the metal was cut to 24 inches in length, and given an initial tip by heating one end of the steel and cutting the steel with a straight peen hammer. After the edge and tip were created, the basic form of the blade was created using a sledgehammer. After a portion of the steel was heated, one person would hold the section of the steel over the center of the anvil, and the other person would strike the steel while it was still hot enough to change its shape.
| Figures 1 and 2 - Heating the Metal (left) and Working (right) |
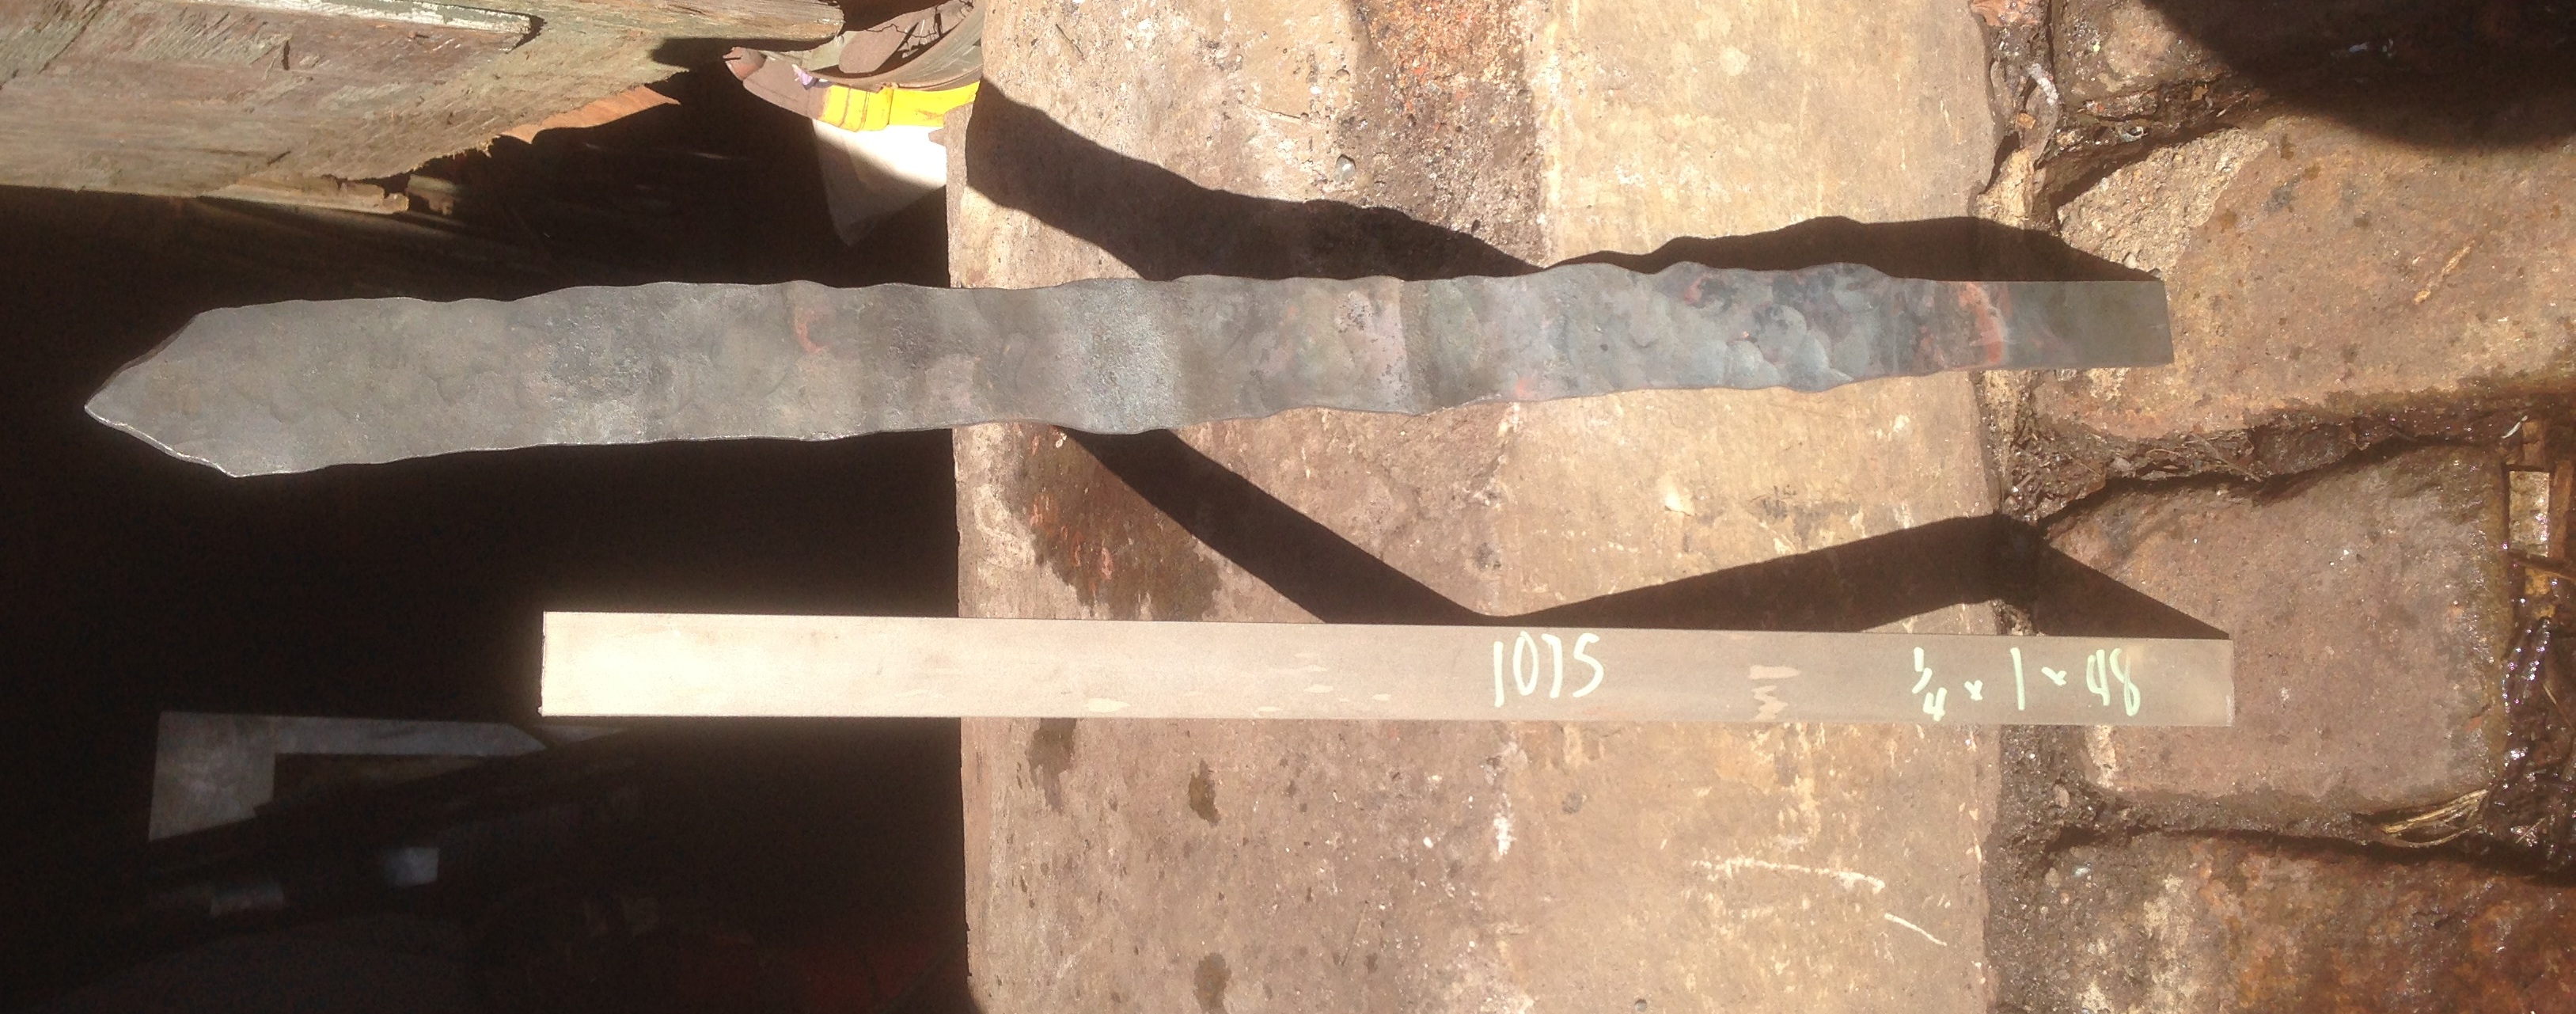
This would cause the steel to expand outward, and give it the general shape of the Pompeii gladius. This was done down the length of the blade for around 20 inches. After the initial shape was created, a smaller hammer was used to smooth out the blade and get rid of any major deformations caused by the sledgehammer process. This was also done in an attempt to create the bevel down the center of the blade, however most of the bevel creation would be done through the grinding process.
| Figure 3 - Comparing the Starting Bar to Worked |
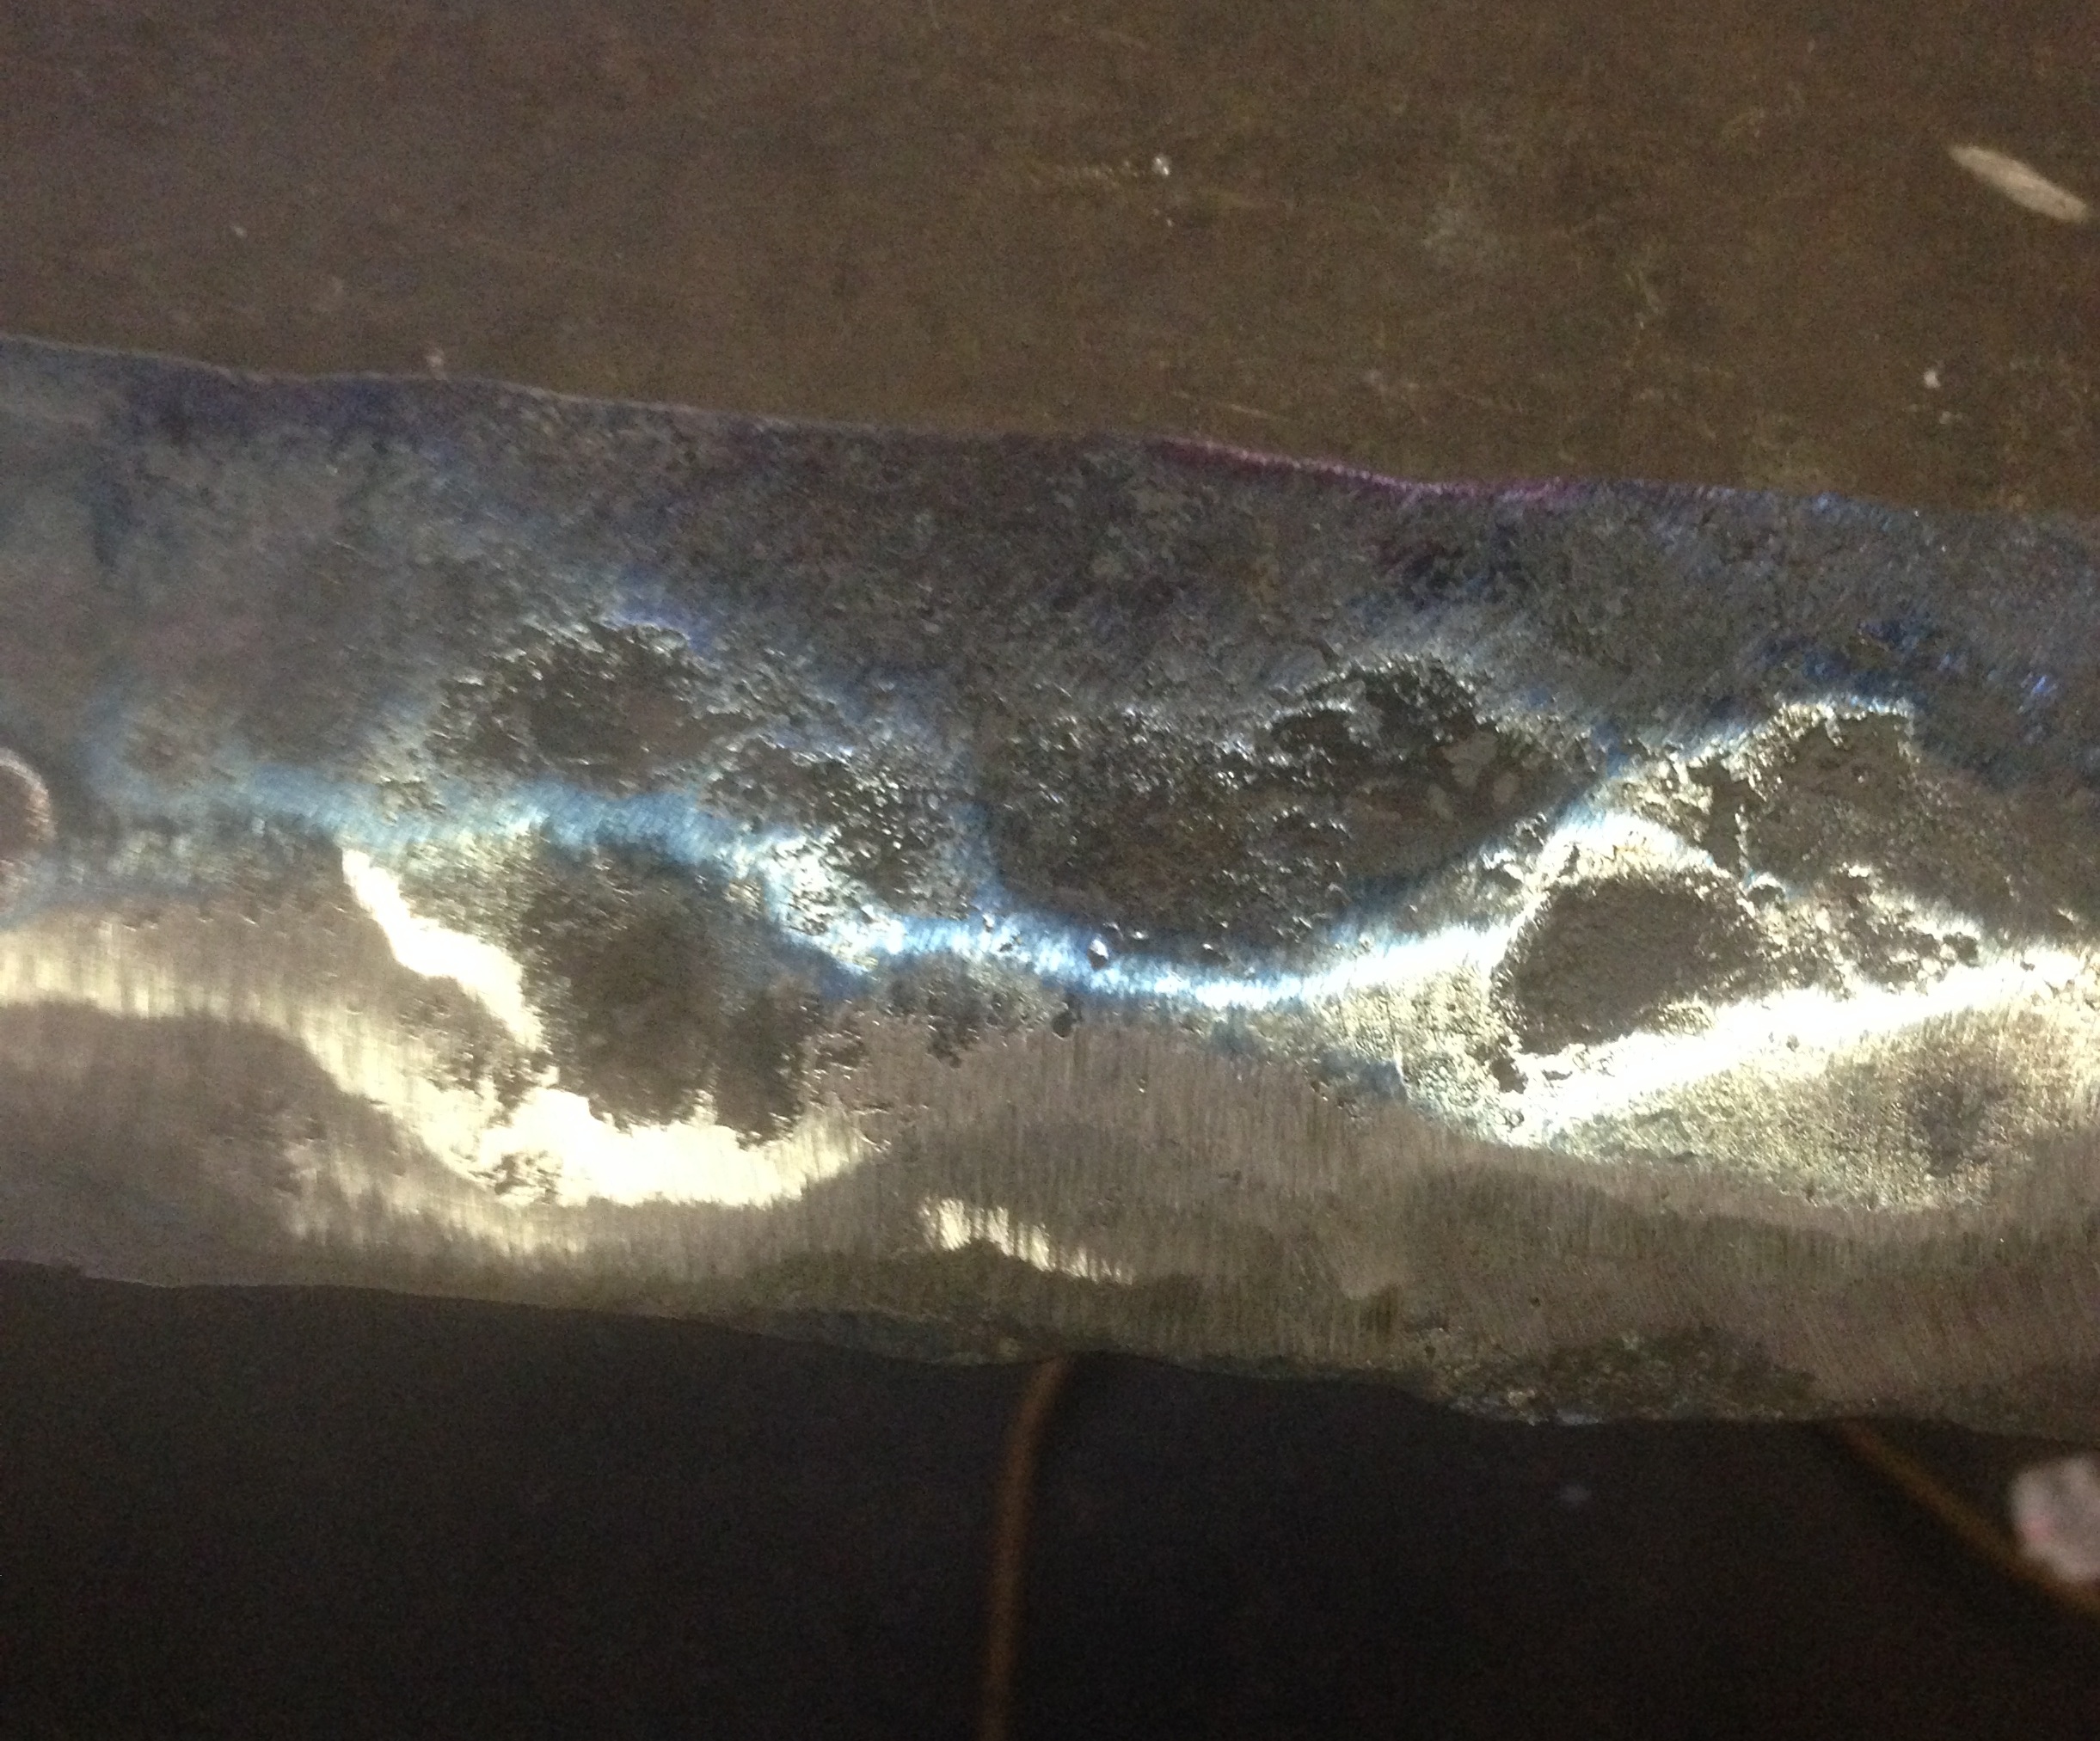
The blade was then heat treated to give it increased hardness. The blade was set in the forge on a specialized tuyere to distribute the heat along the length of the blade. Normally, the tuyere would push air into a single point, but this specialized version pushed air to three locations simultaneously. Our blade was still longer than the new tuyere, so we had to shift the blade’s position as it was heating to achieve an even distribution along the blade. When the blade was heated to a cherry-red color, it was then quenched. This took several attempts to achieve the desired results of a mostly uniform speckled pattern. Fortunately, setting the blade back inside the forge reset the treatment, so we could take as many tries as we needed. In its quenched state, the metal was hard but susceptible to cracking. It would require another application of heat to fix this.
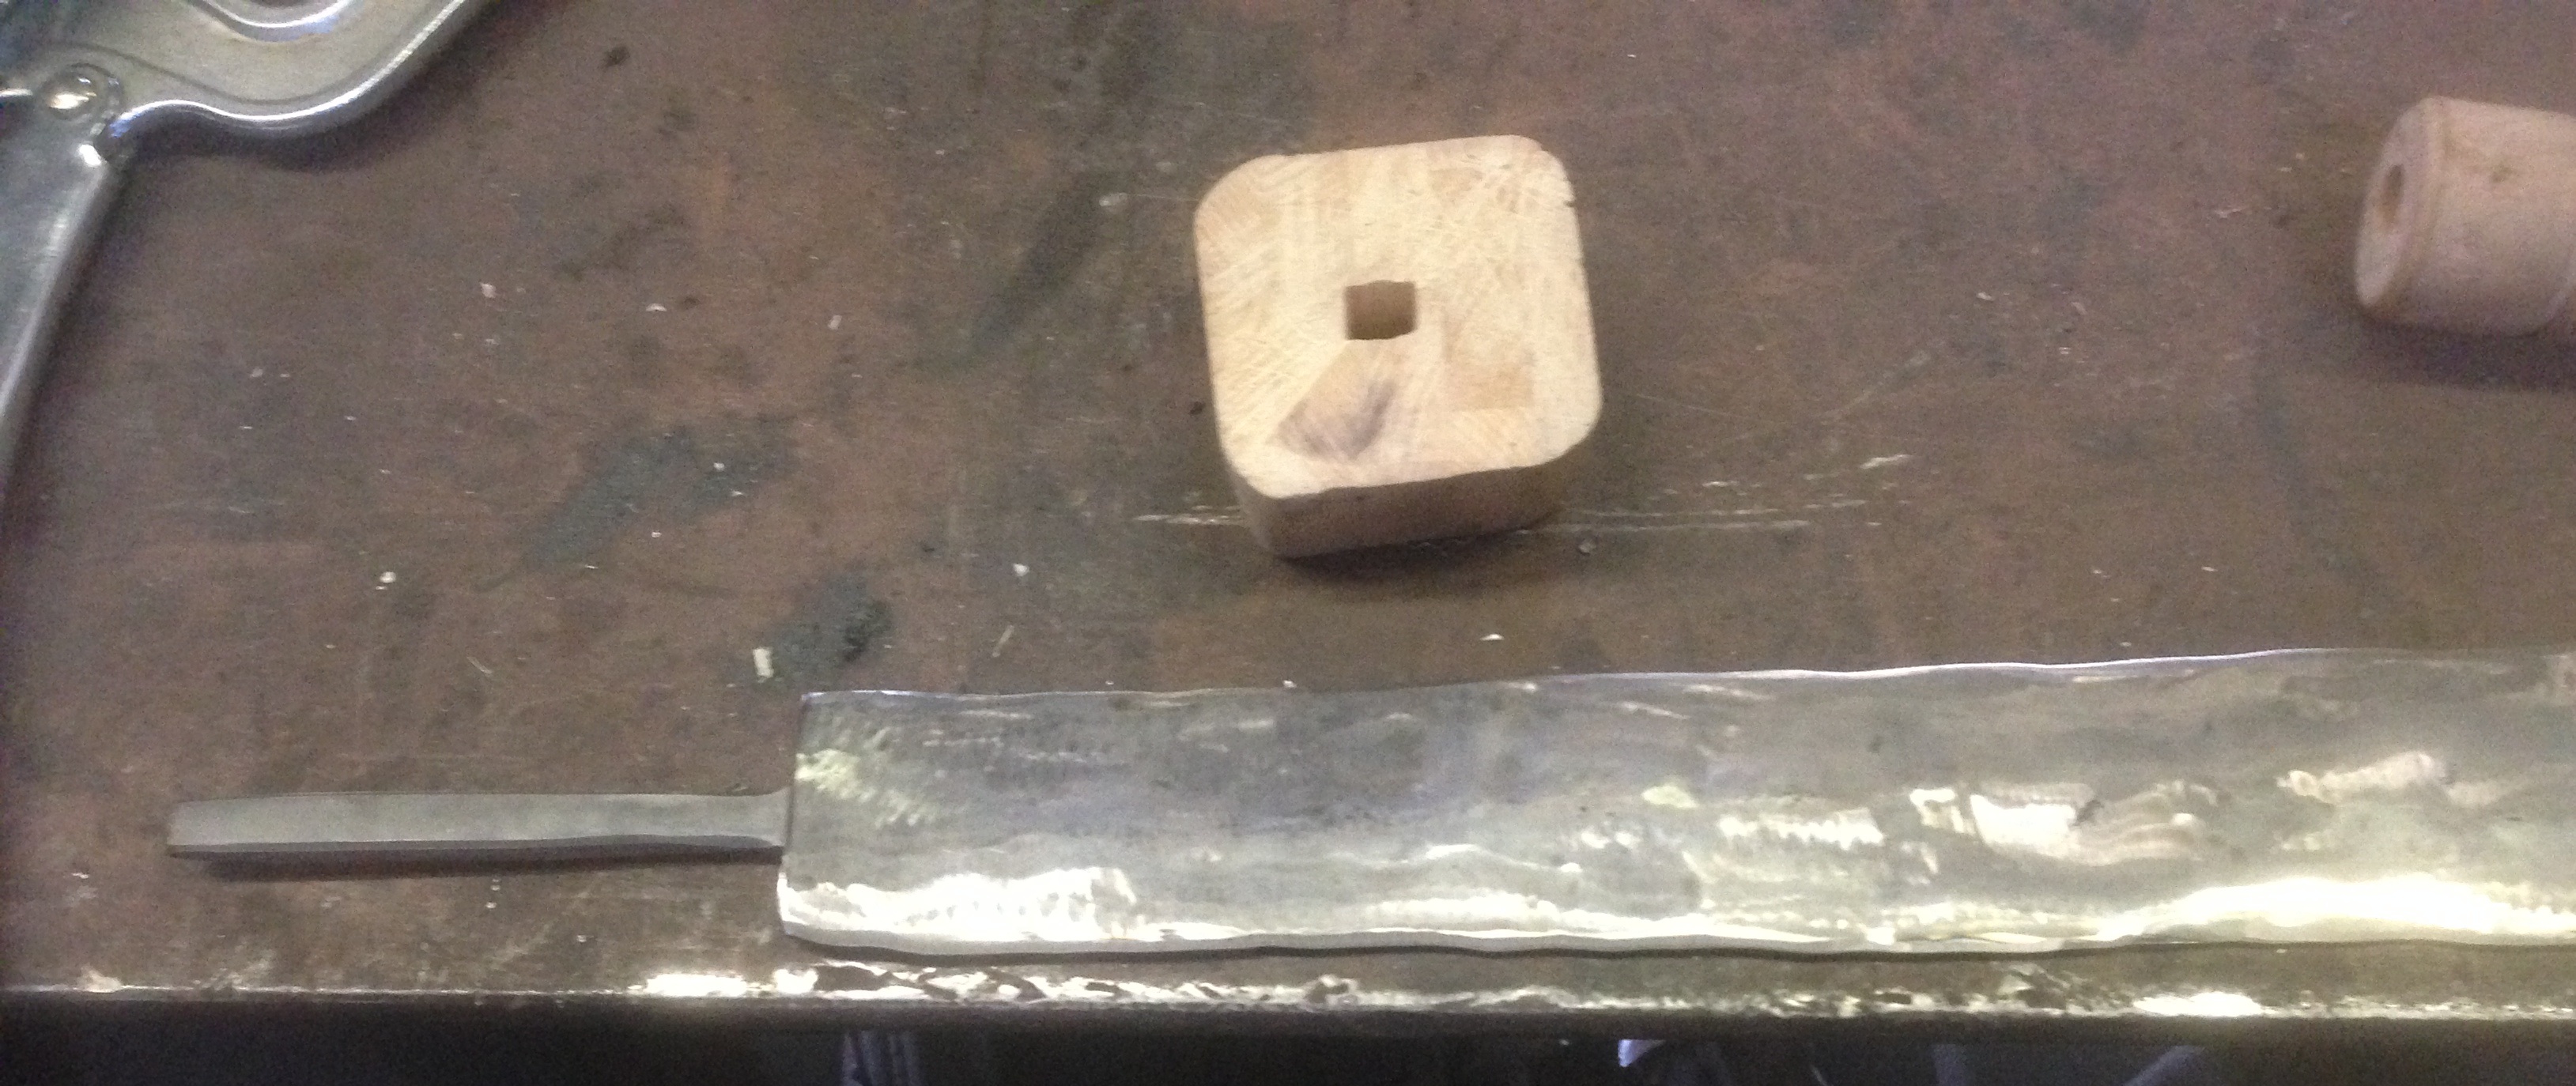
Before the blade would be heated again, it was grinded down to give the blade a much lighter surface color. We would needed a silvery surface instead of the black and speckled we currently had. To accomplish this, we took a grinding wheel to the blade by hand. We would return to grinding later to address the imperfections from shaping and the bevel.
 |
| Figure 4 - Comparing Original Bar to Sword After Grinding |
The next step in its heat treatment, was to heat the blade with a torch using oxygen and acetylene. This was a departure from the historical process, but we could not afford to damage the blade at this time. The blade was heated by the torch until the blade turned blue from the exposure. Seeing this color change is why we needed the blade to be grinded down first, else we would not have seen it as readily. This additional application of heat countered the brittle nature of the metal, making it bend instead of break.
| Figure 5 - Tempered Blade |
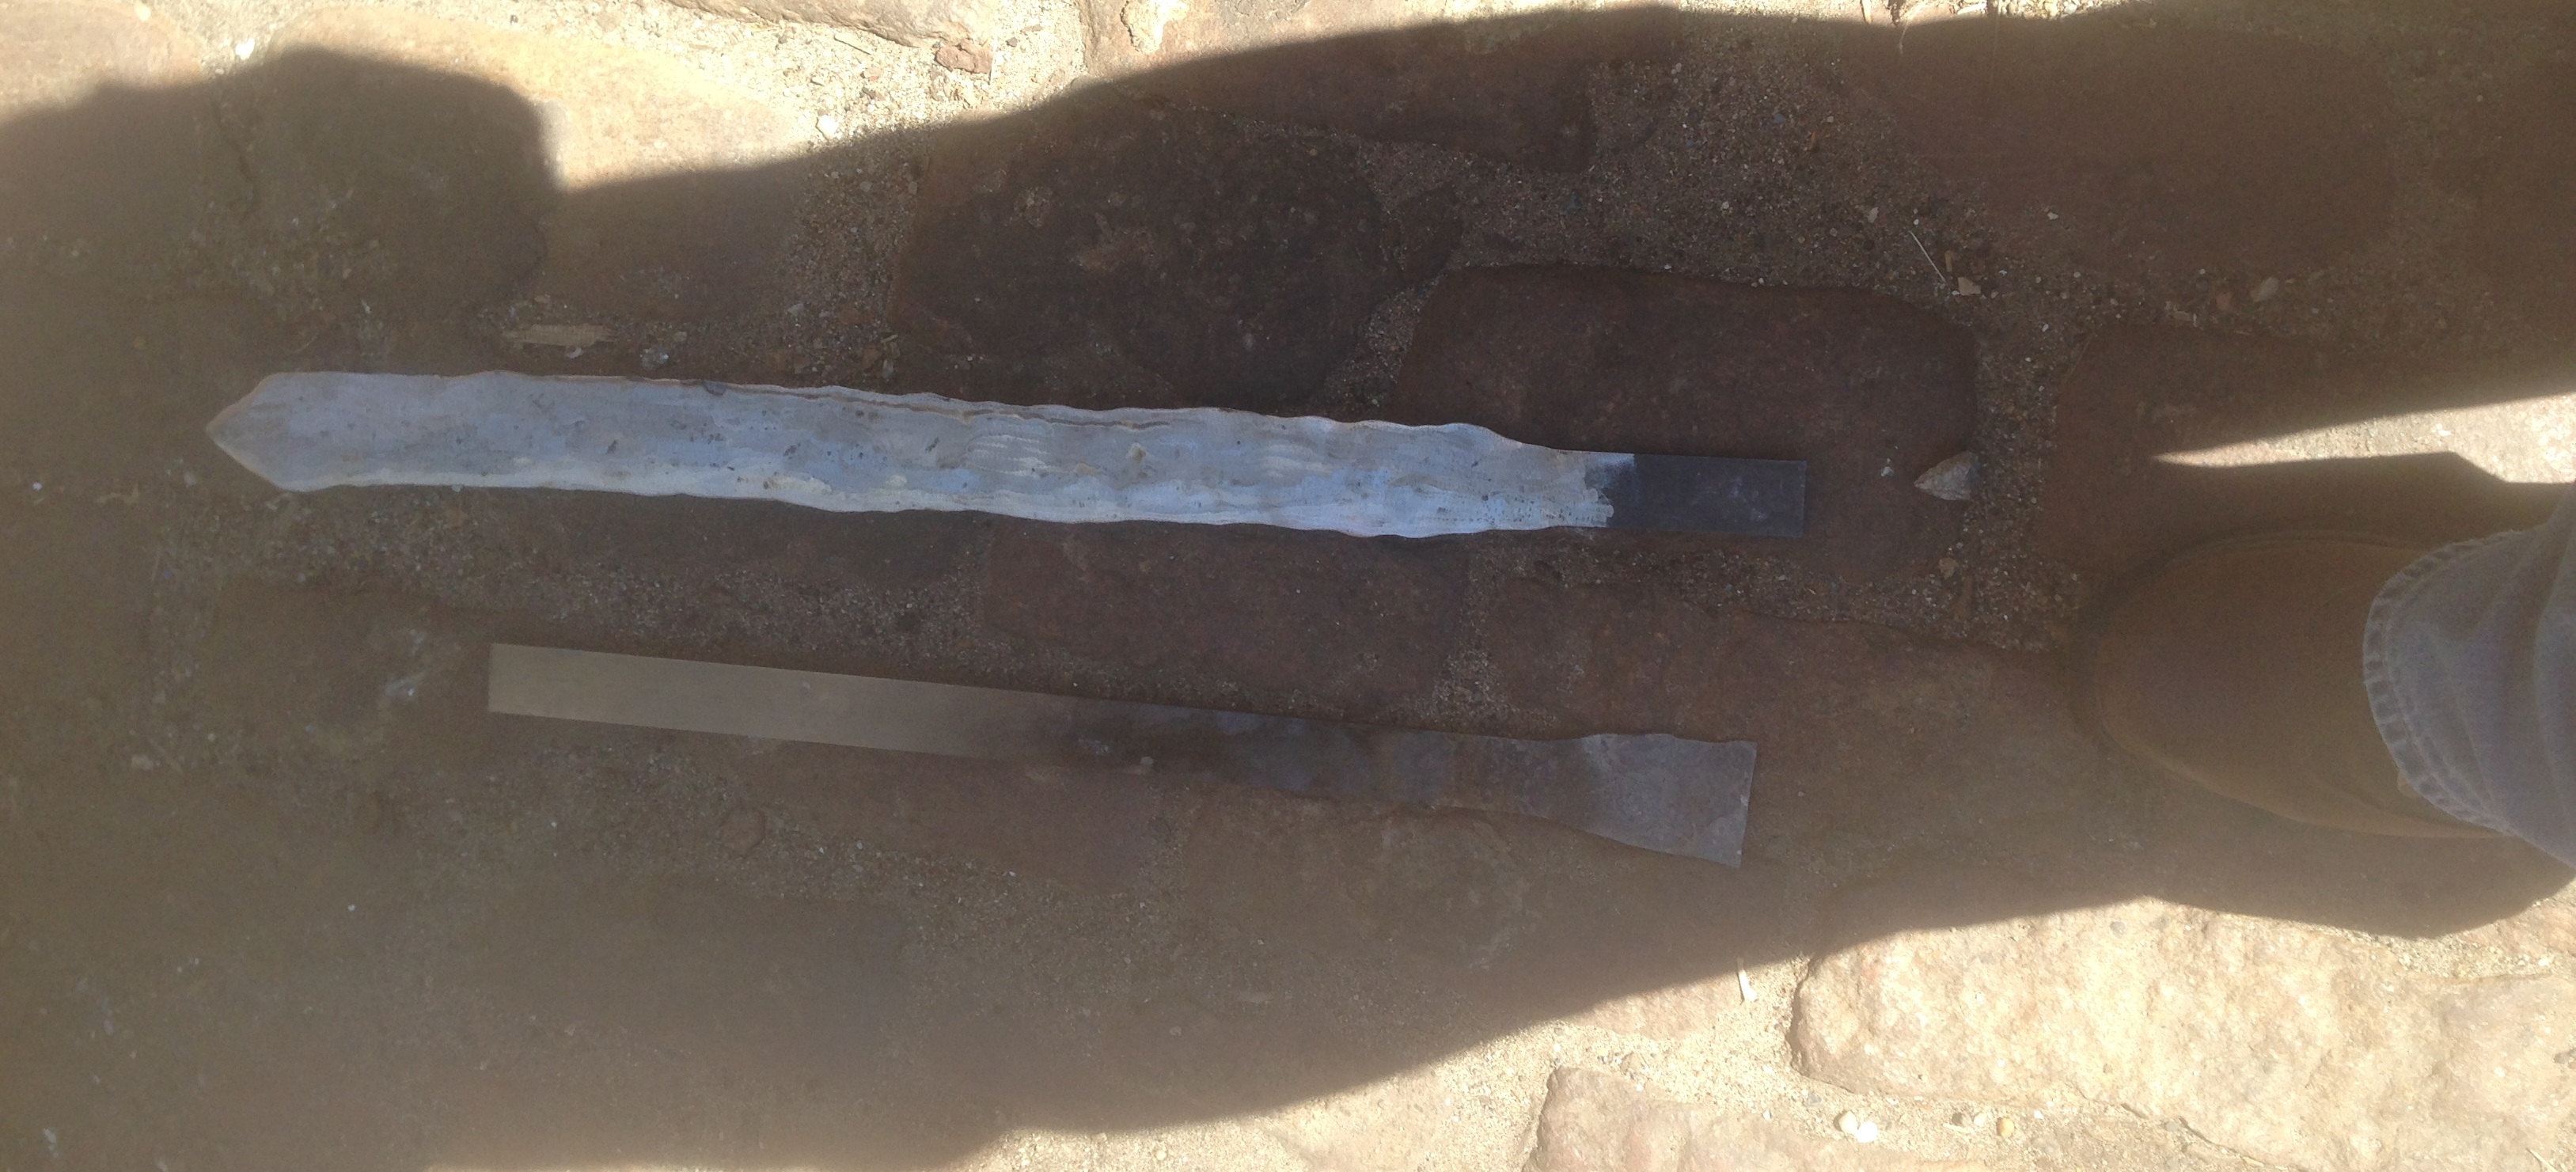
After the blade was successfully heat treated, it had to be grinded down again. This purpose of this second round of grinding was to remove imperfections from the shaping process and create the bevel. We returned to the hand-held grinding wheel for this task. Ideally we would have used a belt grinder, so the larger surface area of the grinding surface would create the desired uniformity. Unfortunately, the belt grinder was in disrepair and not available to us for use. We did our best here to accomplish both of these tasks, but we prioritised removing the imperfections. Some of these imperfections were in the center however, so the bevel had to suffer as a result. With the grinding concluded, the blade was finished.
| Figure 6 - Blade After grinding a Second Time |
All that remained was the hilt. We decided to use a wooden hilt for its availability and simplicity. We were able to find wood in an appropriate shape and size for the grip and a small pommel. The guard had to be cut from a separate piece. With the hilt decided, we cut the back end of the blade to be ⅜ inches wide.
| Figure 7 - The Cut for the Hilt |
The hand-held grinder was used again here with a cutting wheel instead of a grinding wheel. With the back of the blade adjusted to fit the hilt, an incision was made in the wood to match. The hilt blade was then inserted into the hilt and glued into position. This method would not produce a connection built to withstand prolonged use of the weapon, but ours is a display model.
Final Product
| Figure 8 - Finished Gladius |