Making of a Crossbow
Overview
Our team made a European Crossbow using blacksmithing techniques that were common during the time period. We used hammers and the blacksmith's power hammer to flatten our our steel - a waterwheel powered form of this hammer existed during the 14th century.
Bow Procedure
We started with a round of 1055 spring steel, and began the long process of shaping it into the correct shape. We used the coal forge provided to heat our rod to glowing orange heat.
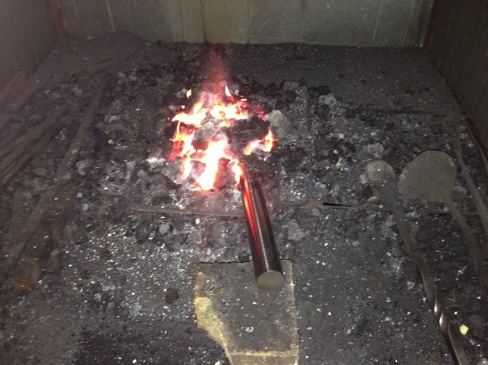
Figure 1 - Heating the bar of Spring Steel.
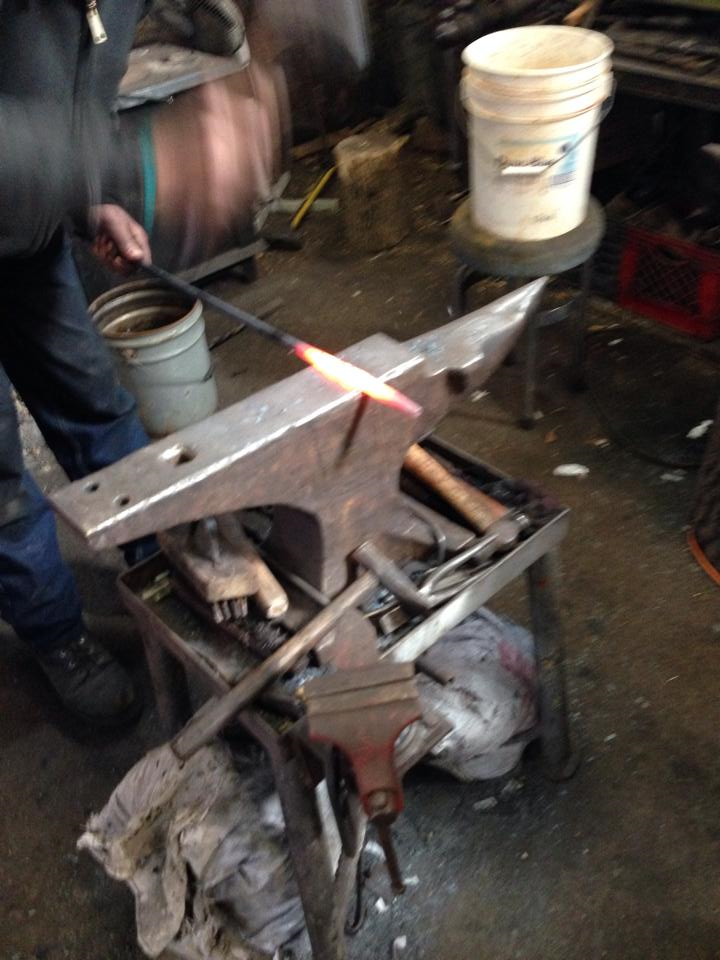
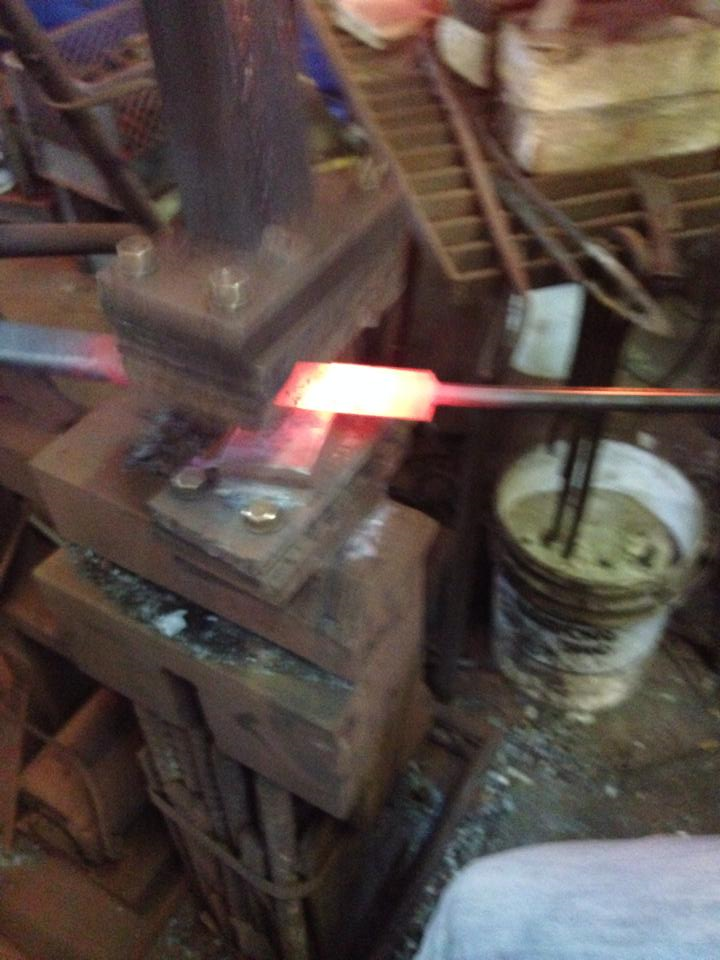
Once the metal was heated correctly, it was then hammered into shape with the blacksmith's power hammer. This spread the metal to be longer, as well as getting the flatter shape we desired. To ensure that the metal would be shaped into a straight bar, we also worked on it with hand held hammers, making smaller corrections.
 |
 |
This process was repeated several times along the length of the metal to ensure that the bow had even thickness throughout its length, and was a straight shape. Once the bow was the correct flat shape, as seen below, we worked on curving the bar to the correct angle.
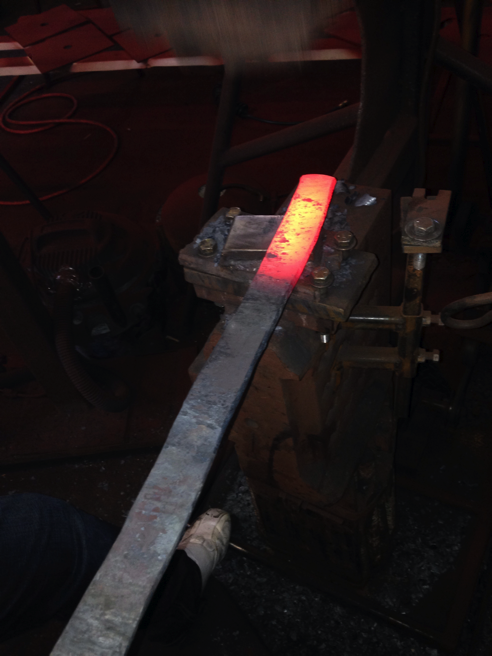
Figure 3 - Flattened bar before curving.
Once our bow was curved correctly, we worked on griding the metal to remove flaws in the surface. This was achieved with use of an angle grinder, which was able to grind quickly enough to smooth the entire surface and remove the majority of pits in the metal. We also used the angle grinder to create the recesses in the bow where a string could be attached.
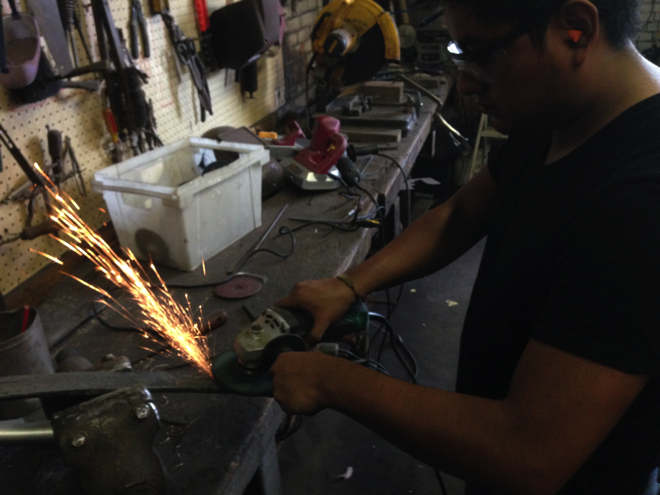
Figure 4 - Grinding the Bow
Once the problematic flaws were removed, we moved on to heating the metal to the torch to 590 degrees farenheit. We used a torch to do this, and slowly moved it across the surface of the bow, making sure to heat the piece equally and thoroughly. We had to be extremely precise with this, as we were looking to heat the metal to a blue color, which would result in a flexible spring steel perfect for a crossbow bow. If we heated it too much, it would harden too much and become useless to the project.
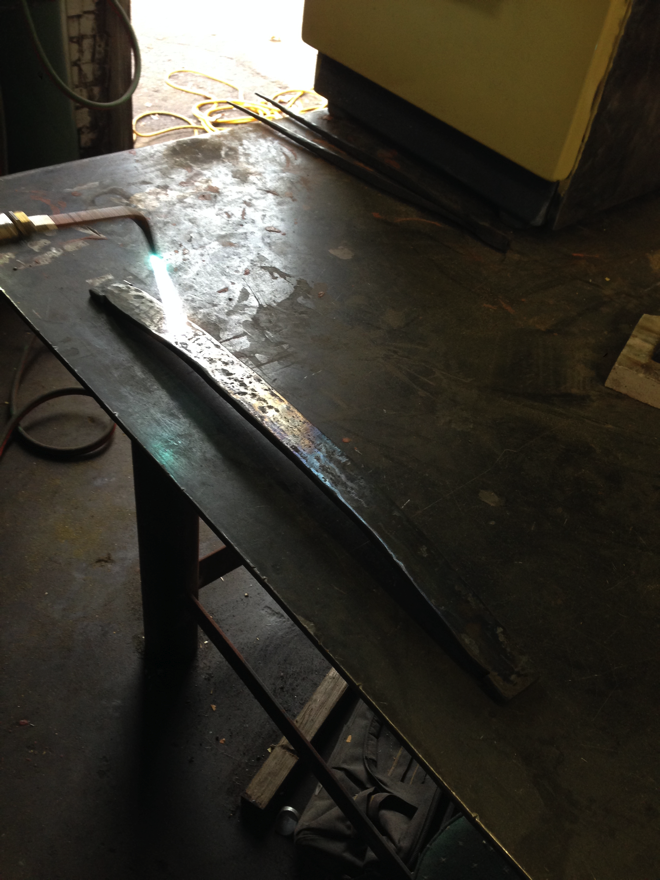
Figure 5 - Heating the Bow.
Trigger Assembly
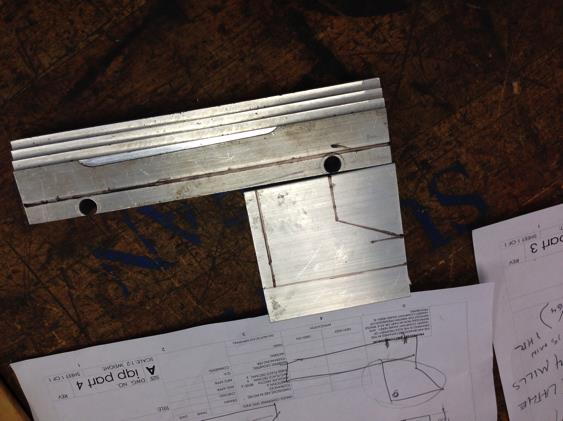
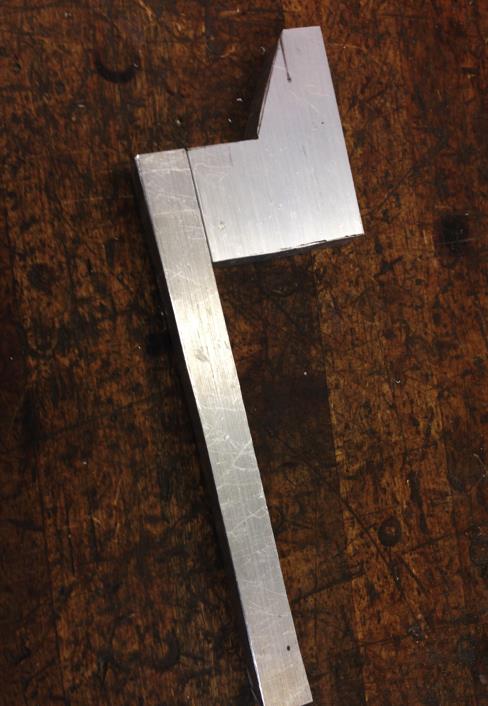
Due to the difficulty of creating a trigger assembly using the techniques from the medieval times, and due to safety concerns, we decided to create the trigger assembly by milling it out of aluminum. The two pieces of the trigger were carved out of come chunks of aluminum and fitted together with a steel bolt.
 |
 |
The image below shows the smooth blade surface that resulted from the above procedure. During the grinding the blade’s edge was thinned to between a 1/16th and a 1/10th of an inch, the back of the blade was made uniform, and major dents, divots, and imperfections were smoothed out.
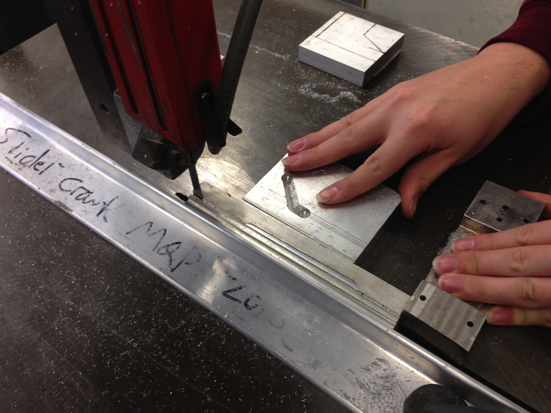
Figure 7 - Cutting the aluminum
Crossbow Body
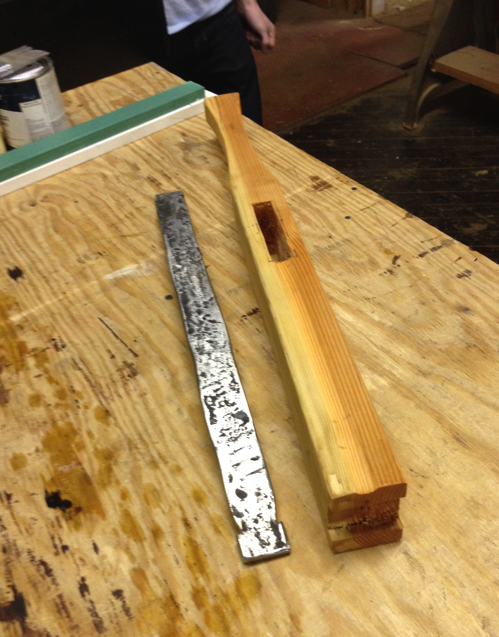
Finally, we needed a wooden stock for the crossbow. Initially we got a wood accurate to the time, but the carpenter we worked with informed us it had many nods and strains that were not in straight lines, resulting in a weak piece that would not hold the strain of the bow. We obtained another piece of wood and sketched a plan for the body.
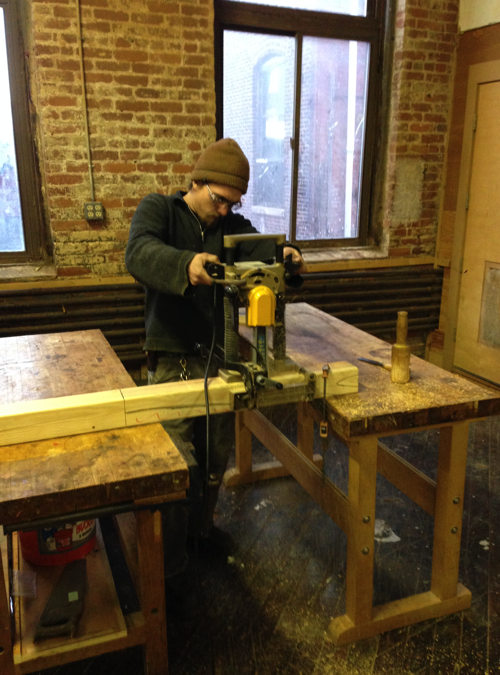
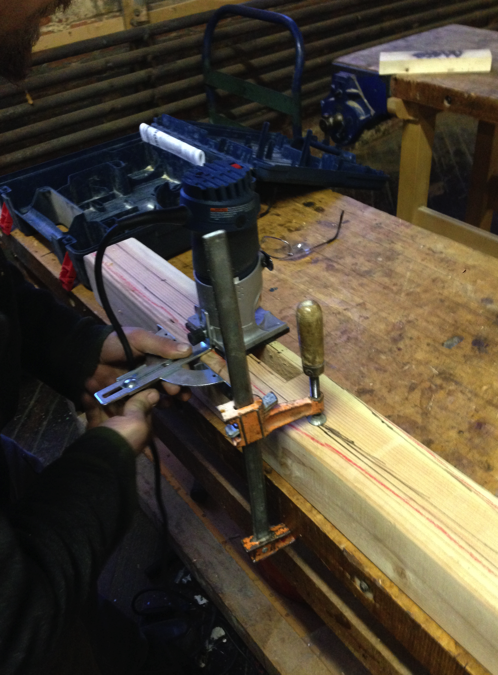
Due to safety concerns and our lack of training with the tools, our carpenter Adam offered to work on the heavier drills we would need. It began with a rectangular chainsaw drill used to create the trigger enclosure, seen below.
 |
 |
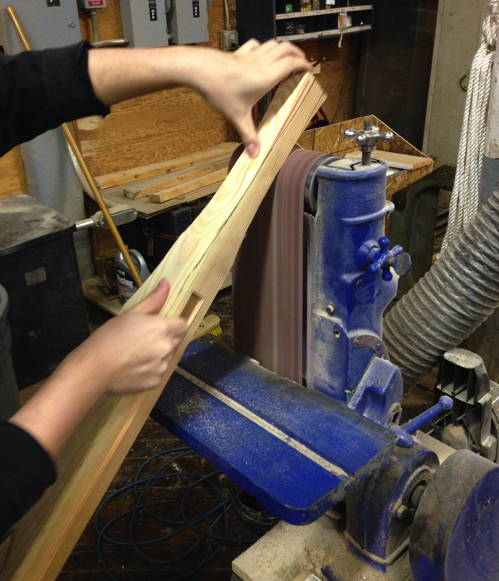
We then cut the body into shape with a power saw, to reduce the weight of the piece and give it a nicer form. A small cut into the front of the body was made to house the bow, and a channel was cut into the top for the bolt to rest. We then sanded the entire piece to reduce splintering and give it a smooth finish. Finally, a coating of boiled linseed oil was applied to the entire piece to protect it from damage, and give it a finished color.
 |
 |
Finished Crossbow
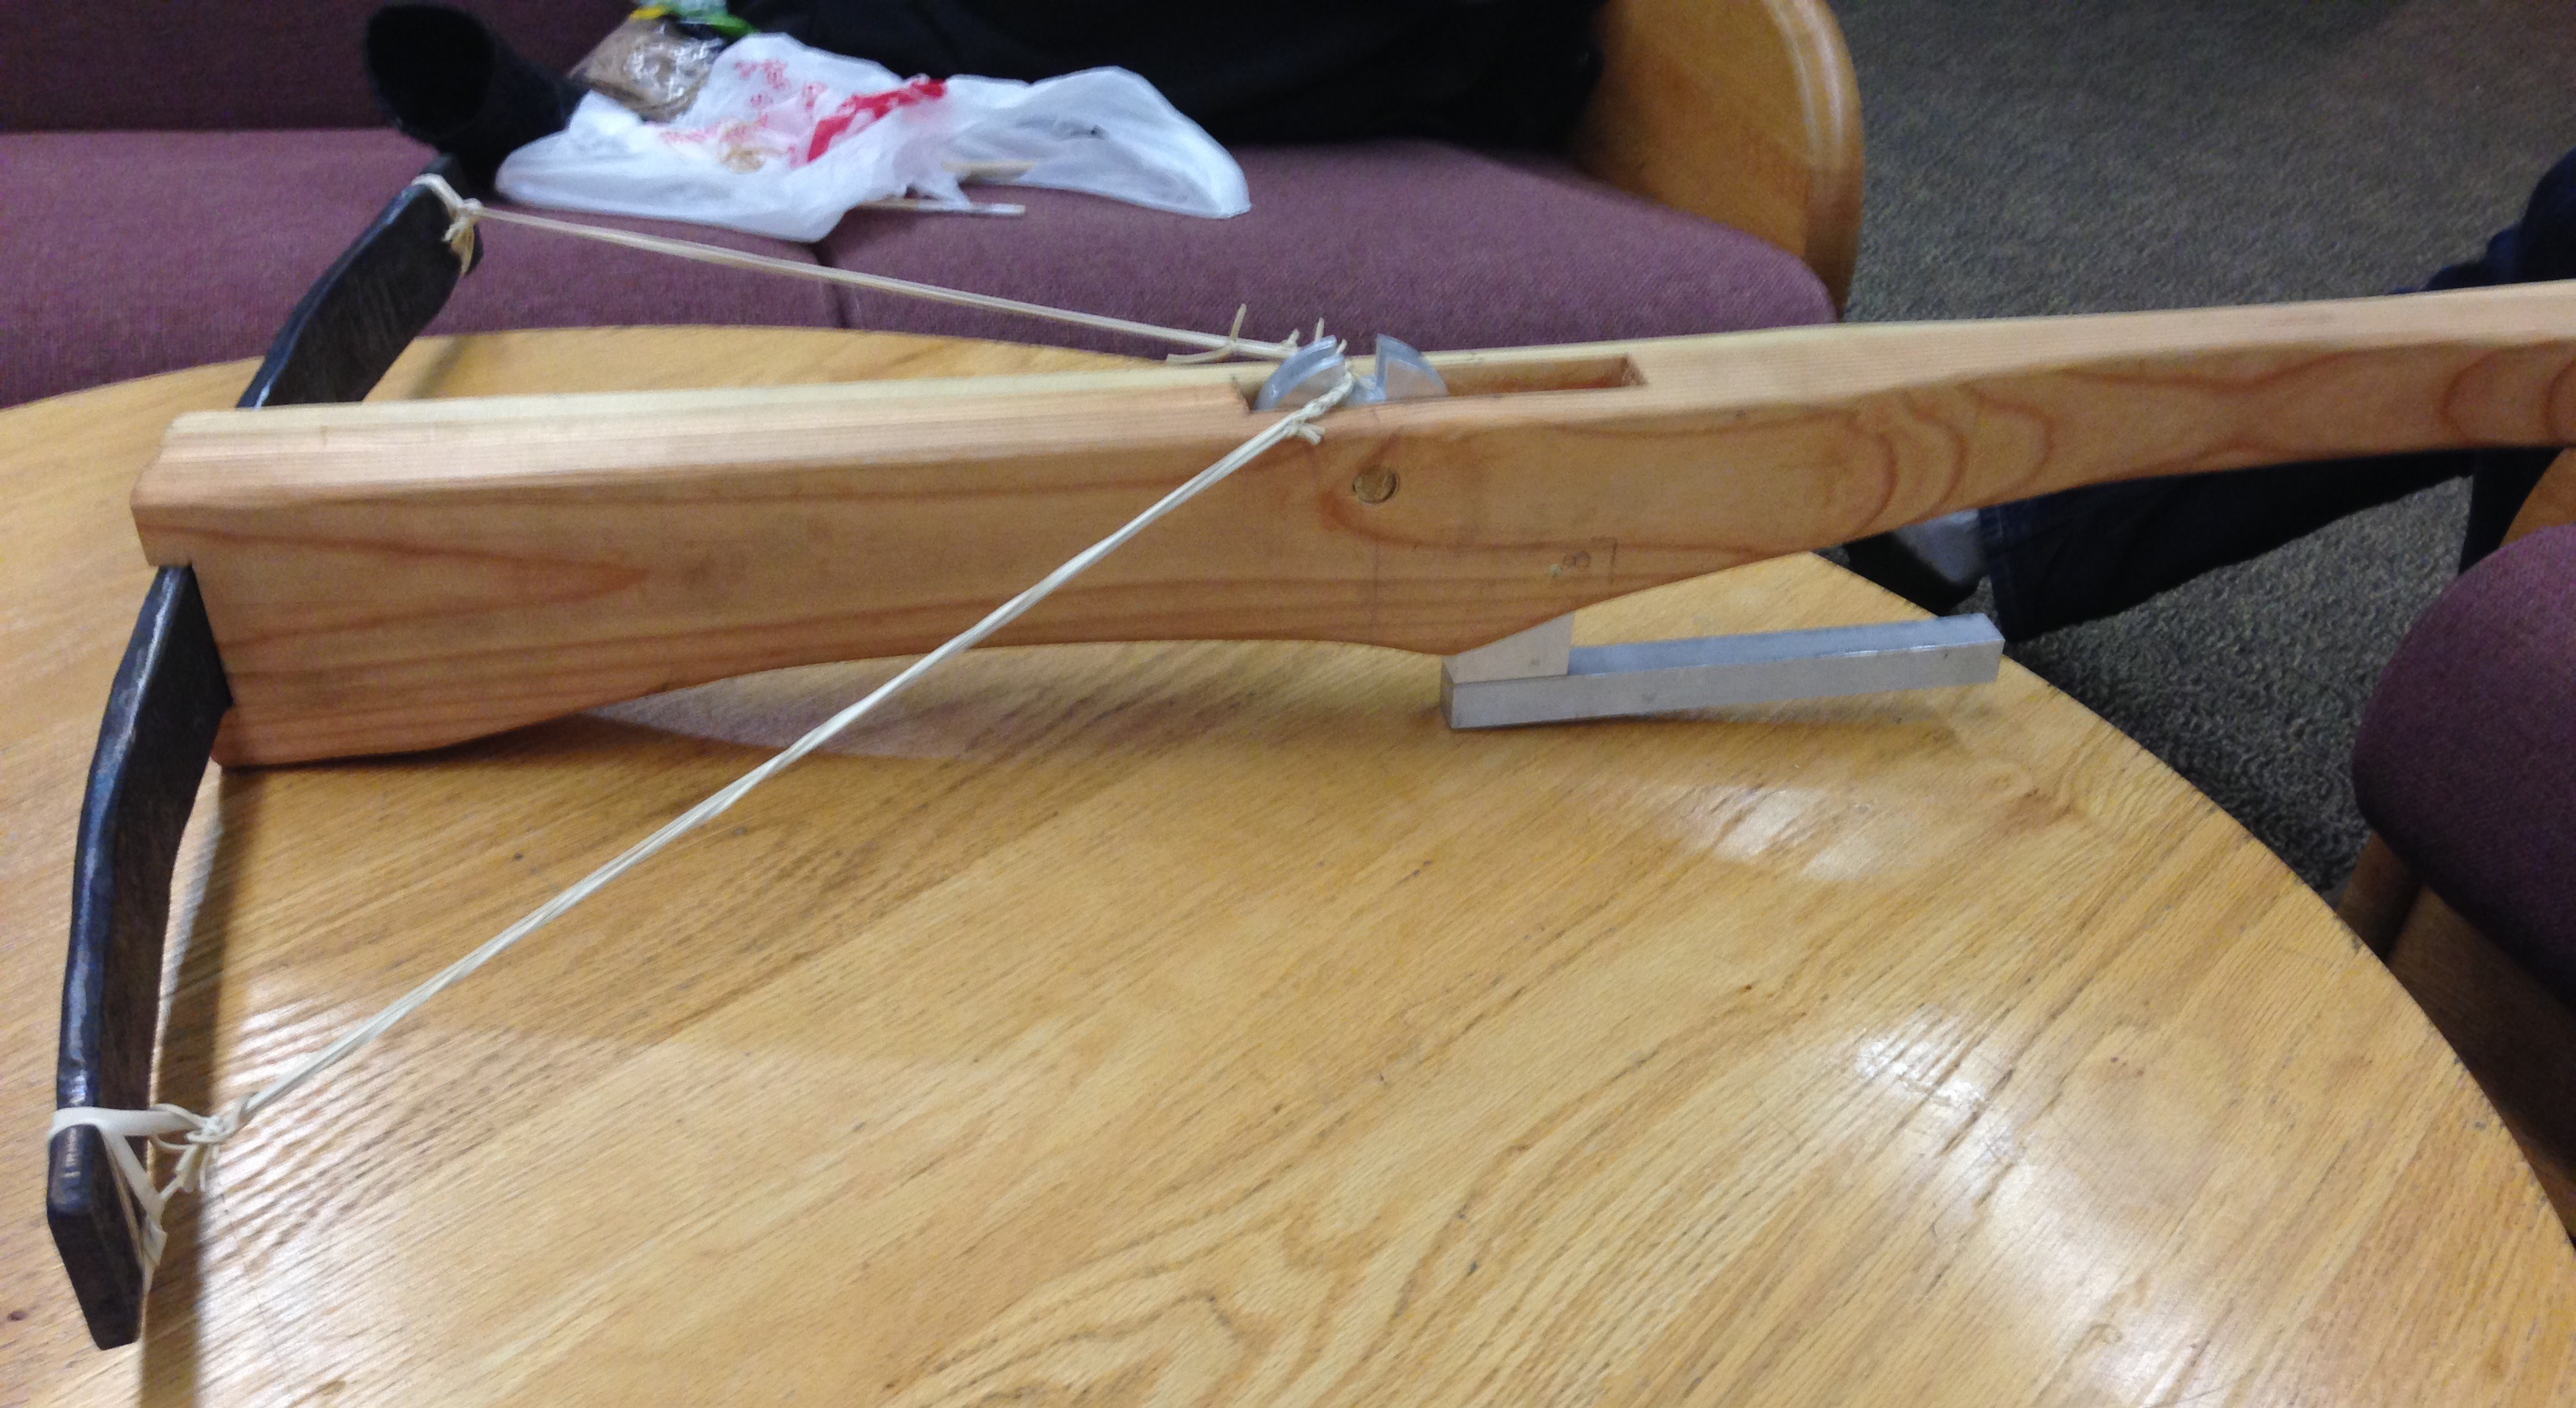
Figure 10 - Finished Crossbow.