Making of a Katana
Making a katan is a complicated procedure that requires several steps. The main steps are illustrated in the following video. Further explanations about each step that we took to make our katana replica are available further down this page.
Blade Procedure
Starting with a bar of 1095 spring steel (hard steel), three one-foot sections were cut and spot welded onto each other to make a block that was 1 foot long, ¾ of an inch tall, and 1 inch wide. This block was heated to orange/yellow in color then hammered down to produce a weld, as can be seen in the image below.
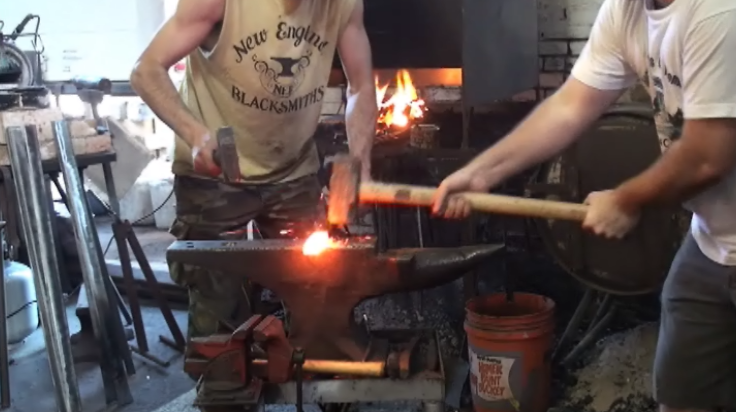
Figure 1 - Welding a Bar of Hard Steel.
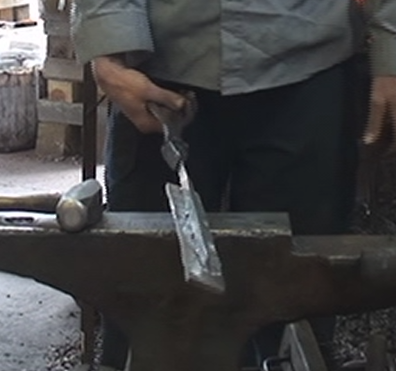
It was then ground down to remove the minor imperfections like where the metal did not overlap properly and then it was reintroduced into the forge a small section at a time. As small pieces of the metal were heated it was hammered with the thin edge of the hammers to spread the metal into a larger plate. This was widened to accommodate a block of 1018 mild steel (soft steel) that was prepared in a similar fashion. Once the 1095 was widened enough that it could easily be wrapped around the 1018, a tang was formed out of the end of the 1018 and the process of wrapping the steels began. To ensure a steady fit, the 1018 was spot welded to the plate of 1095 before the metal bundle was placed into the fire. The image below shows the 1018 steel, held by its tang, and the plate of 1095 steel that was to be wrapped around it. Once the bundle was hot enough (orange to yellow in color) to allow for proper welding, it was removed, hammered into a special concave device that assists in curving the hard steel such that it could be folded around the soft steel, and placed back within the forge.
 |
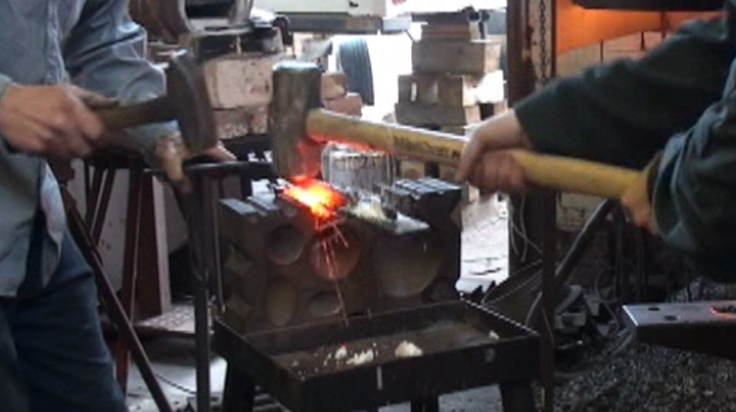 |
This process was repeated several times along the length of the metal to ensure proper welding between the hard and soft steel sections. During this process, the welded steels were also elongated to try and form the "blank" initial shape of the blade, as can be seen below.
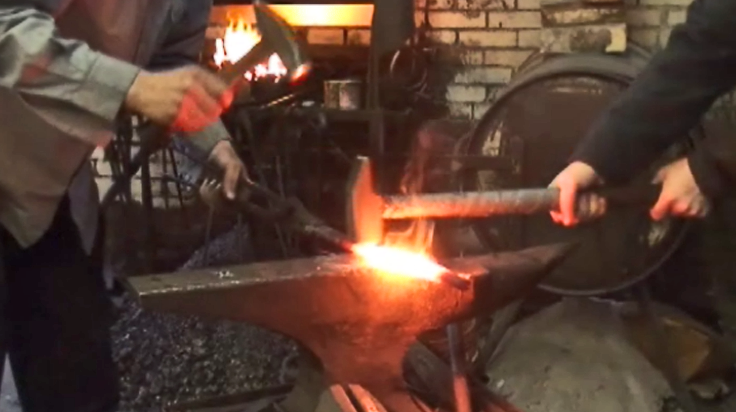
Figure 3 - Elongating the Welded Steels Into a Blade Shapre.
During our attempt, the combined steels were overheated and cracked. We therefore continued the process on a single bar of 5160 tool steel to illustrate how the remainder of the process would be like.
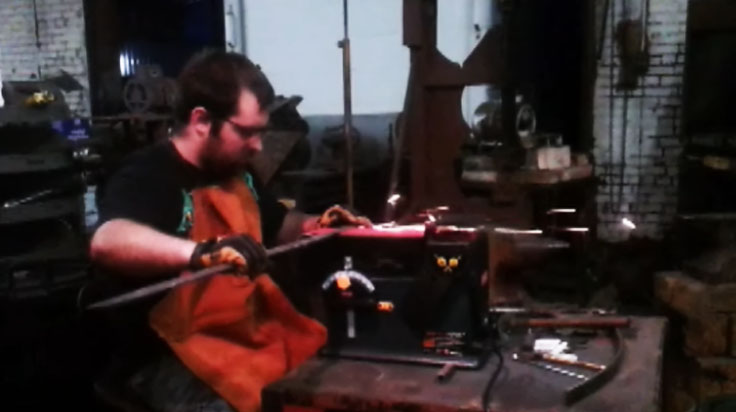
A piece of 5160 Steel 3.5 feet in length was cut and lengthened through hammering, as can be seen below.
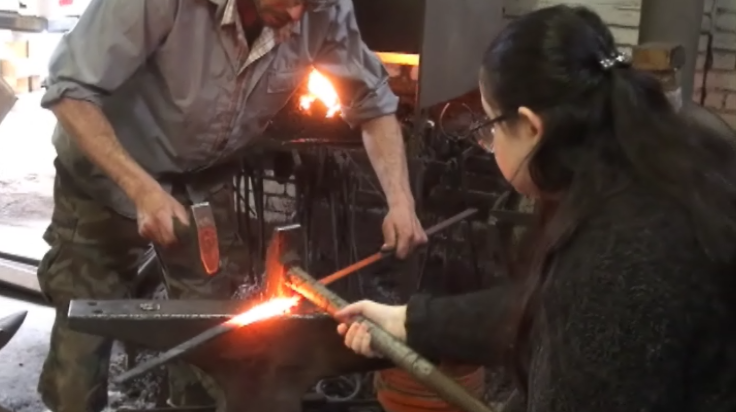
Figure 4 - 5160 Steel Bar Used for Final Sword.
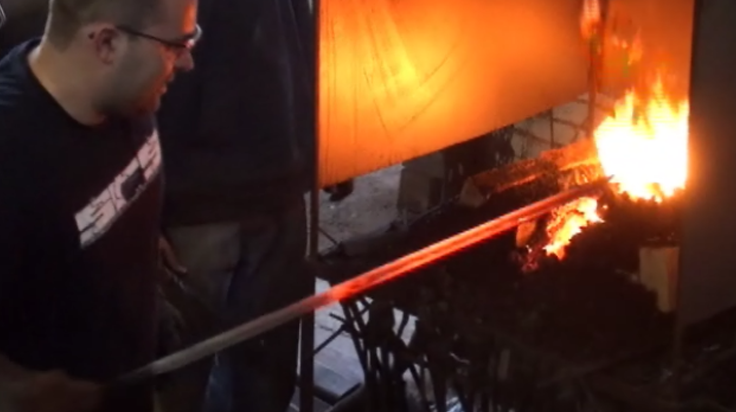
The lengthening process was more aimed at defining an edge and a tang than adding any more length to the blade. With the edge defined, the tip was given its distinctive taper, and the tang was produced. . After the shaping process, the blade was annealed to remove the residual stresses from the metal. For the annealing process, the length of the blade was heated and then allowed to cool slowly, as can be seen below.
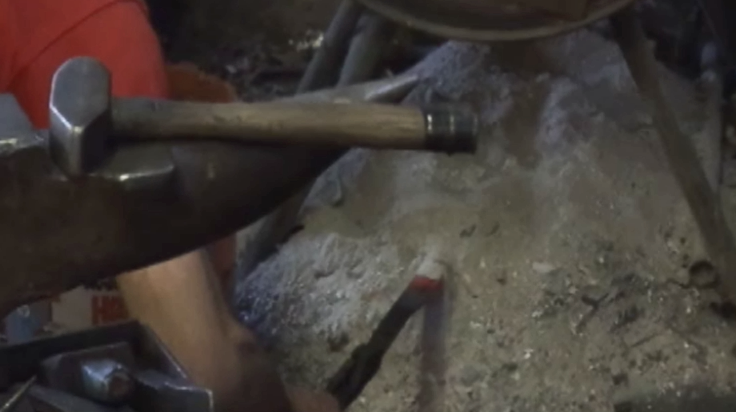
Figure 5 - Annealing the 5160 Steel Blade.
Once finished with the initial shaping and annealing, the entire blade was sanded down. The image below shows the grinding process.
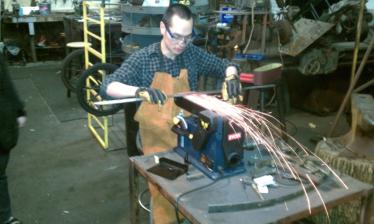 |
 |
The image below shows the smooth blade surface that resulted from the above procedure. During the grinding the blade’s edge was thinned to between a 1/16th and a 1/10th of an inch, the back of the blade was made uniform, and major dents, divots, and imperfections were smoothed out.

Figure 7 - Smoothed Out, Shined Blade.
Quenching
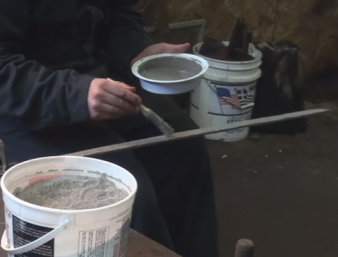
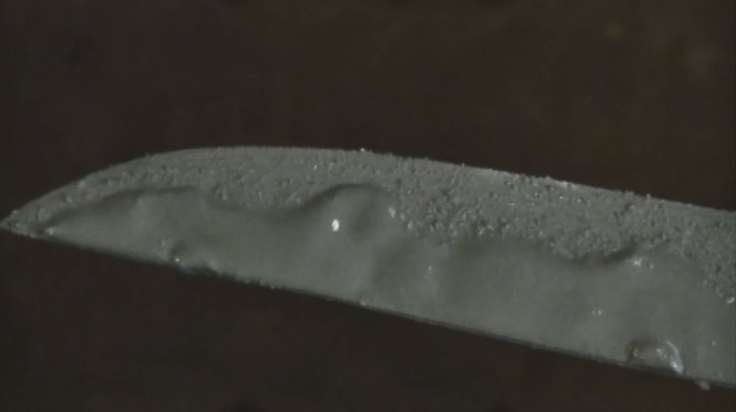
Once the blade was free of these imperfections it was covered with refractory mortar. Refractory mortar is a type of clay mortar that is used in high temperature applications and we felt that it would do the best job of acting as clay for quenching, which is a process where the blade is heated up and then cooled very quickly in a bath of water. This process strengthens the steel. The clay is meant to slow the cooling process down in certain areas of the blade in order to cause it to curve. The image below shows the clay application process.
 |
 |
 |
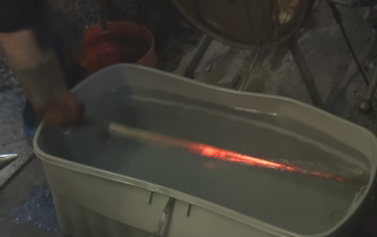 |
The specific clay we had used did not cause the blade to curve as expected, sadly, since it did not remain on the blade in the bath but melted off. The blade was still strengthened by the quenching, however.
Handle
A wooden core was used for our katana's handle. Since this core was purchased separately from its fittings, it had to be carved to fit them before the stingray skin could be applied. The image below shows the carved handle with the top fitting, the fuchi, fitted onto it.
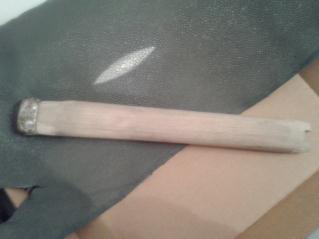
Figure 10 - Wooden Handle Core.
The next step was to size the "samegawa", the stingray skin piece to be fitted onto the blade. The piece of stingray skin that is depicted above, under the core, shows very bright, white Emperor Nodules, which are considered a very classy feature of a wrapped katana handle. Therefore, the samegawa piece had to fit such that these nodules would show up between the triangles of the wrappings. The cut samegawa piece and the tools that were used to fit it onto the handle can be seen below.
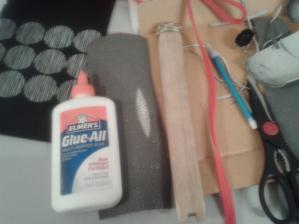
Figure 11 - Samegawa Wrapping Tools for Handle Wrapping.
The next step was to wet the stingray skin and use a thin layer of watered down glue to adhere it to the handle. To make sure the samegawa stayed close to the surface of the handle as it dried, silk ito cord was used to bind the entire handle tightly. This assembly was then left overnight to dry, so that the stingray skin would have the time to shrink and, together with the glue, strongly adhere to the handle. The following image shows the wrapped handle assembly.
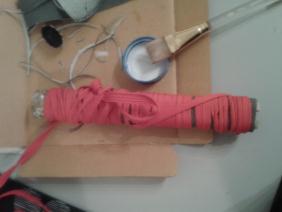
Figure 12 - Silk Wrapped Handle Drying Overnight.
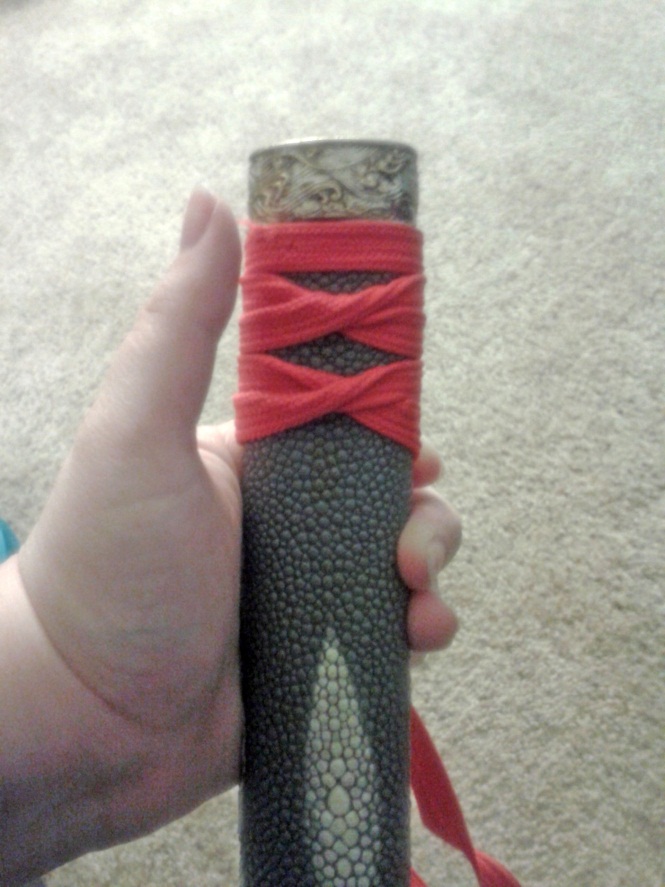
The next day, any excess same skin was trimmed from the sword and the ito wrapping process began in earnest, as the following image shows. When wrapping, the ito cord is twisted to make the "bow tie" knots along both sides of the handle, which outline the familiar triangle pattern on the handle.
 |
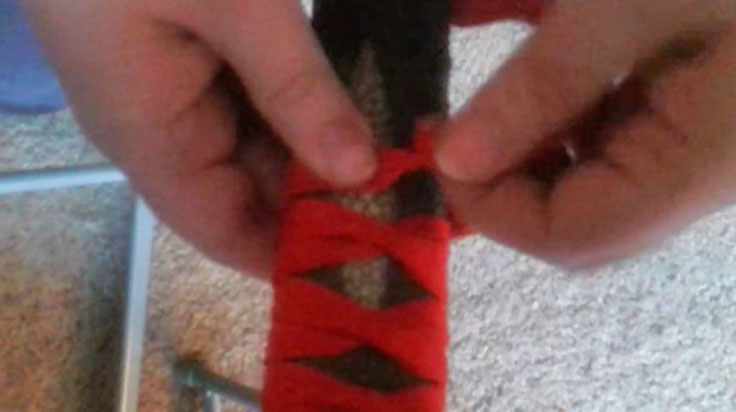 |
The final step of the handle wrapping was tying the fuchi kashira bottom fittings using the silk cord, such that it would cap off the bottom of the handle. This is a very complicated knot to make and is very involving. However, an online guide is available on the resources page for this process.
The handle was then glued onto the tang instead of being pegged together to ensure that the handle fit snugly onto the blade.
Finished Sword
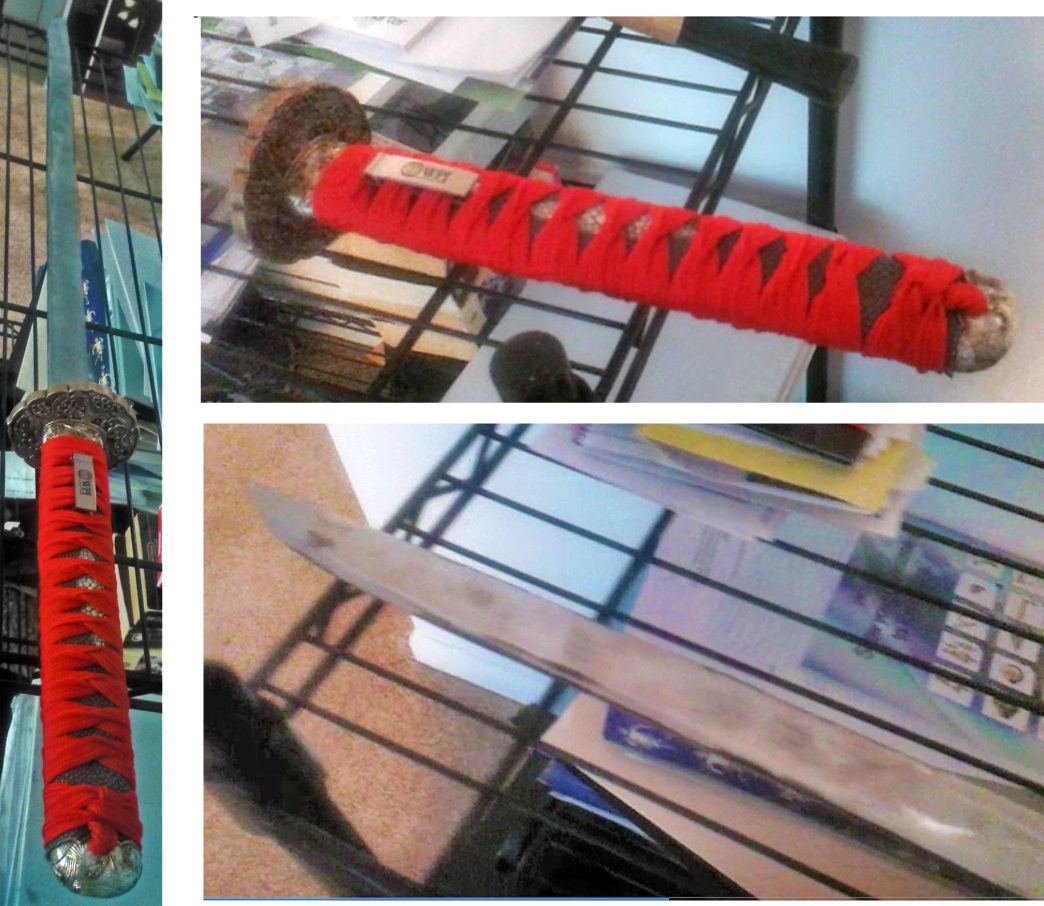
Figure 14 - Finished Handle on Sword.