Assembling the Armor
The shoulder pieces were then assembled together. To connect them together, our group decided to use a u-shape piece metal plate to cover the upper part of the chest. The metal piece will then be bent like in Figure 1 below so that it fits the upper body.

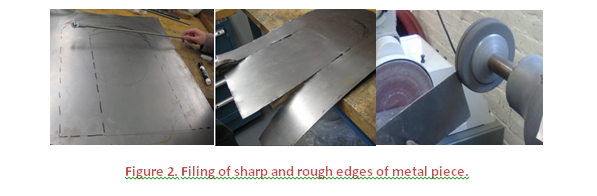
After tracing and cutting the U-shaped piece of metal, it was filed to remove any sharp and rough edges.
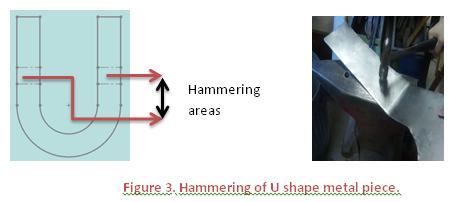
The piece of metal was then hammered like shown below in order to curve the metal in the areas where the metal piece meets the shoulders.
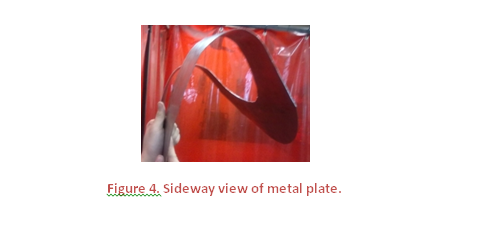
The metal piece was then bent in order to adjust it to one of our team member’s shoulders.
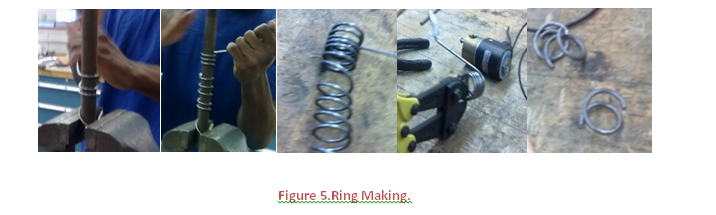
To attach the shoulder guards to the chest plate, we initially planned to use 3 rings to connect the shoulder guards to the chest plate. Since the ends of the rings did not completely close, we substituted some rings for leather pieces. Leather pieces allow greater mobility of the arms. We made the rings in a similar way to how rings were made in the middle ages. A long metal wire was coiled around a metal rod like shown in figure 5. A rod with a diameter of an inch was chosen since we were looking for rings of about an inch in diameter. A bolt cutter was then used to cut rings out of the metal wire.
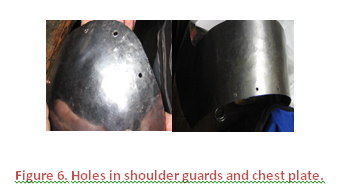
Three holes were made in both the upper part of the shoulder guards and the outermost edges of the chest plate using a nail puncher.
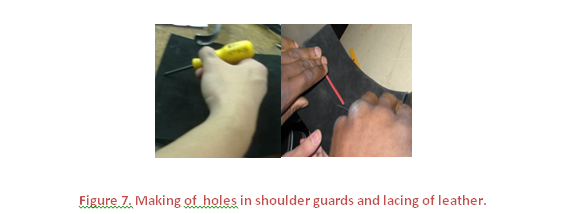
Using a screw driver and a hammer, holes were made in the piece of leather and the leather was then wrapped on the upper part of the chest plate. The leather piece was then closed by lacing it at the back using red leather cords like shown below.
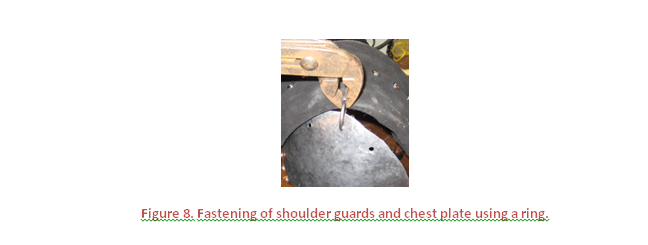
Once both of the upper parts were recovered with leather, the shoulder guards and the chest plate were then assembled using a ring in the middle hole.
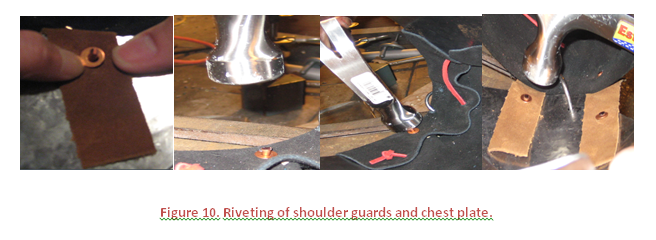
Small strips of brown leather of about one by four inches were then cut and two holes were then made.

One of the ends was riveted to the shoulder guard and the other end to the chest plate using copper rivets.
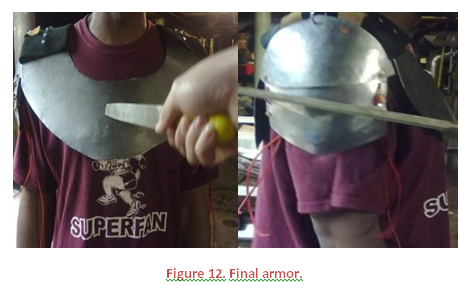
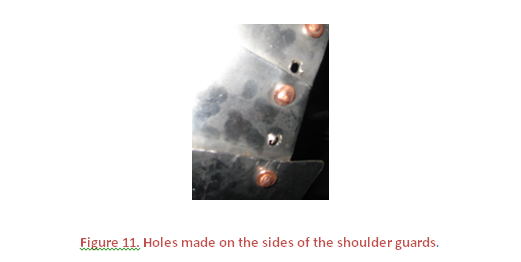
Two holes were then made on each side of the shoulder guards and leather cords inserted so that the shoulder guards can be tied around the arms of the person wearing the armor. Using leather cords has the advantage of being adjustable around the wearer’s arms.
The final armor is shown in the pictures below. The black leather covering the upper shoulder parts have been decorated with leather rivets which can be easily obtained in any craft store and they just need to be pressed together unlike the copper rivets that needed hammering.